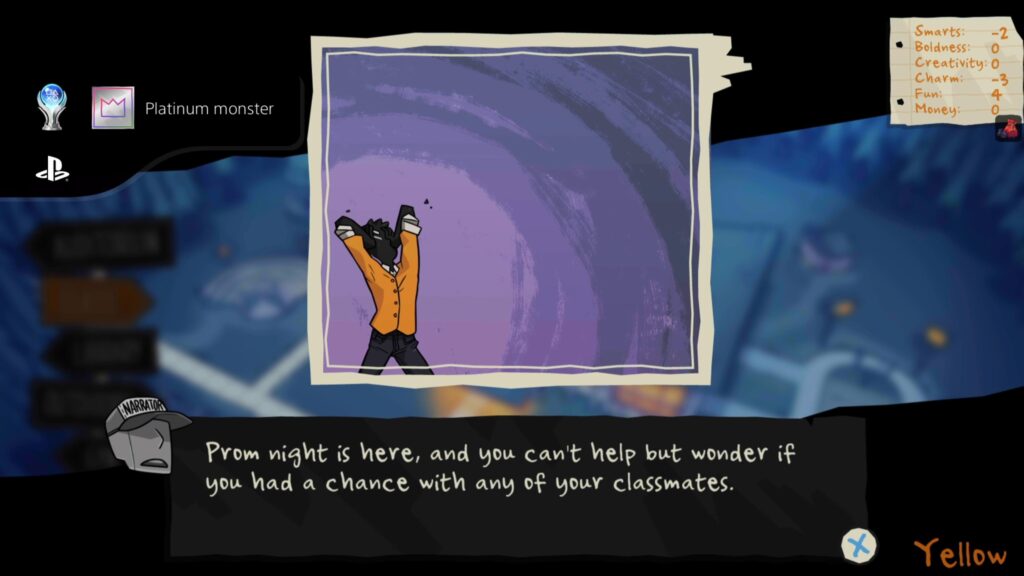
Monster Prom: XXL may best be described as a competitive dating sim game. Up to 4 players can play together to compete over who gets the opportunity to take a character to the Spooky High Prom—clearly, the most important milestone in anyone’s life.
The game is played like a visual novel with stat-based checks that can be manipulated via the use of a simplified game board. For example, if you would like to increase your SMARTS, you should go to the classroom on your turn. You will have a set number of turns to increase your stats and make dialogue choices. The outcome of these choices will be based on whether or not you pass the associated stat checks.
This title has an extremely rare platinum trophy with only 7 achievers on PSN Profiles, amounting to a measly 0.4% of owners that have completed the game fully. Seeing the sparse completion numbers should make the need for a Monster Prom: XXL trophy guide clear.
Although the game sounds like it would be simple, the trophy hunting experience is anything but that. For starters, you must see every event in the game to obtain “Go play outside!” That means you need to trigger every possible dialogue choice. Not only that, but you must also successfully see every passing and failing result associated with these events to get “Honey… this isn’t healthy.”
There are almost 600 events in the game and nearly 2,000 outcomes to collect. Perhaps worst of all, the game does not show you what dialogue options you have exhausted already; as a result, the player must keep track on their own.
We at Plat Rat Trophy Hunters have created and compiled all the best information out there into this Monster Prom: XXL trophy guide based on our own experience getting the platinum trophy. Additionally, you may also find it helpful to read this forum post by Flumber_ on PSN Profiles, who is another person who managed to achieve the platinum. Our spreadsheet was created using the baseline information provided by Loliwo’s guide on Steam and adjusted based on our experience and needs.
Table of Contents
Step-By-Step Guide
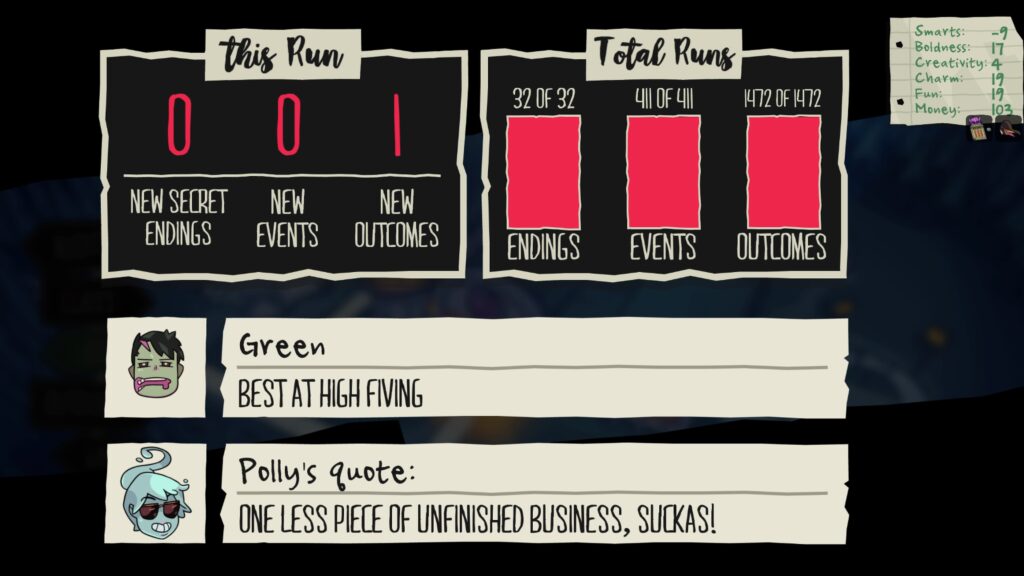
Please see below for a very basic rundown of what your trophy hunting experience with Monster Prom: XXL will look like. Make sure to take some time to get familiar with the game’s mechanics and goals in step #1. In the base game, there are 411 events and 1,472 unique outcomes to collect. The rest are in the Second Term.
- Play the game naturally and record the outcomes you get. Try to succeed and fail to take each love interest to prom. Once you start to receive substantially fewer new events and outcomes unlocked, proceed to step #2.
- The author did not move on until they were getting less than 5-10 new outcomes in a run.
- Unlock all the shop items and try to see all the endings. Use the “Gift That Keeps on Giving” item in the shop generously.
- Target specific characters or event types that you are behind with according to the spreadsheet tool.
- Dates, lunchtime events, follow-up events, advice events, weekend events, secret endings, and location-specific events for all characters are all required.
- The author did not move on until they were getting 0-3 new outcomes in a run.
- Make Hail Mary runs for very specific outcomes you need. Abuse the shop to skip turns or force stats. Reset as needed to save time.
- Move on to the Second Term DLC and repeat.
Spreadsheet Tool
To begin, download our spreadsheet tools, “Monster Prom” and “Monster Prom Second Term.” Keep in mind that the PlayStation version of the game included the DLC at release, so completing the Second Term is also required for the platinum trophy. I would recommend only focusing on the base game at the start.
NOTE: The workbook has been updated as of January 2025 to be more in line with our resources for Monster Camp: XXL.
You may need to open the spreadsheet tool in Microsoft Excel to enable its full functionality. Additionally, much of the spreadsheet is protected to prevent accidental entries in non-input fields. If you need to edit the document, you can unprotect the sheet in the Review section of the ribbon at any time; no password is required.
The documents are hosted on One Drive:
All Events Tab
The “All Events” tab is where you will spend most of your time as you play through the game. When you come across a dialogue choice, you should use CTRL+F to find it within the spreadsheet. You will be looking in columns I and K. Note that columns H and J tell you which stat will be checked for each dialogue option. Pick whichever you like, and enter a “1” in the appropriate box; If you choose dialogue option #1 and pass, fill in the cell for column L; if you choose dialogue option #2 and fail, fill in the cell for column O; and so on.
You may notice that some cells are highlighted in yellow and already have a “0” entered. This is 100% intentional, and does not require any action on your part. Some dialogue options in the game have fewer than 4 outcomes; for example, lunch events only have 2 outcomes, as you always “succeed” and boost whichever stat you select. There is no failure condition. Another instance is 1-person advice events, in which you either say something nice about your friend, or not.
As you progress in the game, you may need to start paying attention to the other aspects of the spreadsheet.
- Column D – Location: Some dialogues are only obtainable when visiting specific in-game locations;
- Column E – Event Type: Some dialogues can only be obtained at certain points in the game. For example, dates can only occur at the end of a run, and pick love interest events only take place in the first few turns;
- Column F – Route: Some dialogues can only be obtained when pursuing specific characters. For pick love interest events with multiple characters, you must use the quiz at the start to show interest in one of them and try to spend time with the other at the earliest lunchtime to more-or-less guarantee that specific route;
- Column G – Item: Some dialogues can only be obtained when you have certain items or are on track for specific endings. These are acquired in the store, either directly or from the “Gift That Keeps on Giving”;
- Column S – Event Complete: Once columns L through O have been filled with 1’s, this cell will turn green. This indicates that you are completely done with that event.
There are a couple more cells of note on the “All Events” tab. Cell AA1 calculates your overall progression through all of the event outcomes based on your entries in the spreadsheet.
You may also notice some hidden columns. These are more niche, and some are used as helper columns later in the spreadsheet. Of note would be column P and column T. Column P indicates when an event has a direct link to another event; meaning, you must succeed in the previous check to see the next event. These should be a priority since they’re much more difficult to obtain naturally. Column T indicates events that you have not encountered a single time, and are thus classified as “new” events. You can also use columns U-Z to filter for desired characters if you don’t want to navigate through the entire page.
Pivot Tab
The “Pivot” tab is where the behind-the-scenes calculations will be performed as you fill out the spreadsheet. Depending on your settings, you may need to manually refresh the data between runs. To do this, simply click into any table, then in the ribbon click on PivotTable Analyze –> Data –> Refresh All.
There are many tables with various items of interest that will help provide direction to you as you play through the game. These show the number of outcomes you still need for each character based on the following categories. From top to bottom, we have:
- All events;
- Pick love interest events;
- 2-player advice events;
- 3-4 player advice events;
- 3-4 player weekend events;
- Date events;
- Location-specific events.
The recommendation is to focus your playthroughs on whichever character’s name appears in column L. This person will be whomever has the highest number of needed outcomes as calculated in column J.
Endings Checklist Tab
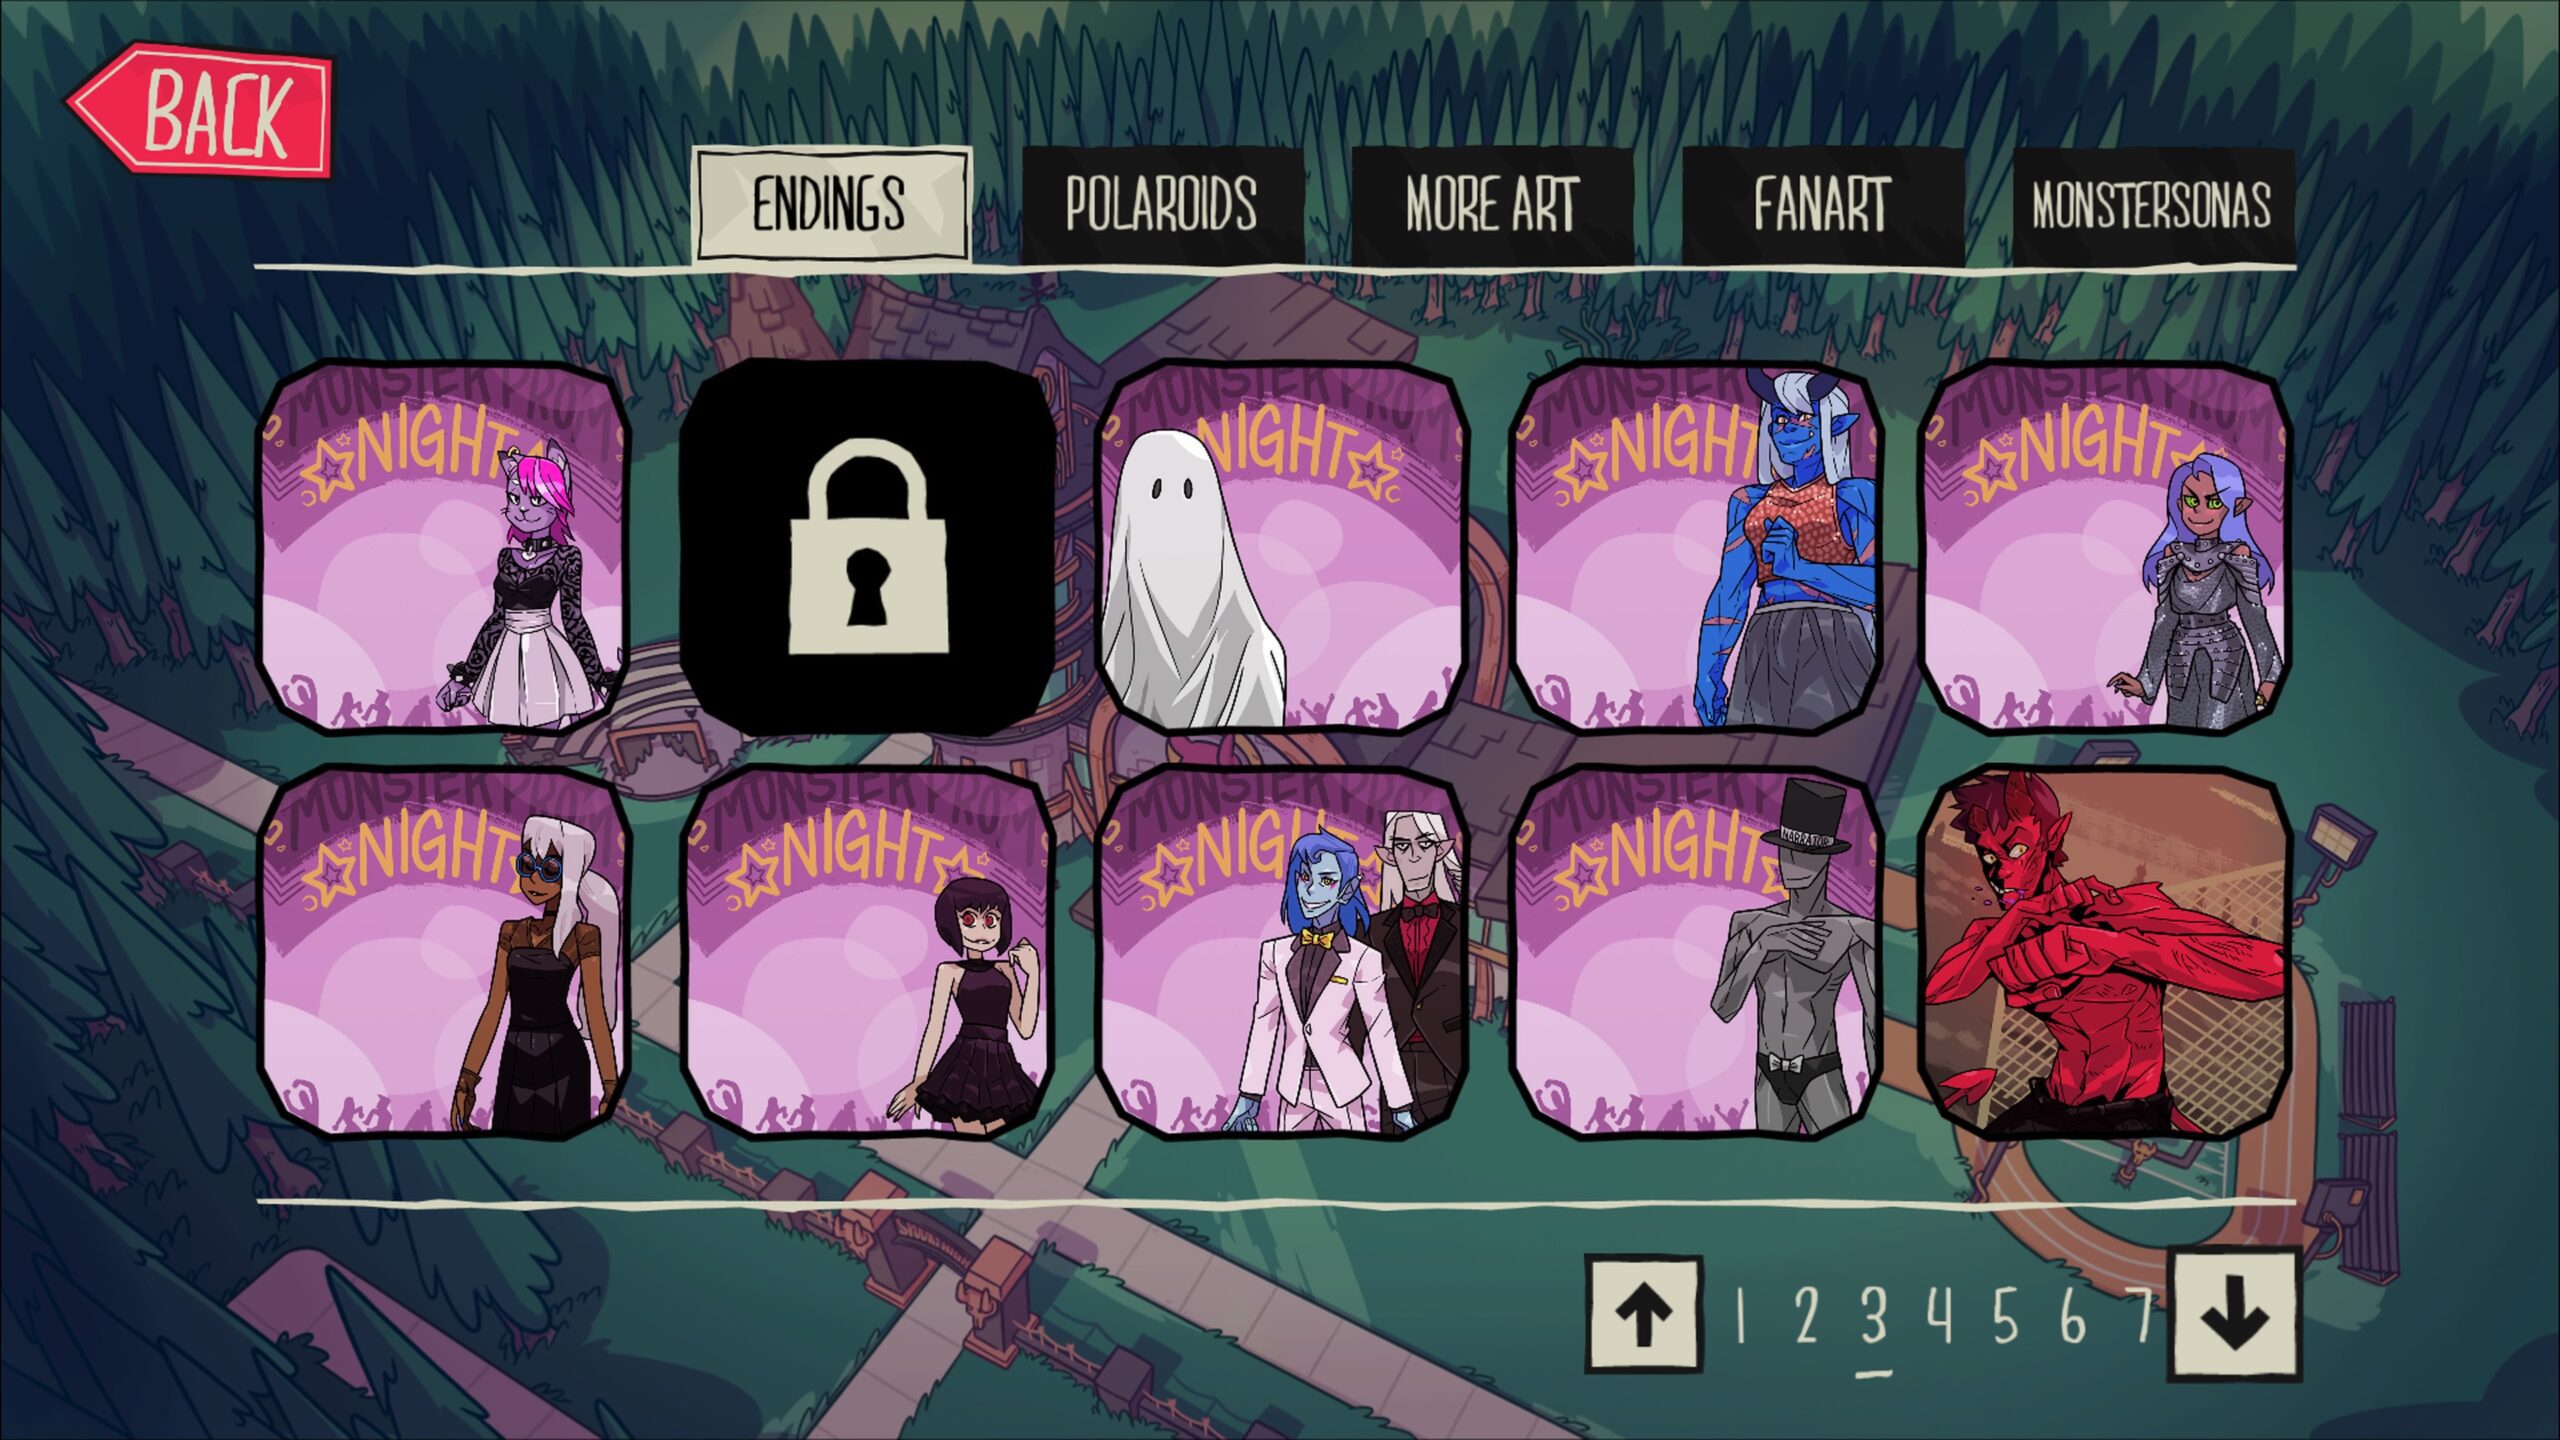
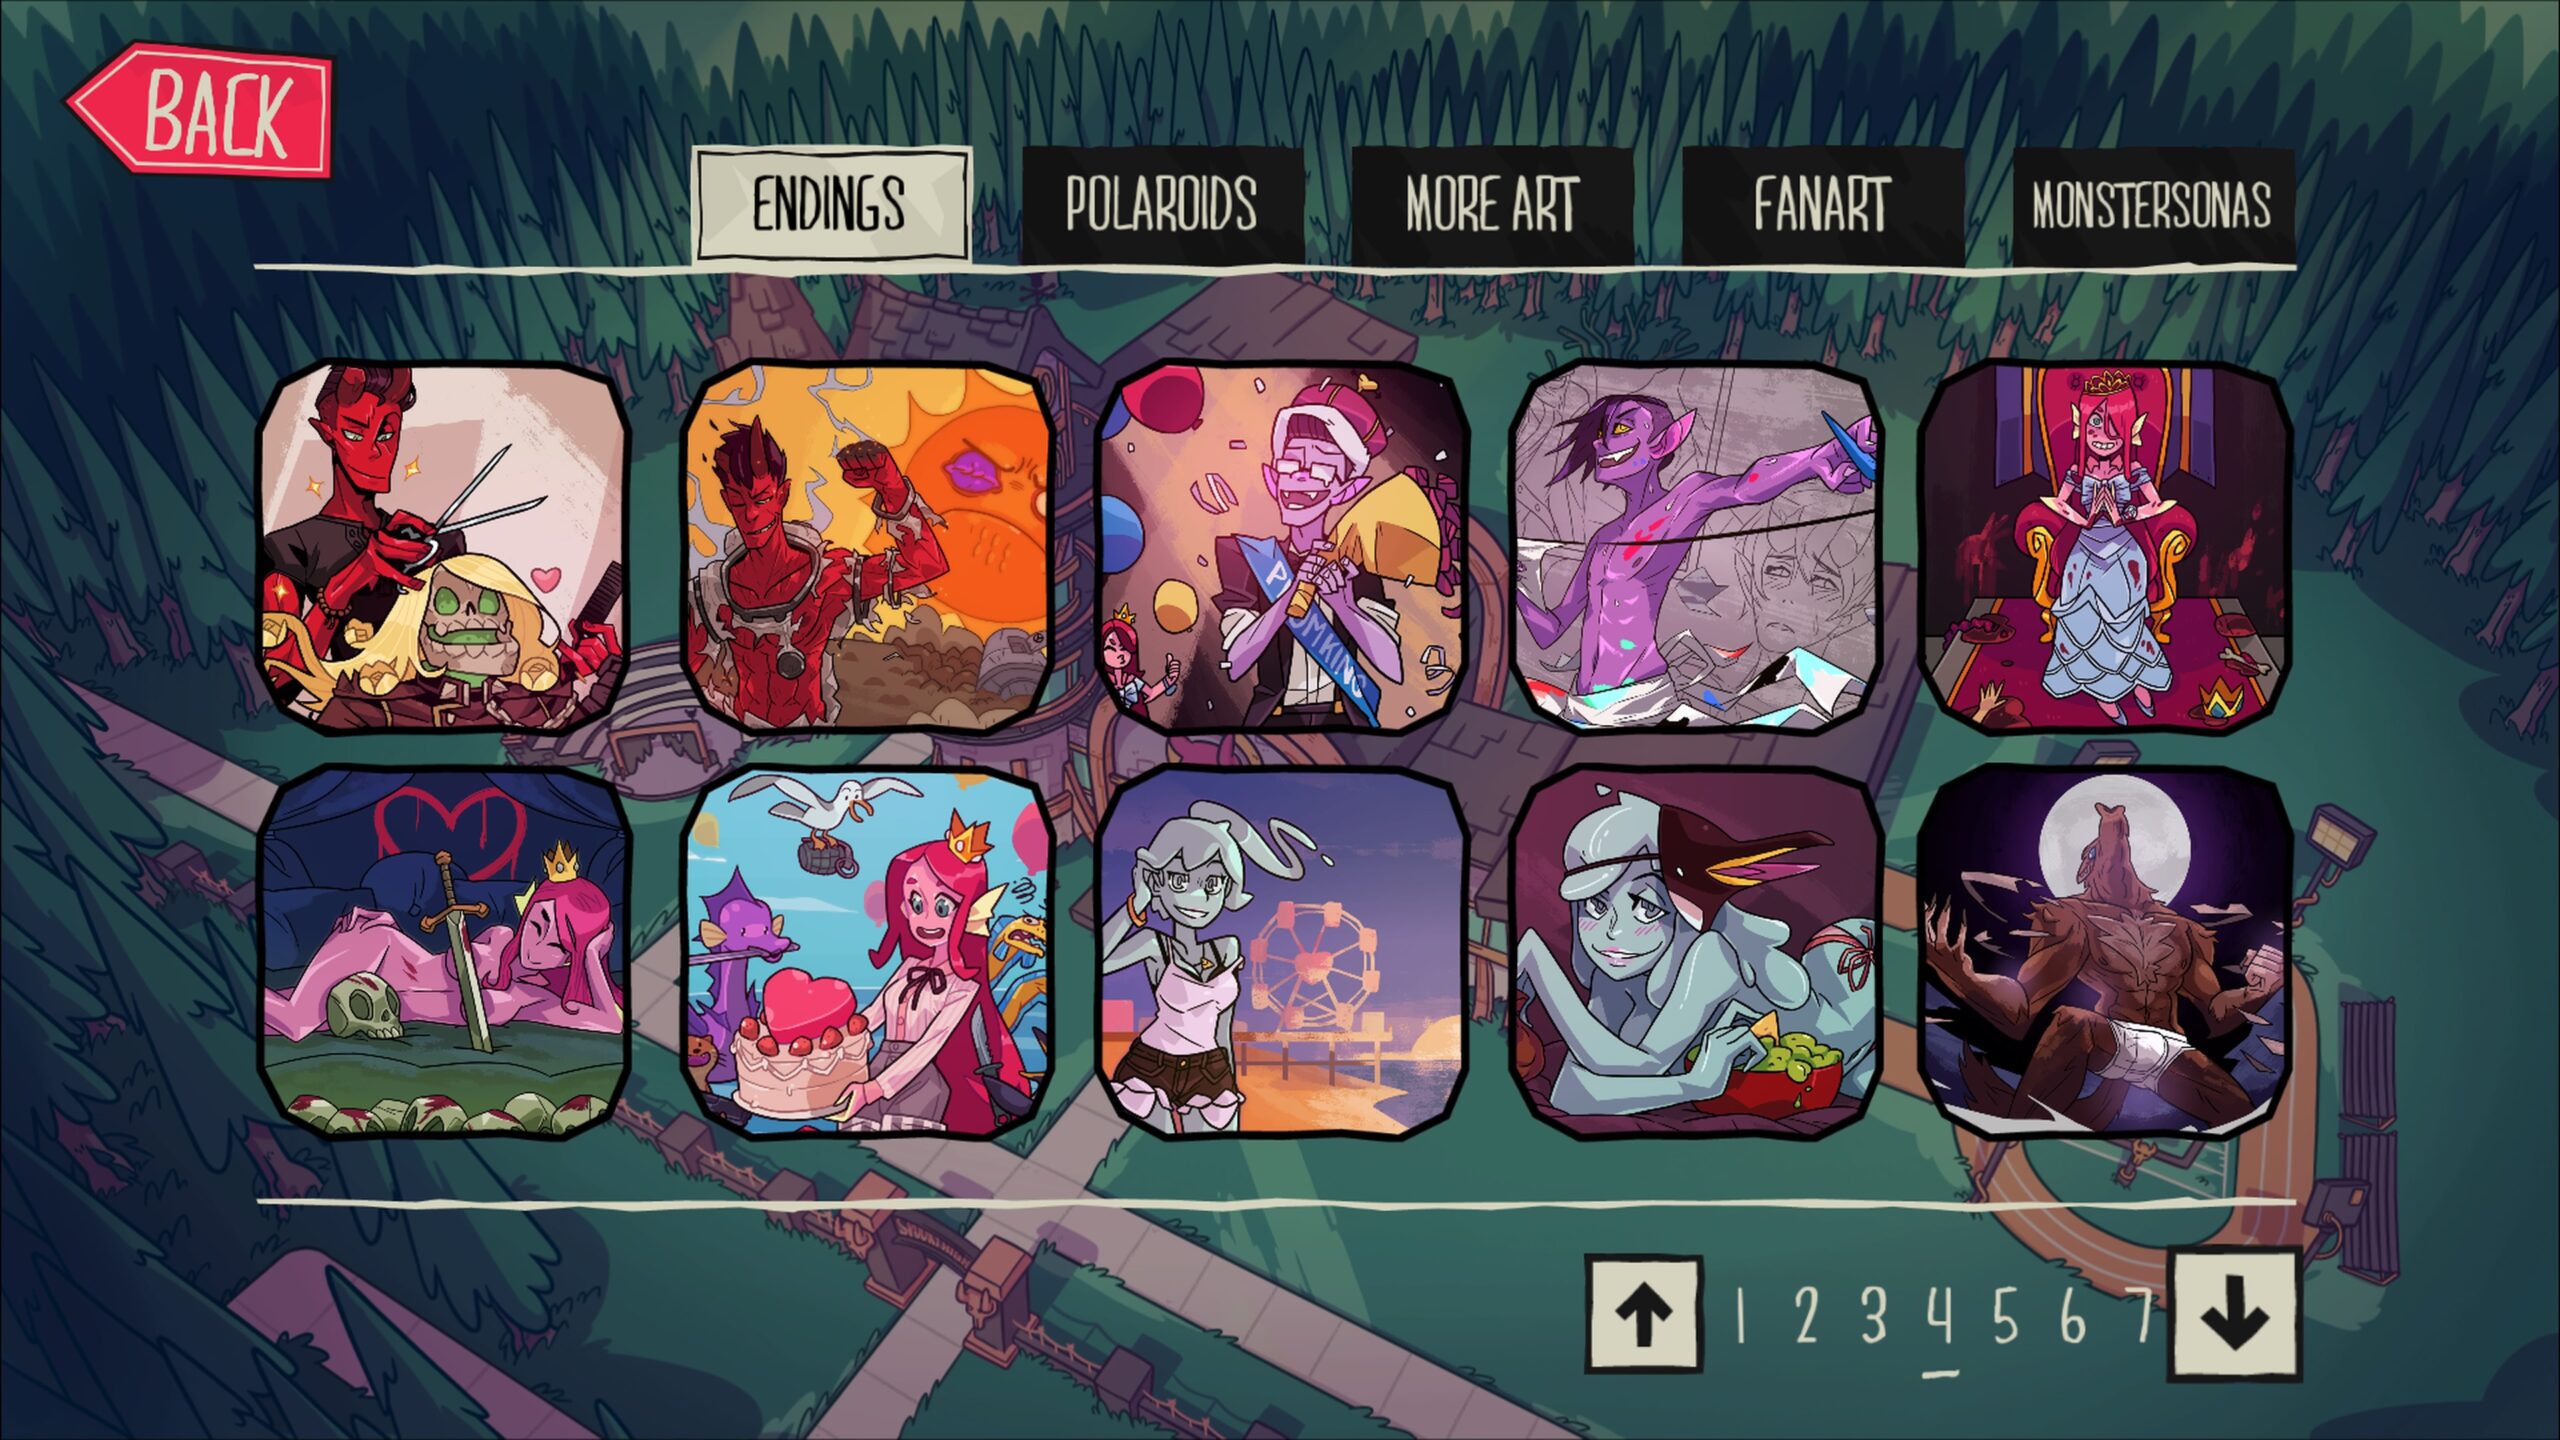
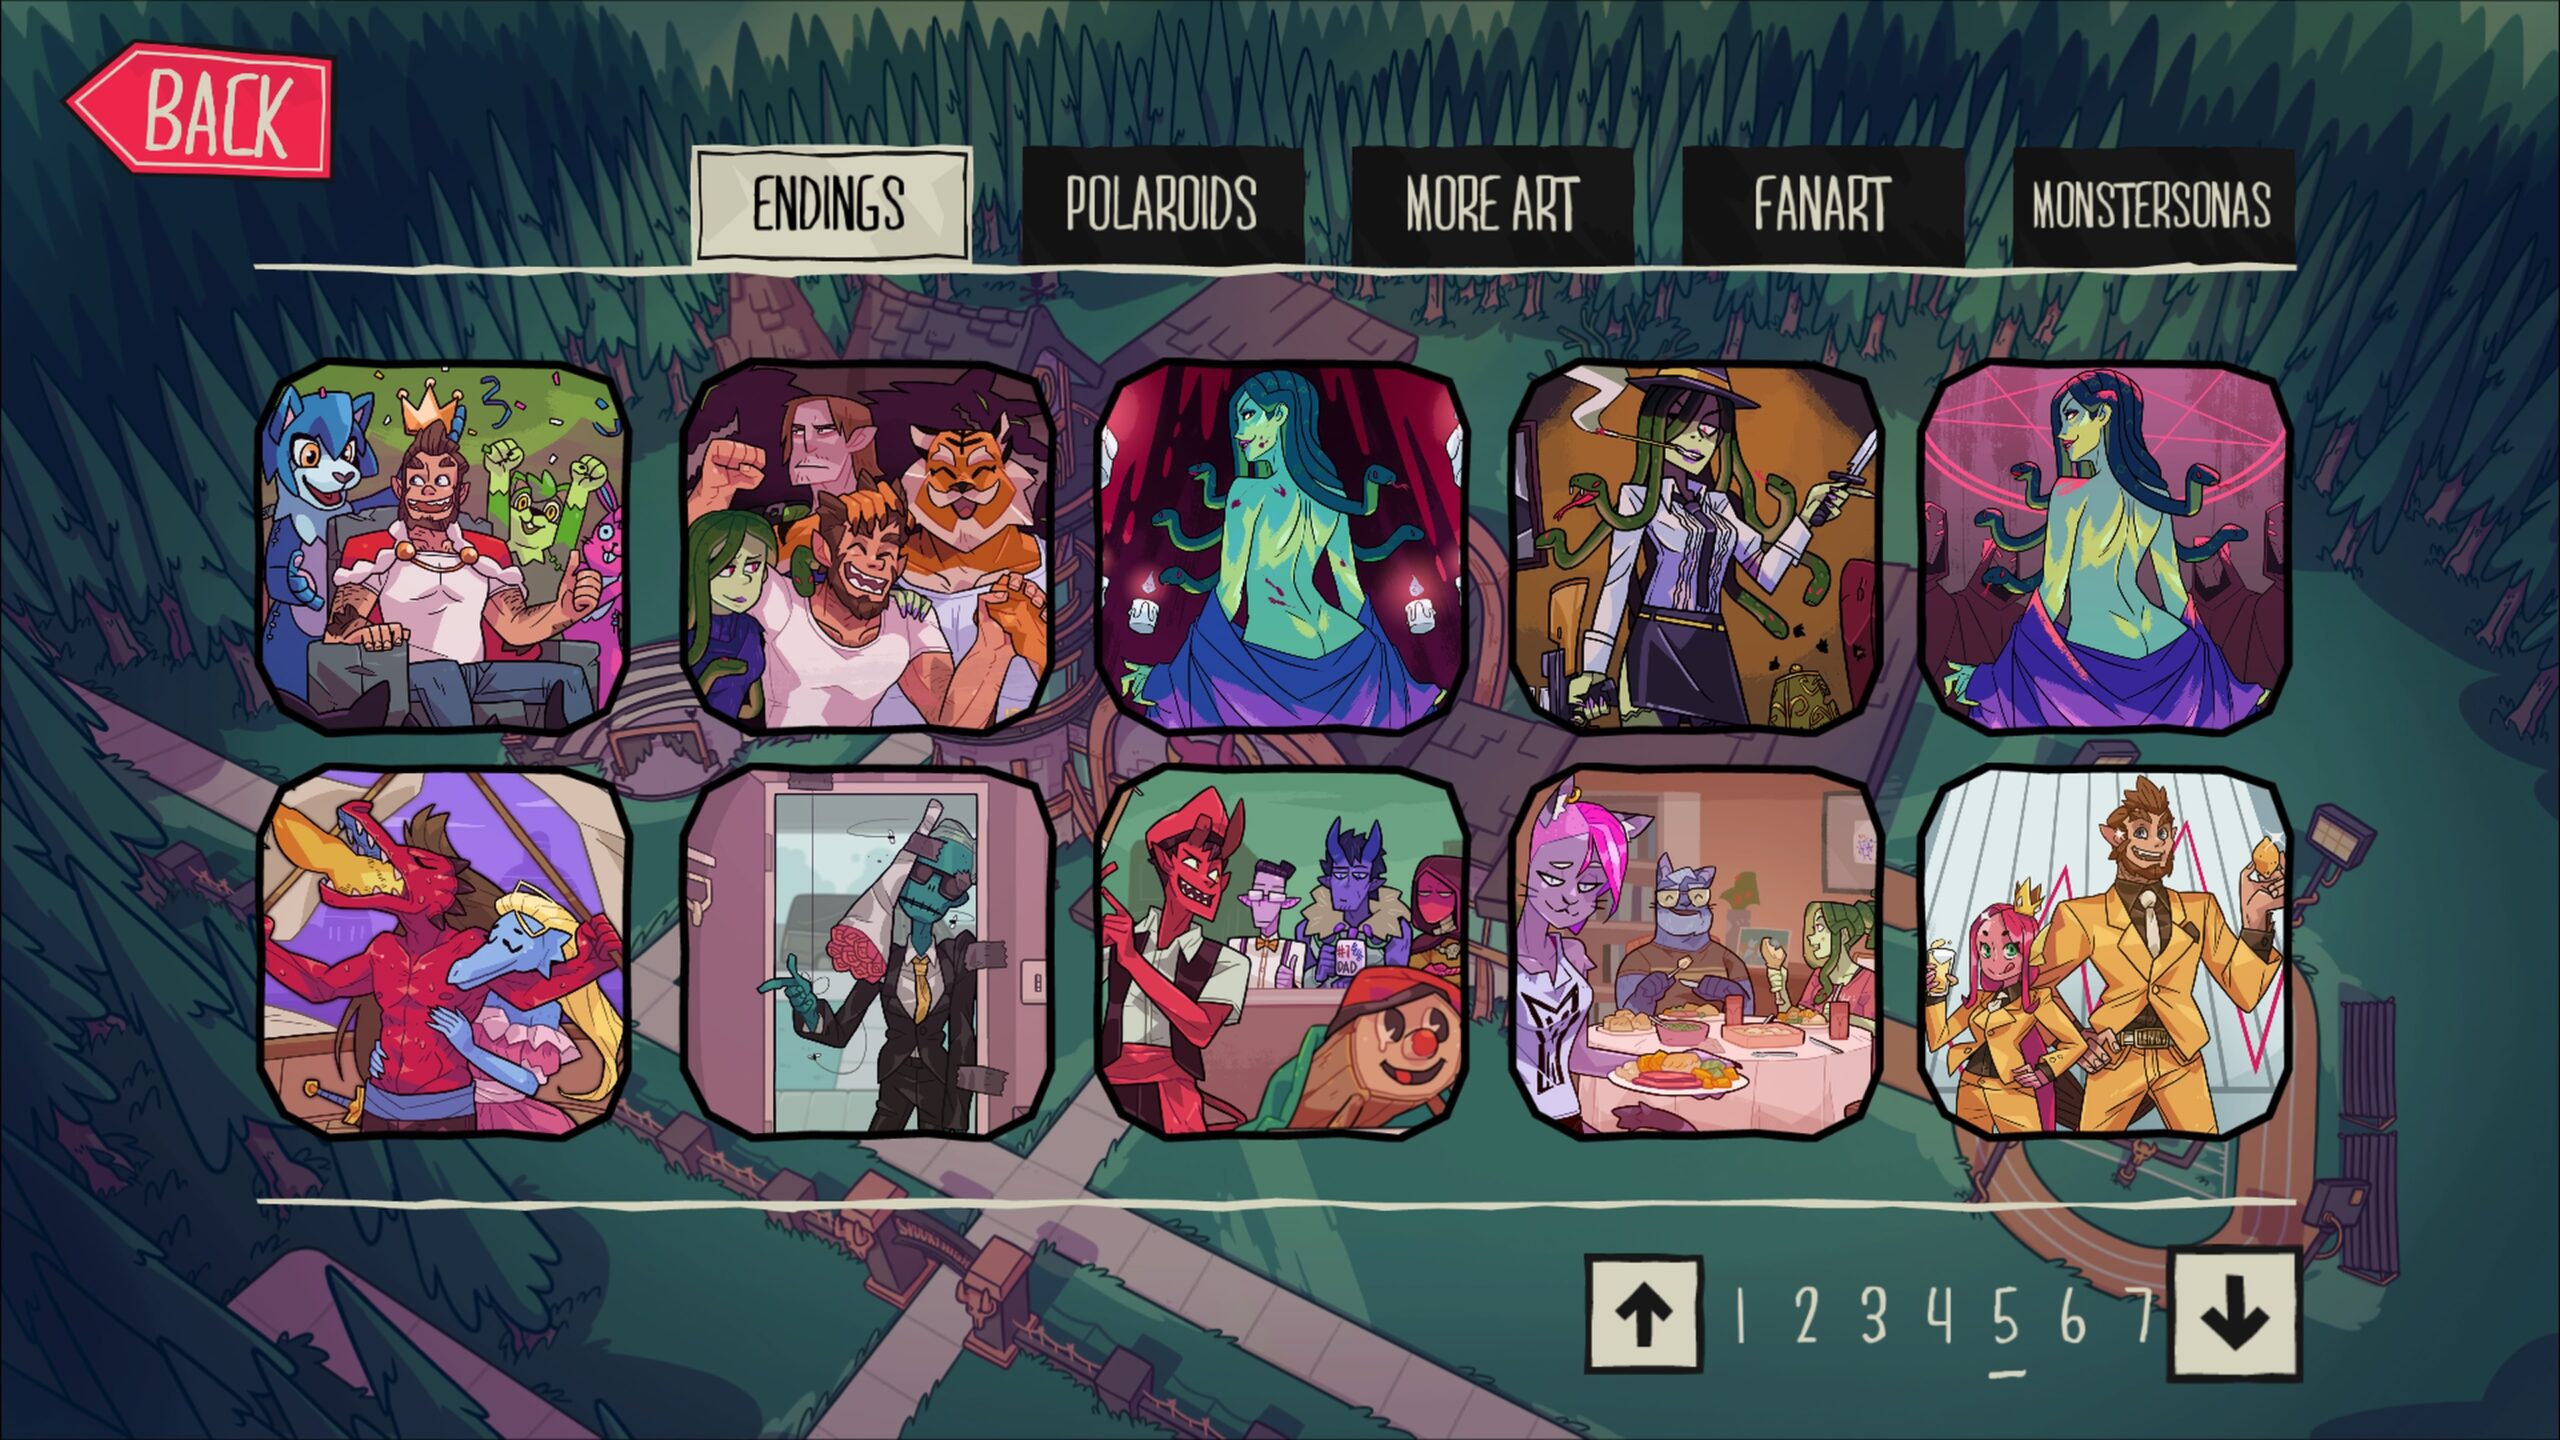
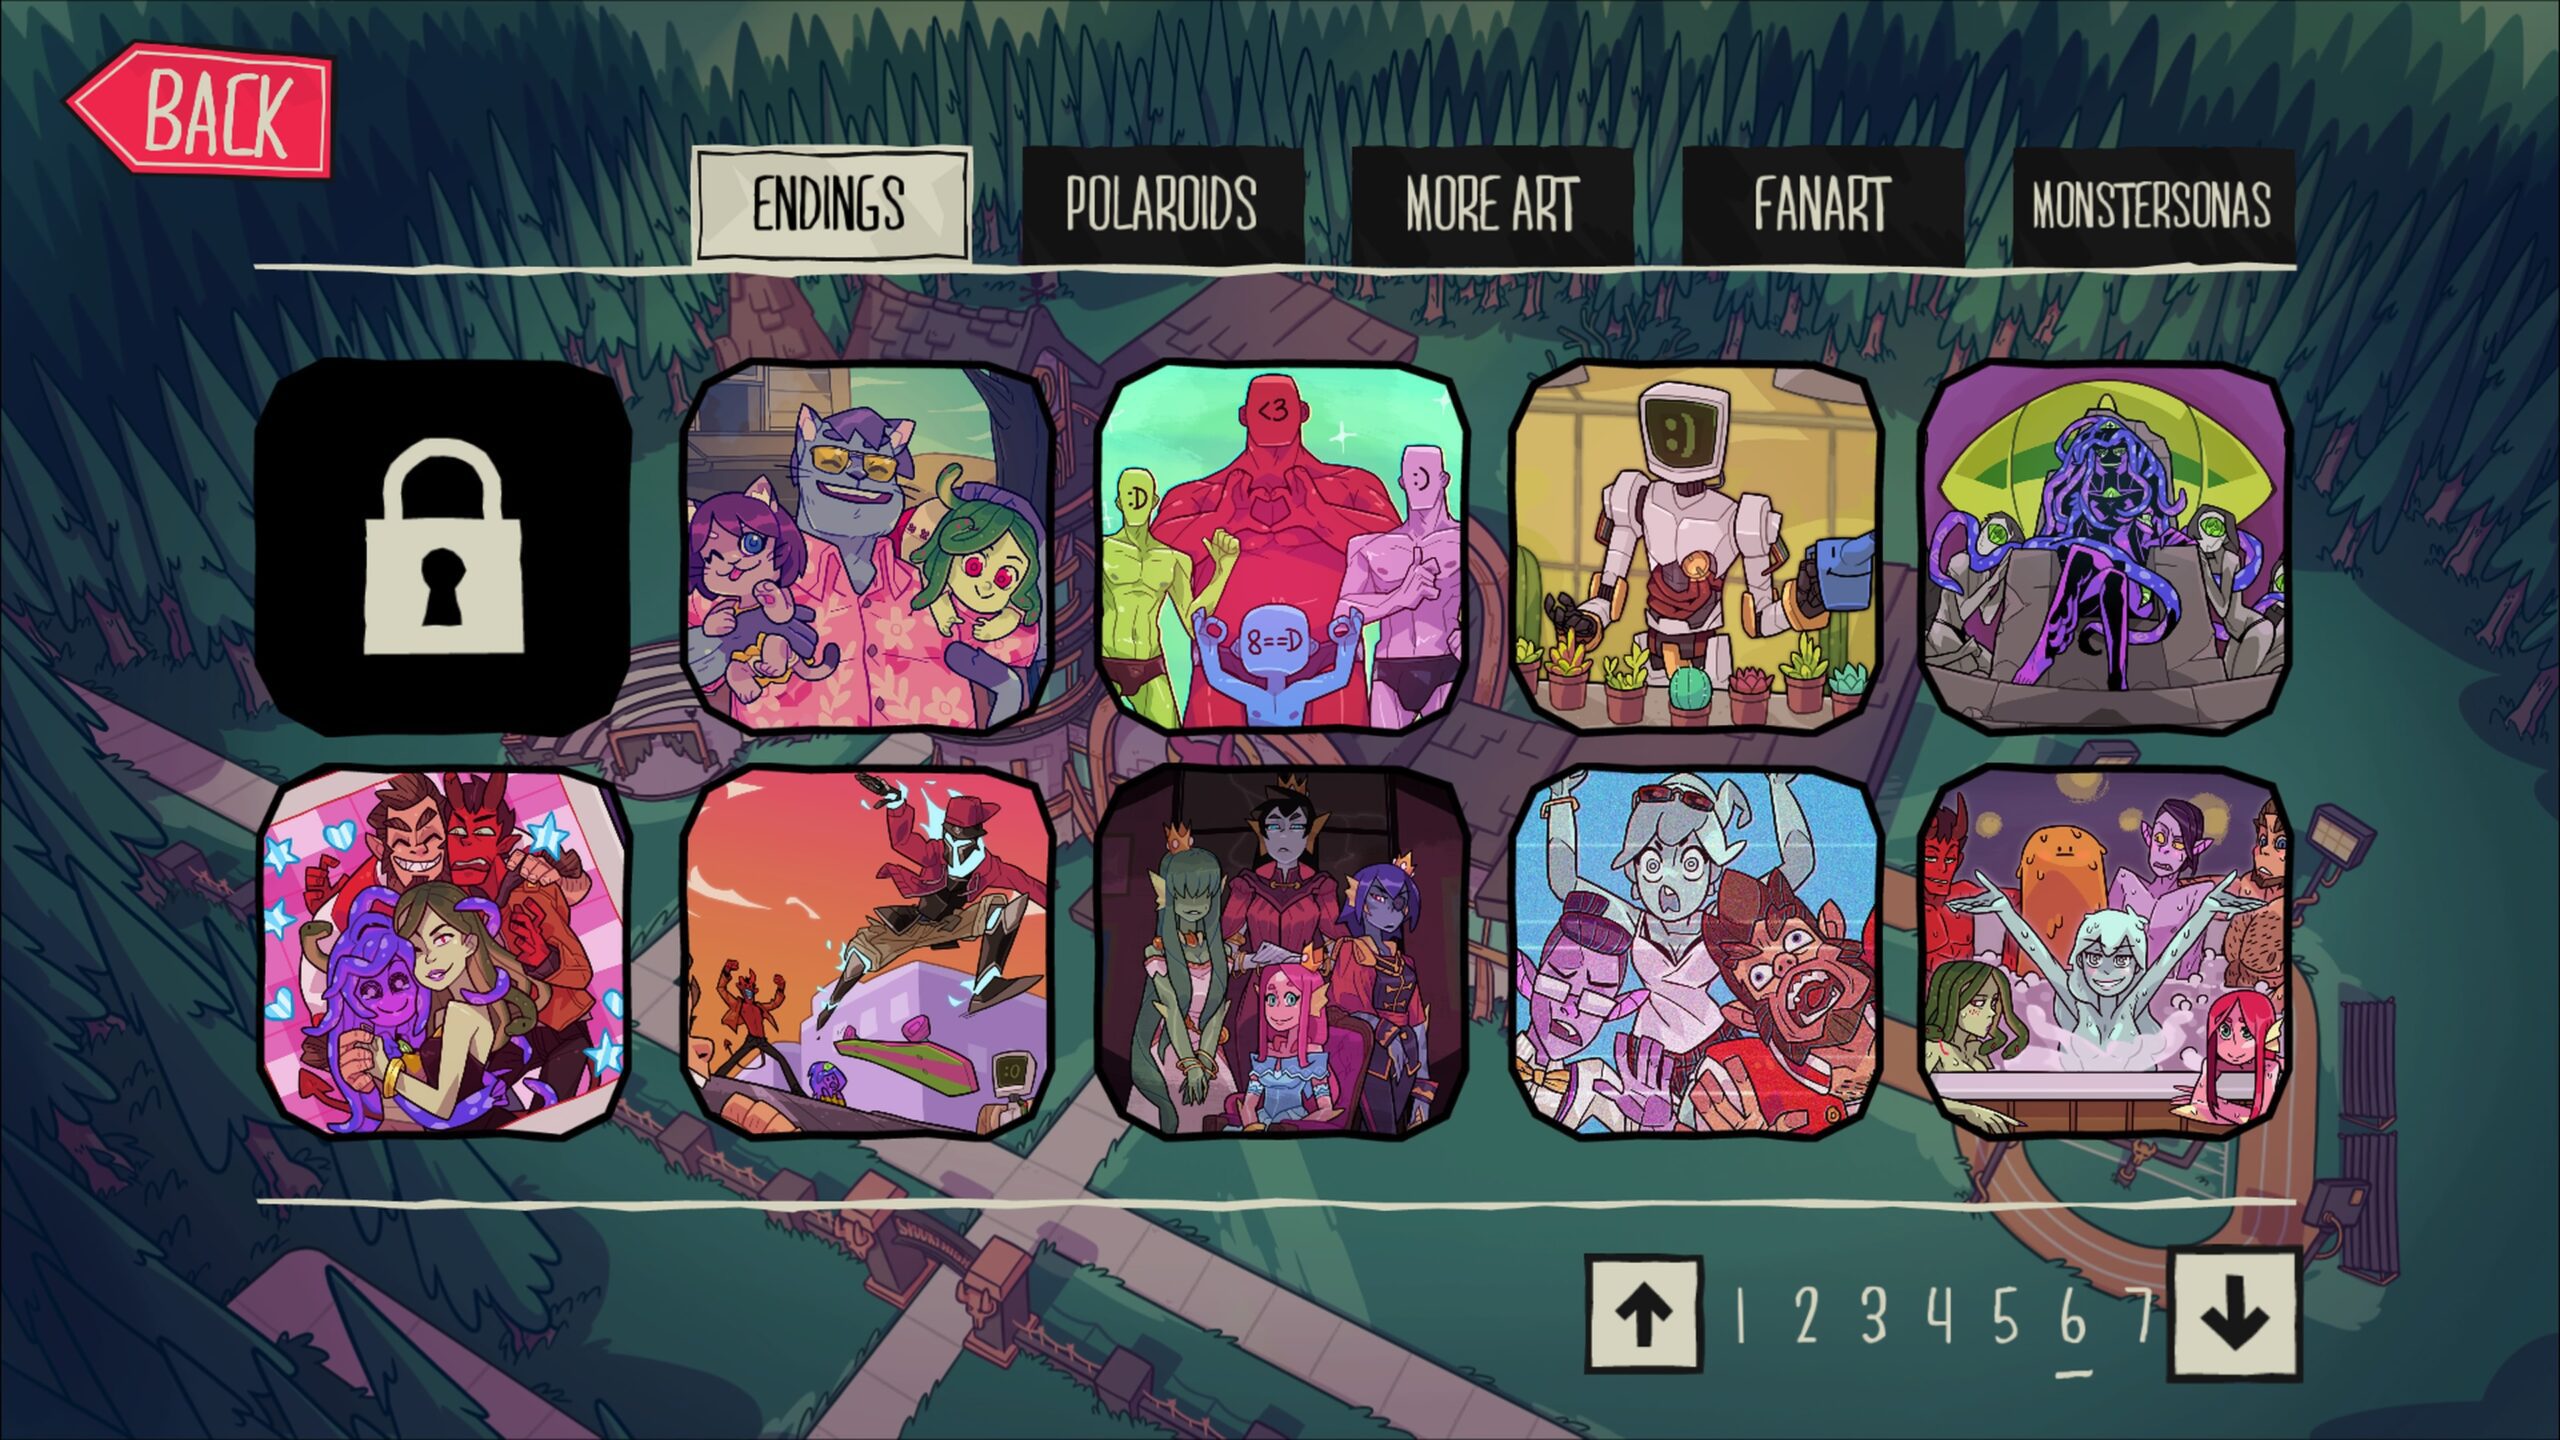
The “Endings Checklist” tab will help you keep track of which endings you have already seen. Note that several endings were not included in the PlayStation release of the game, including the Locket and Support Group endings. Additionally, the Coke ending was replaced with the Cage ending.
This sheet is automatically calculated based on your entries in the “All Events” tab. At a glance, you can quickly see whether you’ve completed a secret ending or have all its outcomes. Keep in mind that you still need to follow through with asking the appropriate character to prom at the end of a run!
Not on PS4 Tab
Finally, we have the “Not on PS4” tab. These are events that I did not personally encounter while going for the platinum trophy, that otherwise were included in Steam guides for the PC release. You will NOT need to see these events to get the trophies. They are included here only for clarity.
The Second Term version of the spreadsheet is the same as the base game, but it does not have a “Not on PS4” tab.
Tips & Tricks
- The shop. Familiarize yourself with what the shop items do to your social stats. The most difficult to tank purposefully is probably the SMARTS stat, but you can force it with enough MONEY.
- In a pinch, the “Used Tampon” will give you -2 SMARTS and -2 CHARM.
- The “Penguin Mask” will also severely decrease SMARTS.
- Each stat also has a related item in the store to boost the stat by +5. For example, “A Motivational Poster” boosts CREATIVITY, and the “Fake Tattoo” boosts BOLDNESS.
- The “Gift That Keeps on Giving” can also give you various stat-boosting and tanking effects. I recommend getting this item at the start of every new game and adjusting your planned route based on what you receive. This is especially relevant if you still need outcomes from endings that are only obtainable from the box.
- Early SMARTS checks. There are only two ways to fail SMARTS checks on pick love interest events. You must either: 1) fail the first day’s event and hope you get <5 SMARTS or 2) get the “Gift That Keeps on Giving” during the first lunch event with a negative SMARTS effect and hope you get the event you need the following day. It is extremely difficult to get these outcomes, so anytime you end up with <5 SMARTS after the first turn in your run, try to get one of these out of the way.
- Get comfortable with button mashing. You will likely go through a lot of repeat dialogues trying to trigger the ones you want. I found that alternating X + O made dialogue advance much faster than just mashing X.
- Do both single-player and multiplayer games. Multiplayer games have weekend events and advice events that do not trigger in single-player. Also, for location-specific events, choosing 4-player games can help boost your odds of getting the events you want.
- You only need 1 controller and can do the entire game solo.
- For example, if you need a bathroom event with Damien, have every single player character pursue him so that you can gradually lessen the pool of events. This will increase the likelihood of getting the bathroom-specific event to trigger.
- Wasting turns. If you are nearing the end of your platinum journey and only need very specific things like date or lunch events, you should consider going to the store to waste time. It is much faster than having to mash through events.
- At the shop, buy the “Gift That Keeps on Giving,” the “Used Tampon,” and any other stat-boosting items you can afford that don’t affect the stats you need.
- You can also enter and exit the store without buying anything up to 3 times before triggering the Valerie ending.
- Combining these purchases with quick in-and-out trips can help you skip 3-6 turns easily and finish runs much more quickly.
- The Wilkinson ending. The hardest outcome for the author to obtain was during Polly’s Wilkinson ending. You have to pass a MONEY check after purchasing the “Penguin Mask” at the shop. In a single-player long-term game, +32 MONEY was not enough to pass. The only way I was able to do it was by relying on the “Gift That Keeps on Giving” to give me a lottery ticket right before getting the event.
- Follow-up events. Get familiar with follow-up events and what you need to trigger them. If you know what event leads to another, you can preemptively get these as you play instead of struggling to trigger them at the end.
- For example, Vera’s legal business events: Make sure to do runs targeting Vera where you go exclusively to the bathroom, and make sure to pass the correct dialogue option.
- Don’t be afraid to reset. If you are nearing the end of the trophy grind and only need a few specific outcomes but are getting bad RNG (not getting the pick love interest event you want, getting a bad item from the “Gift That Keeps on Giving,” not triggering certain endings, etc), then simply hit pause and quit.
- You should especially do so if you get the “Mind-Control Tape” item from the box. This ending is extremely long to mash through and you cannot fail out of it no matter which options you select.
- Try to go to locations where you have the lowest stats. For example, low SMARTS? Go to the classroom. Low BOLDNESS? Go to the bathroom. You want to get outcomes where you need to fail a stat check at a location where that same stat gets boosted. These can be incredibly frustrating to try and get later on.
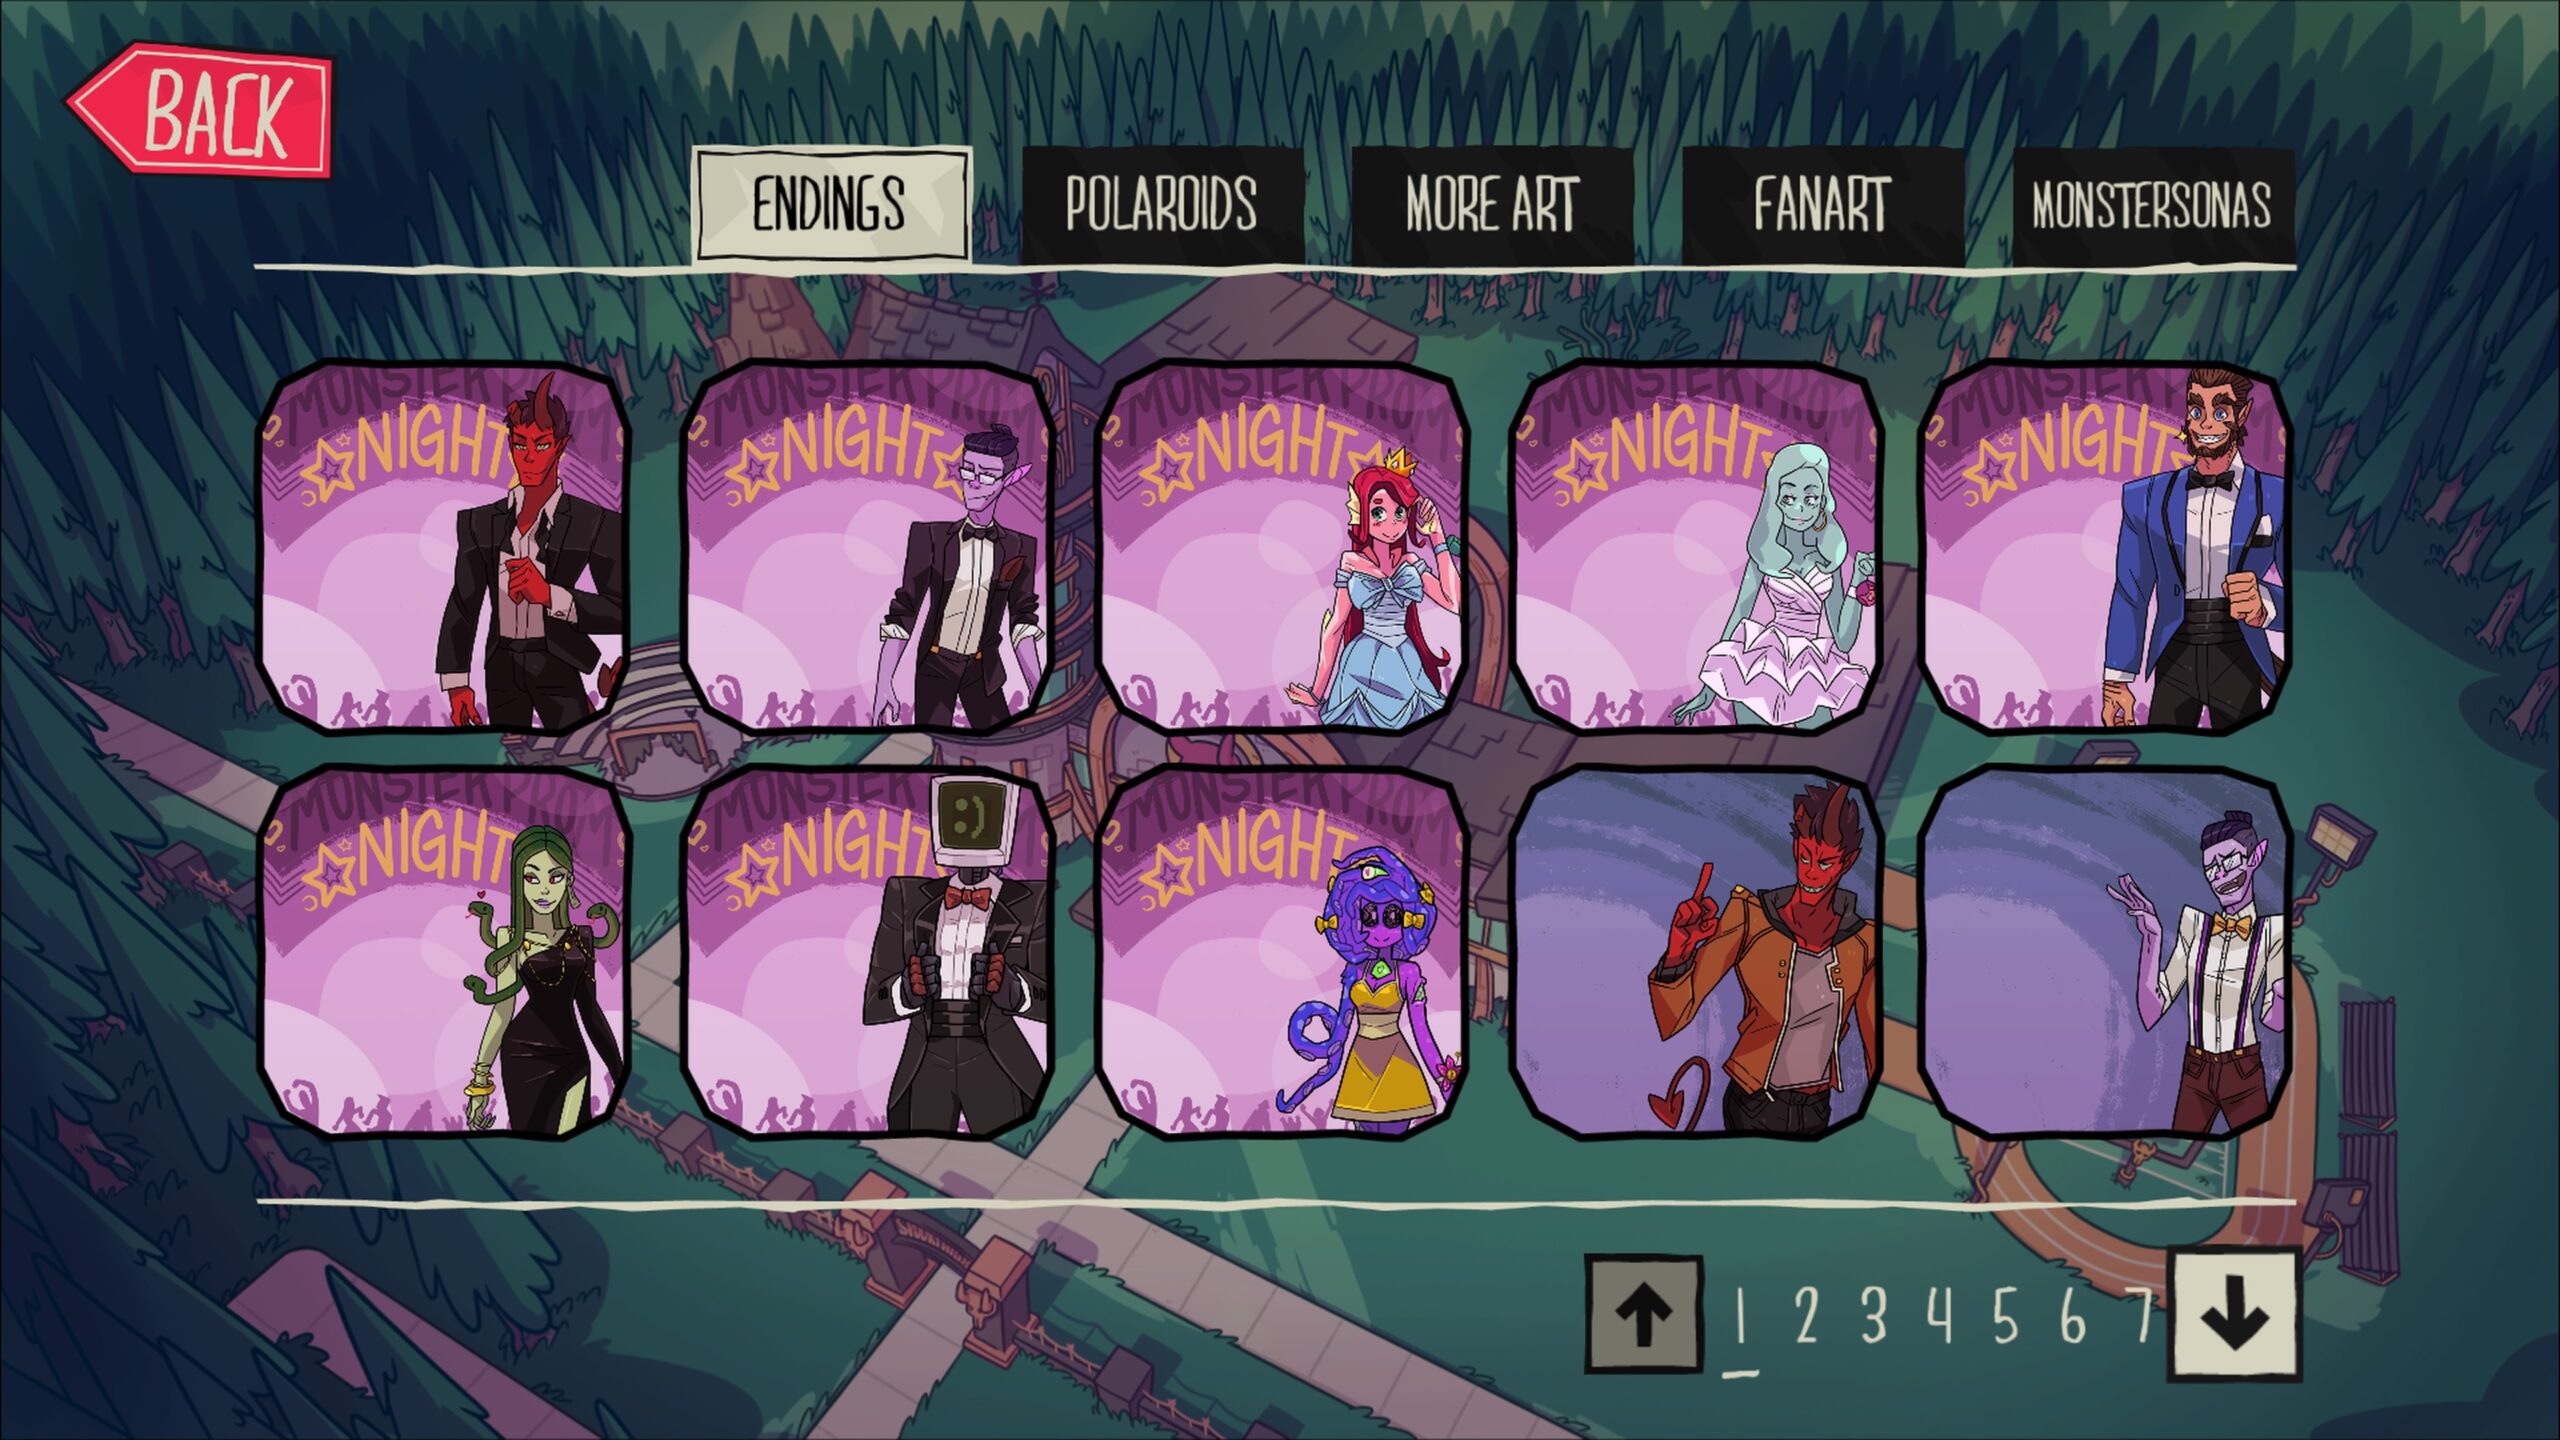
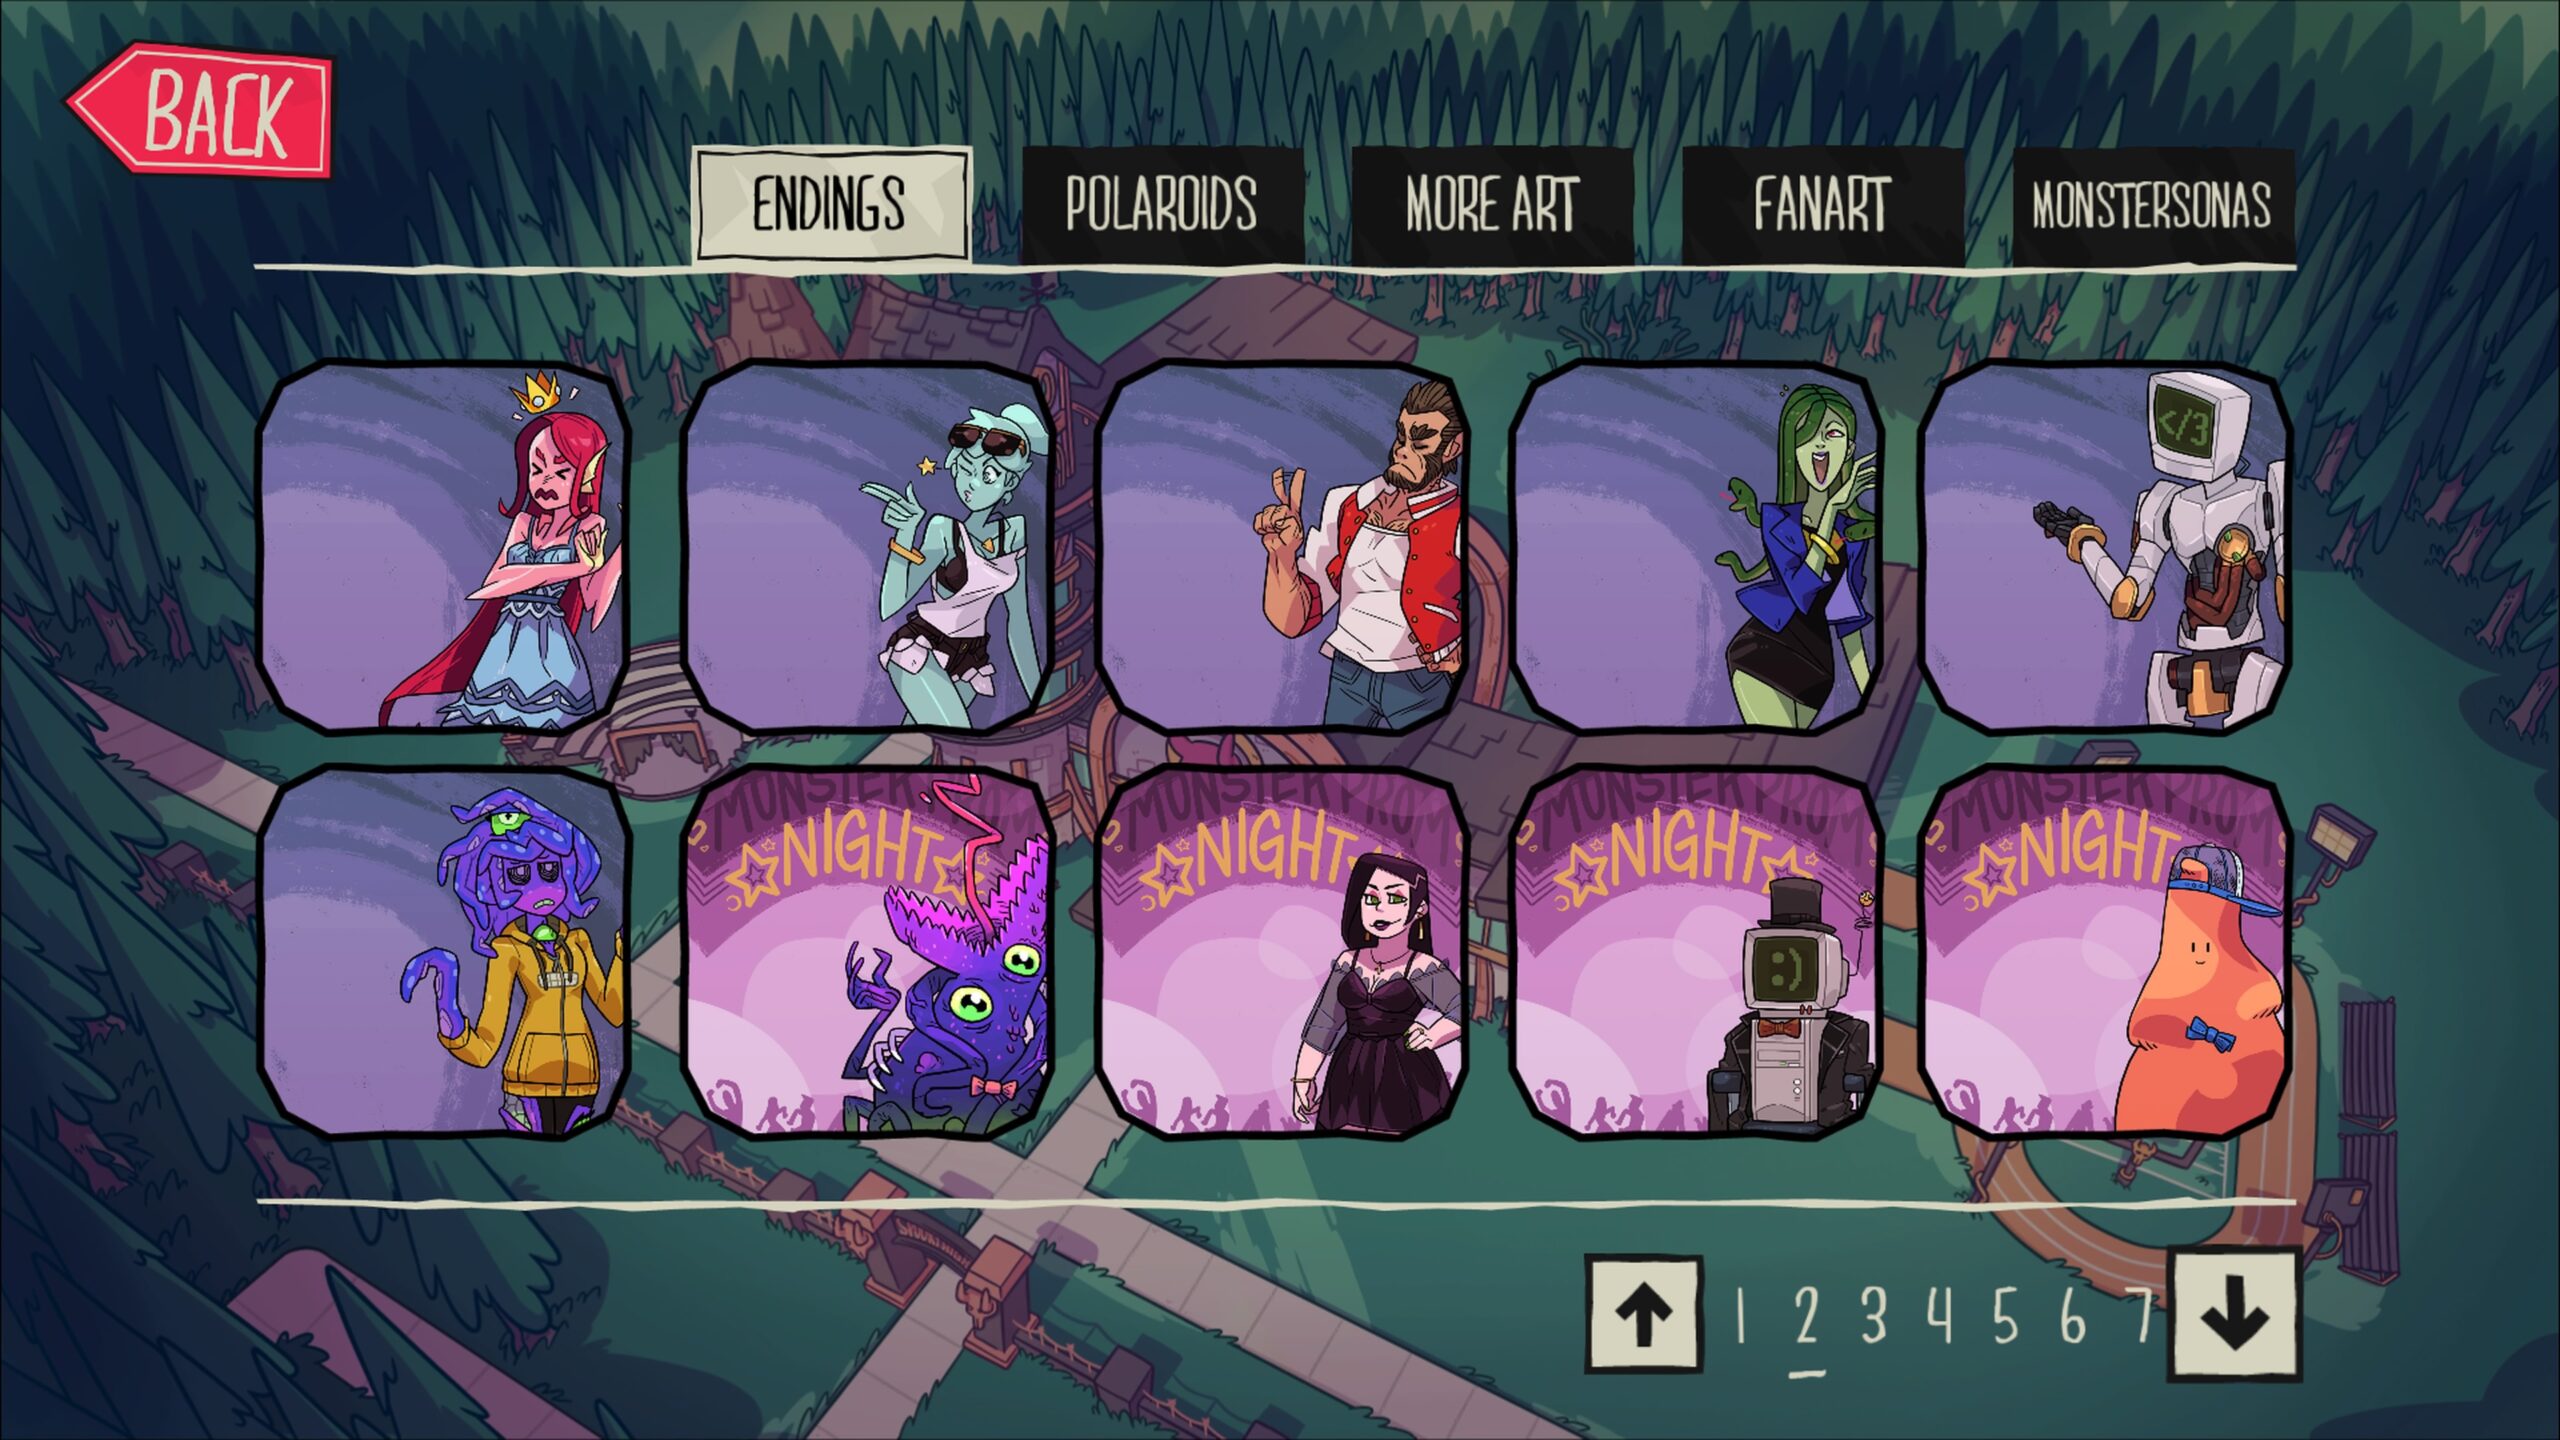
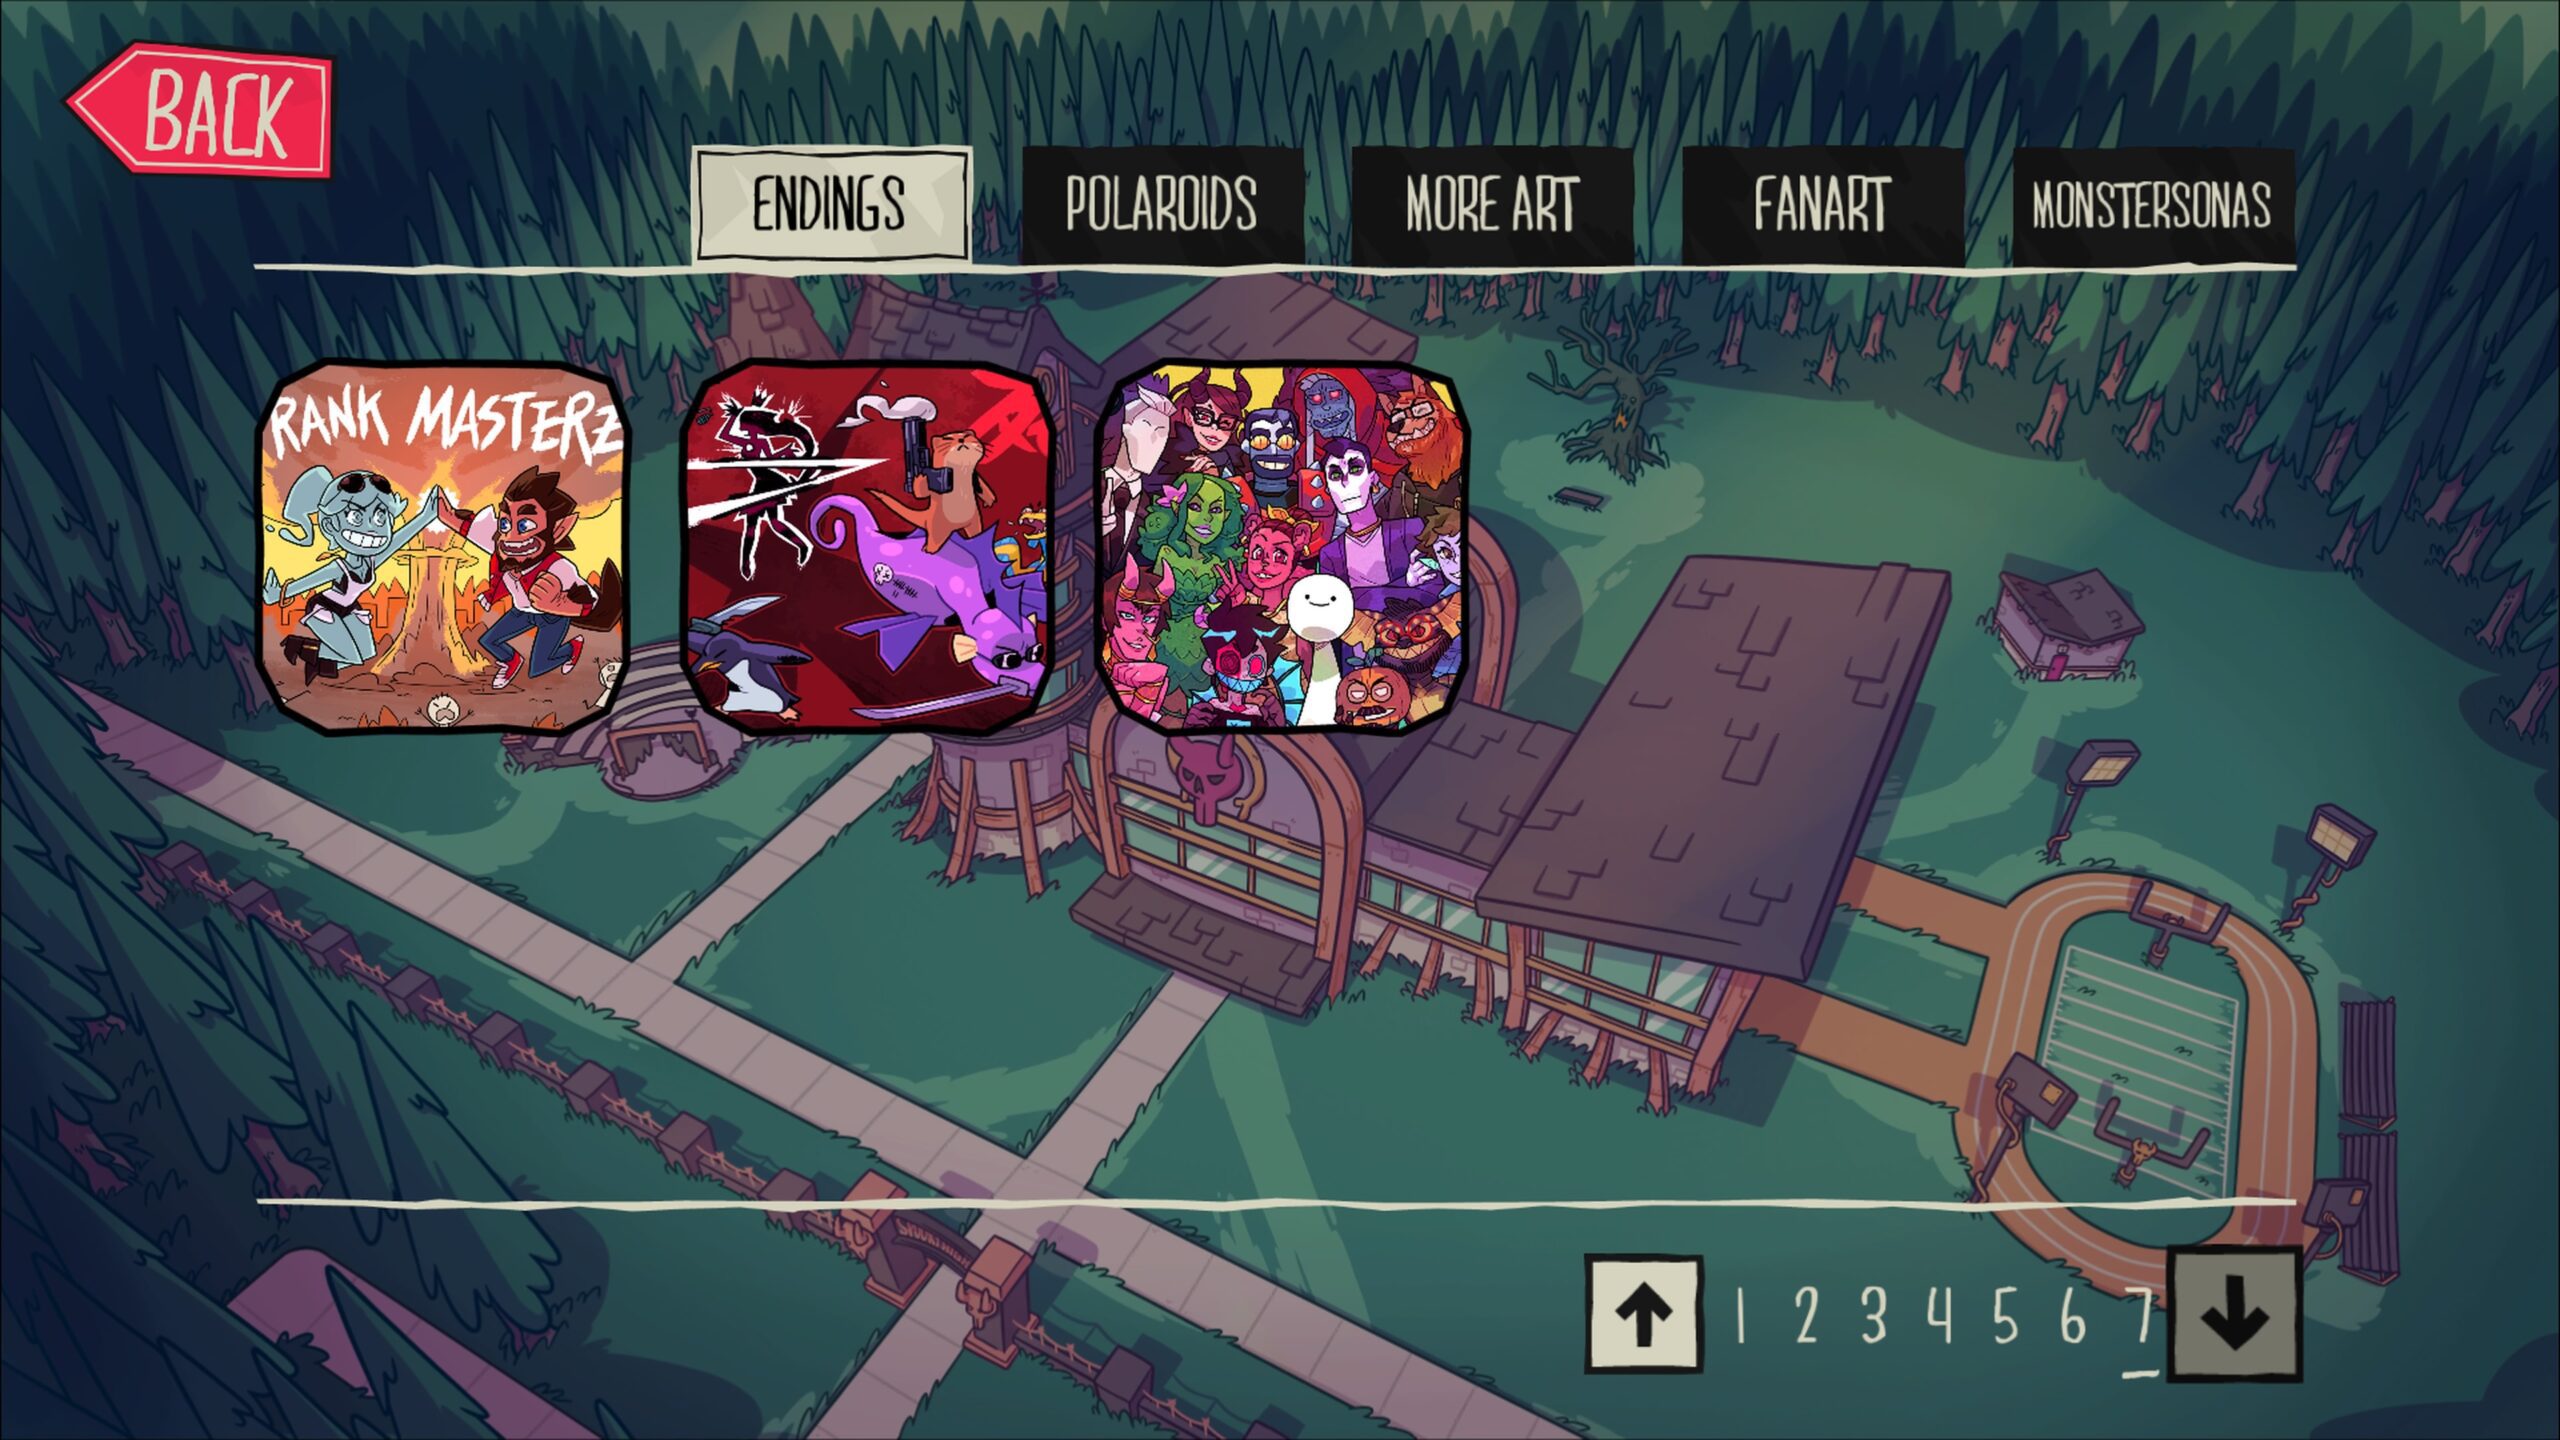
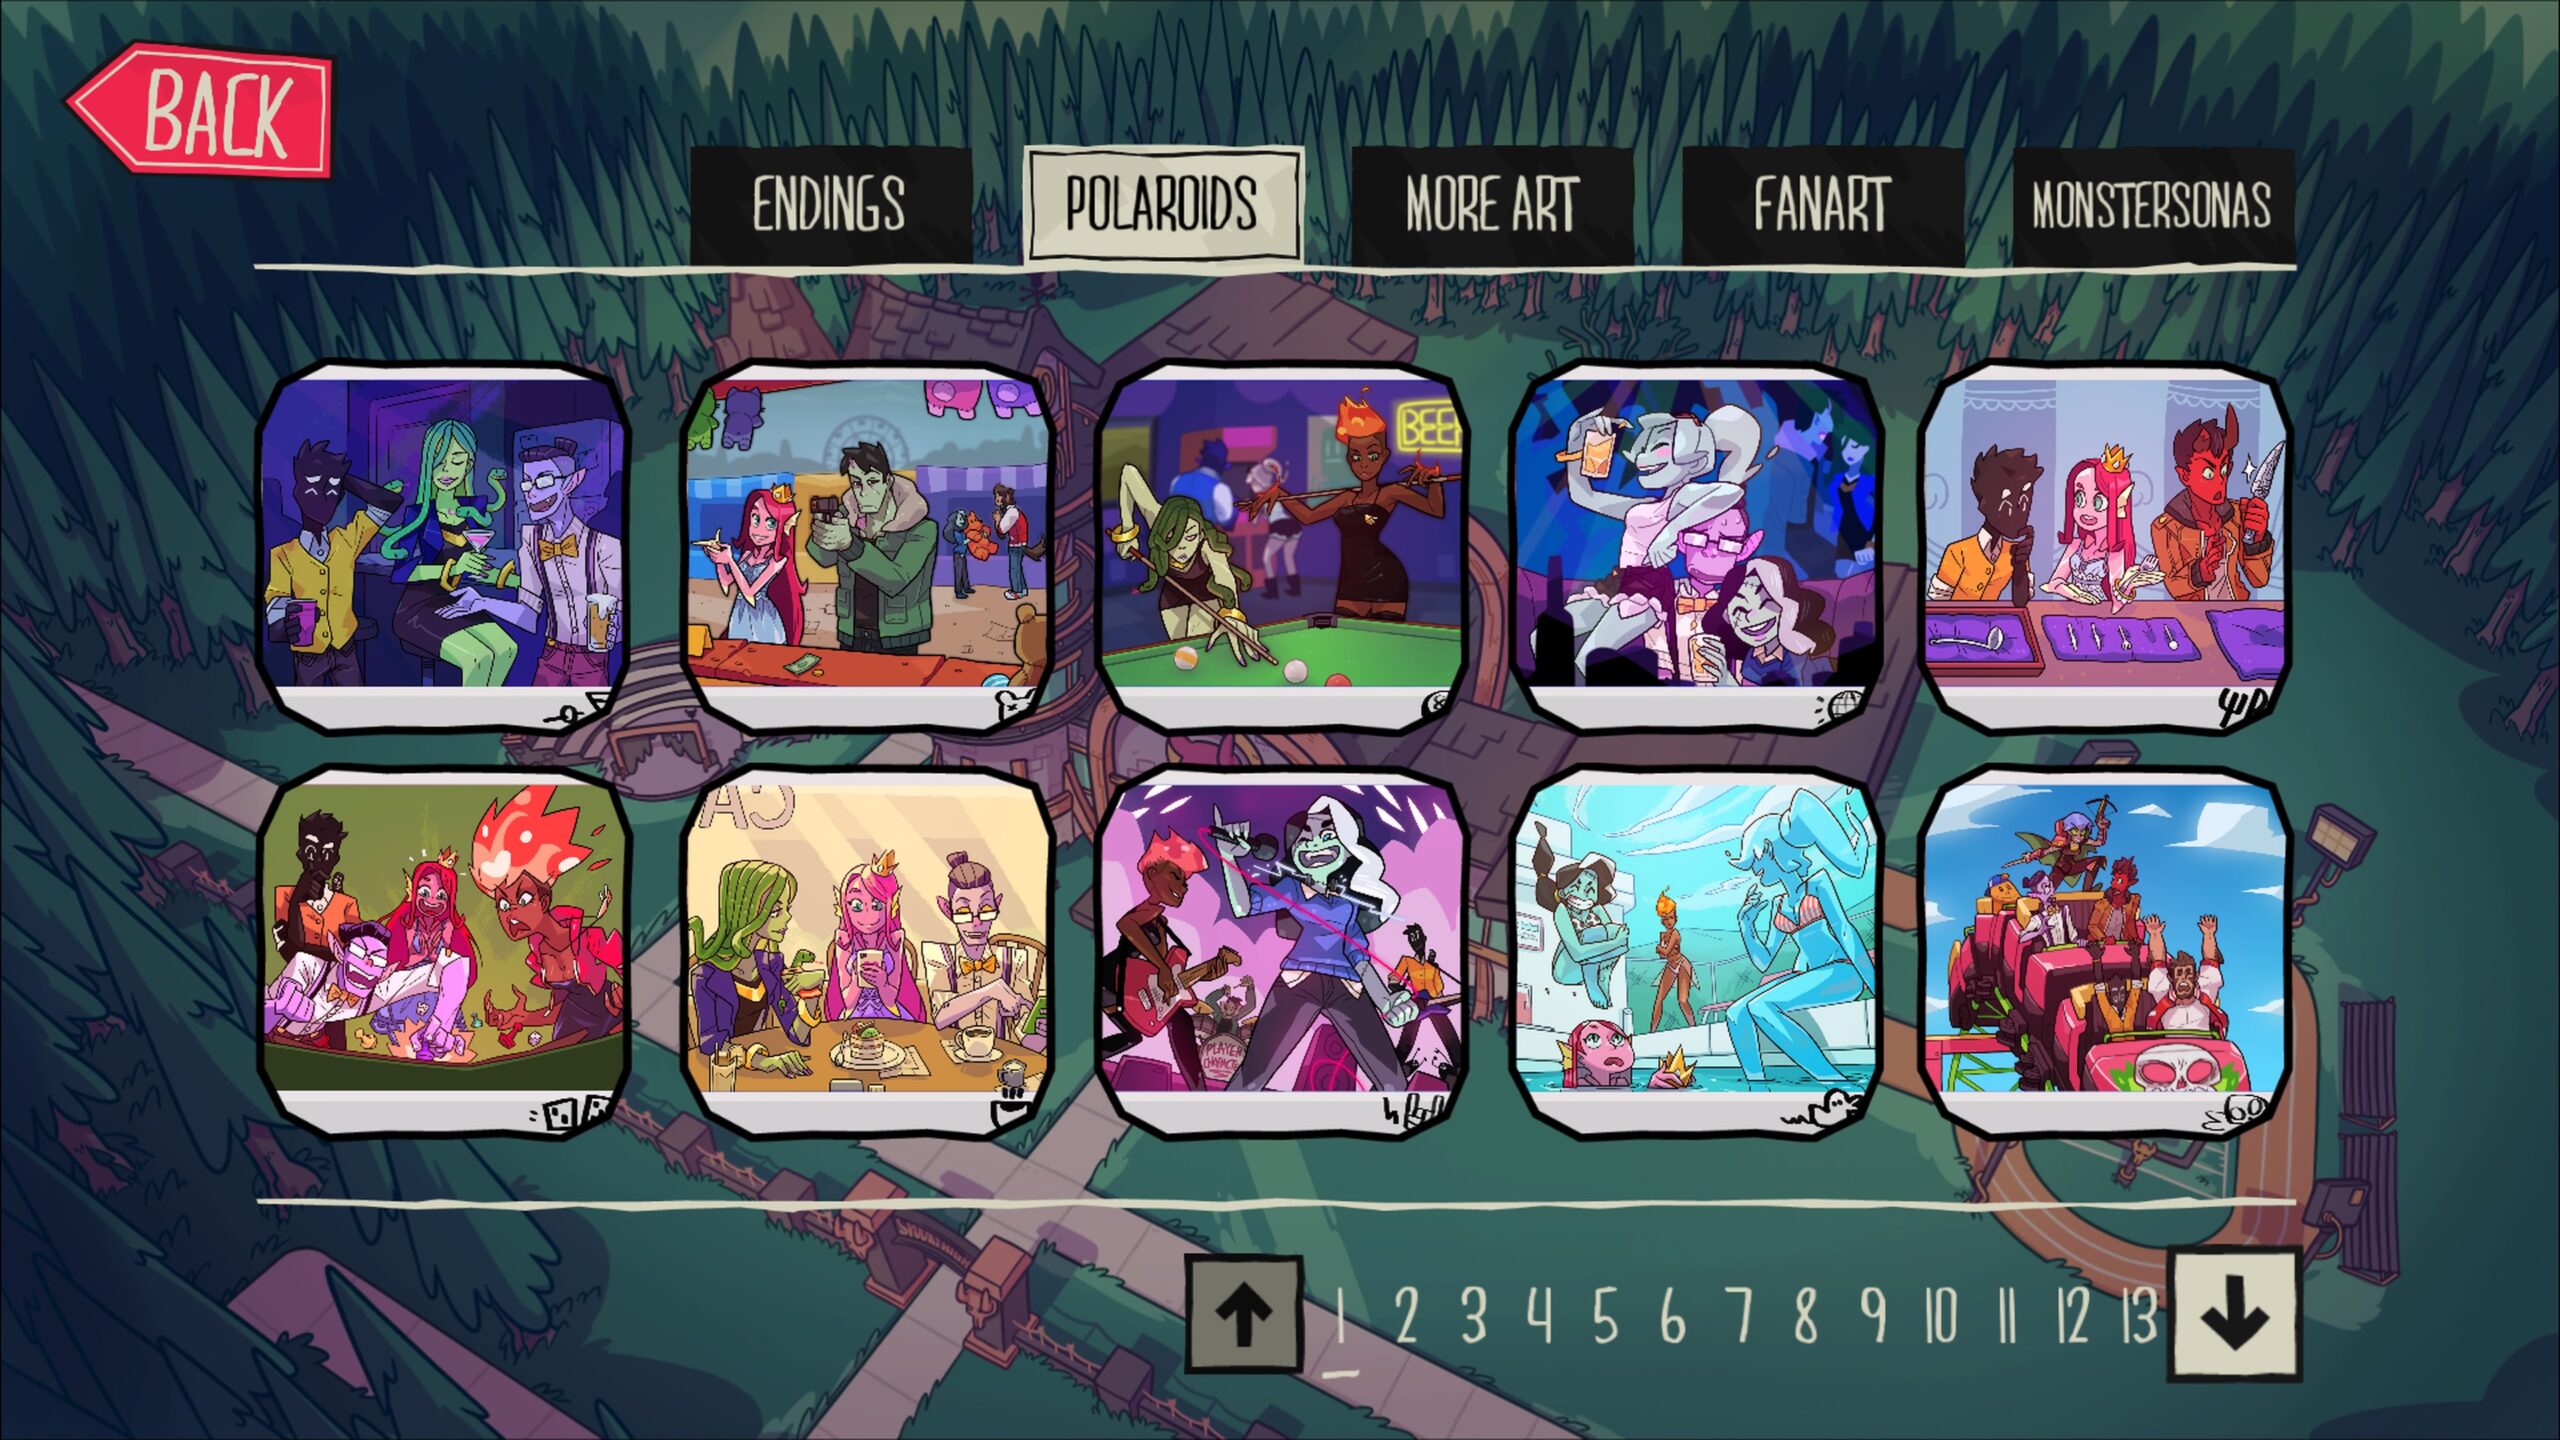
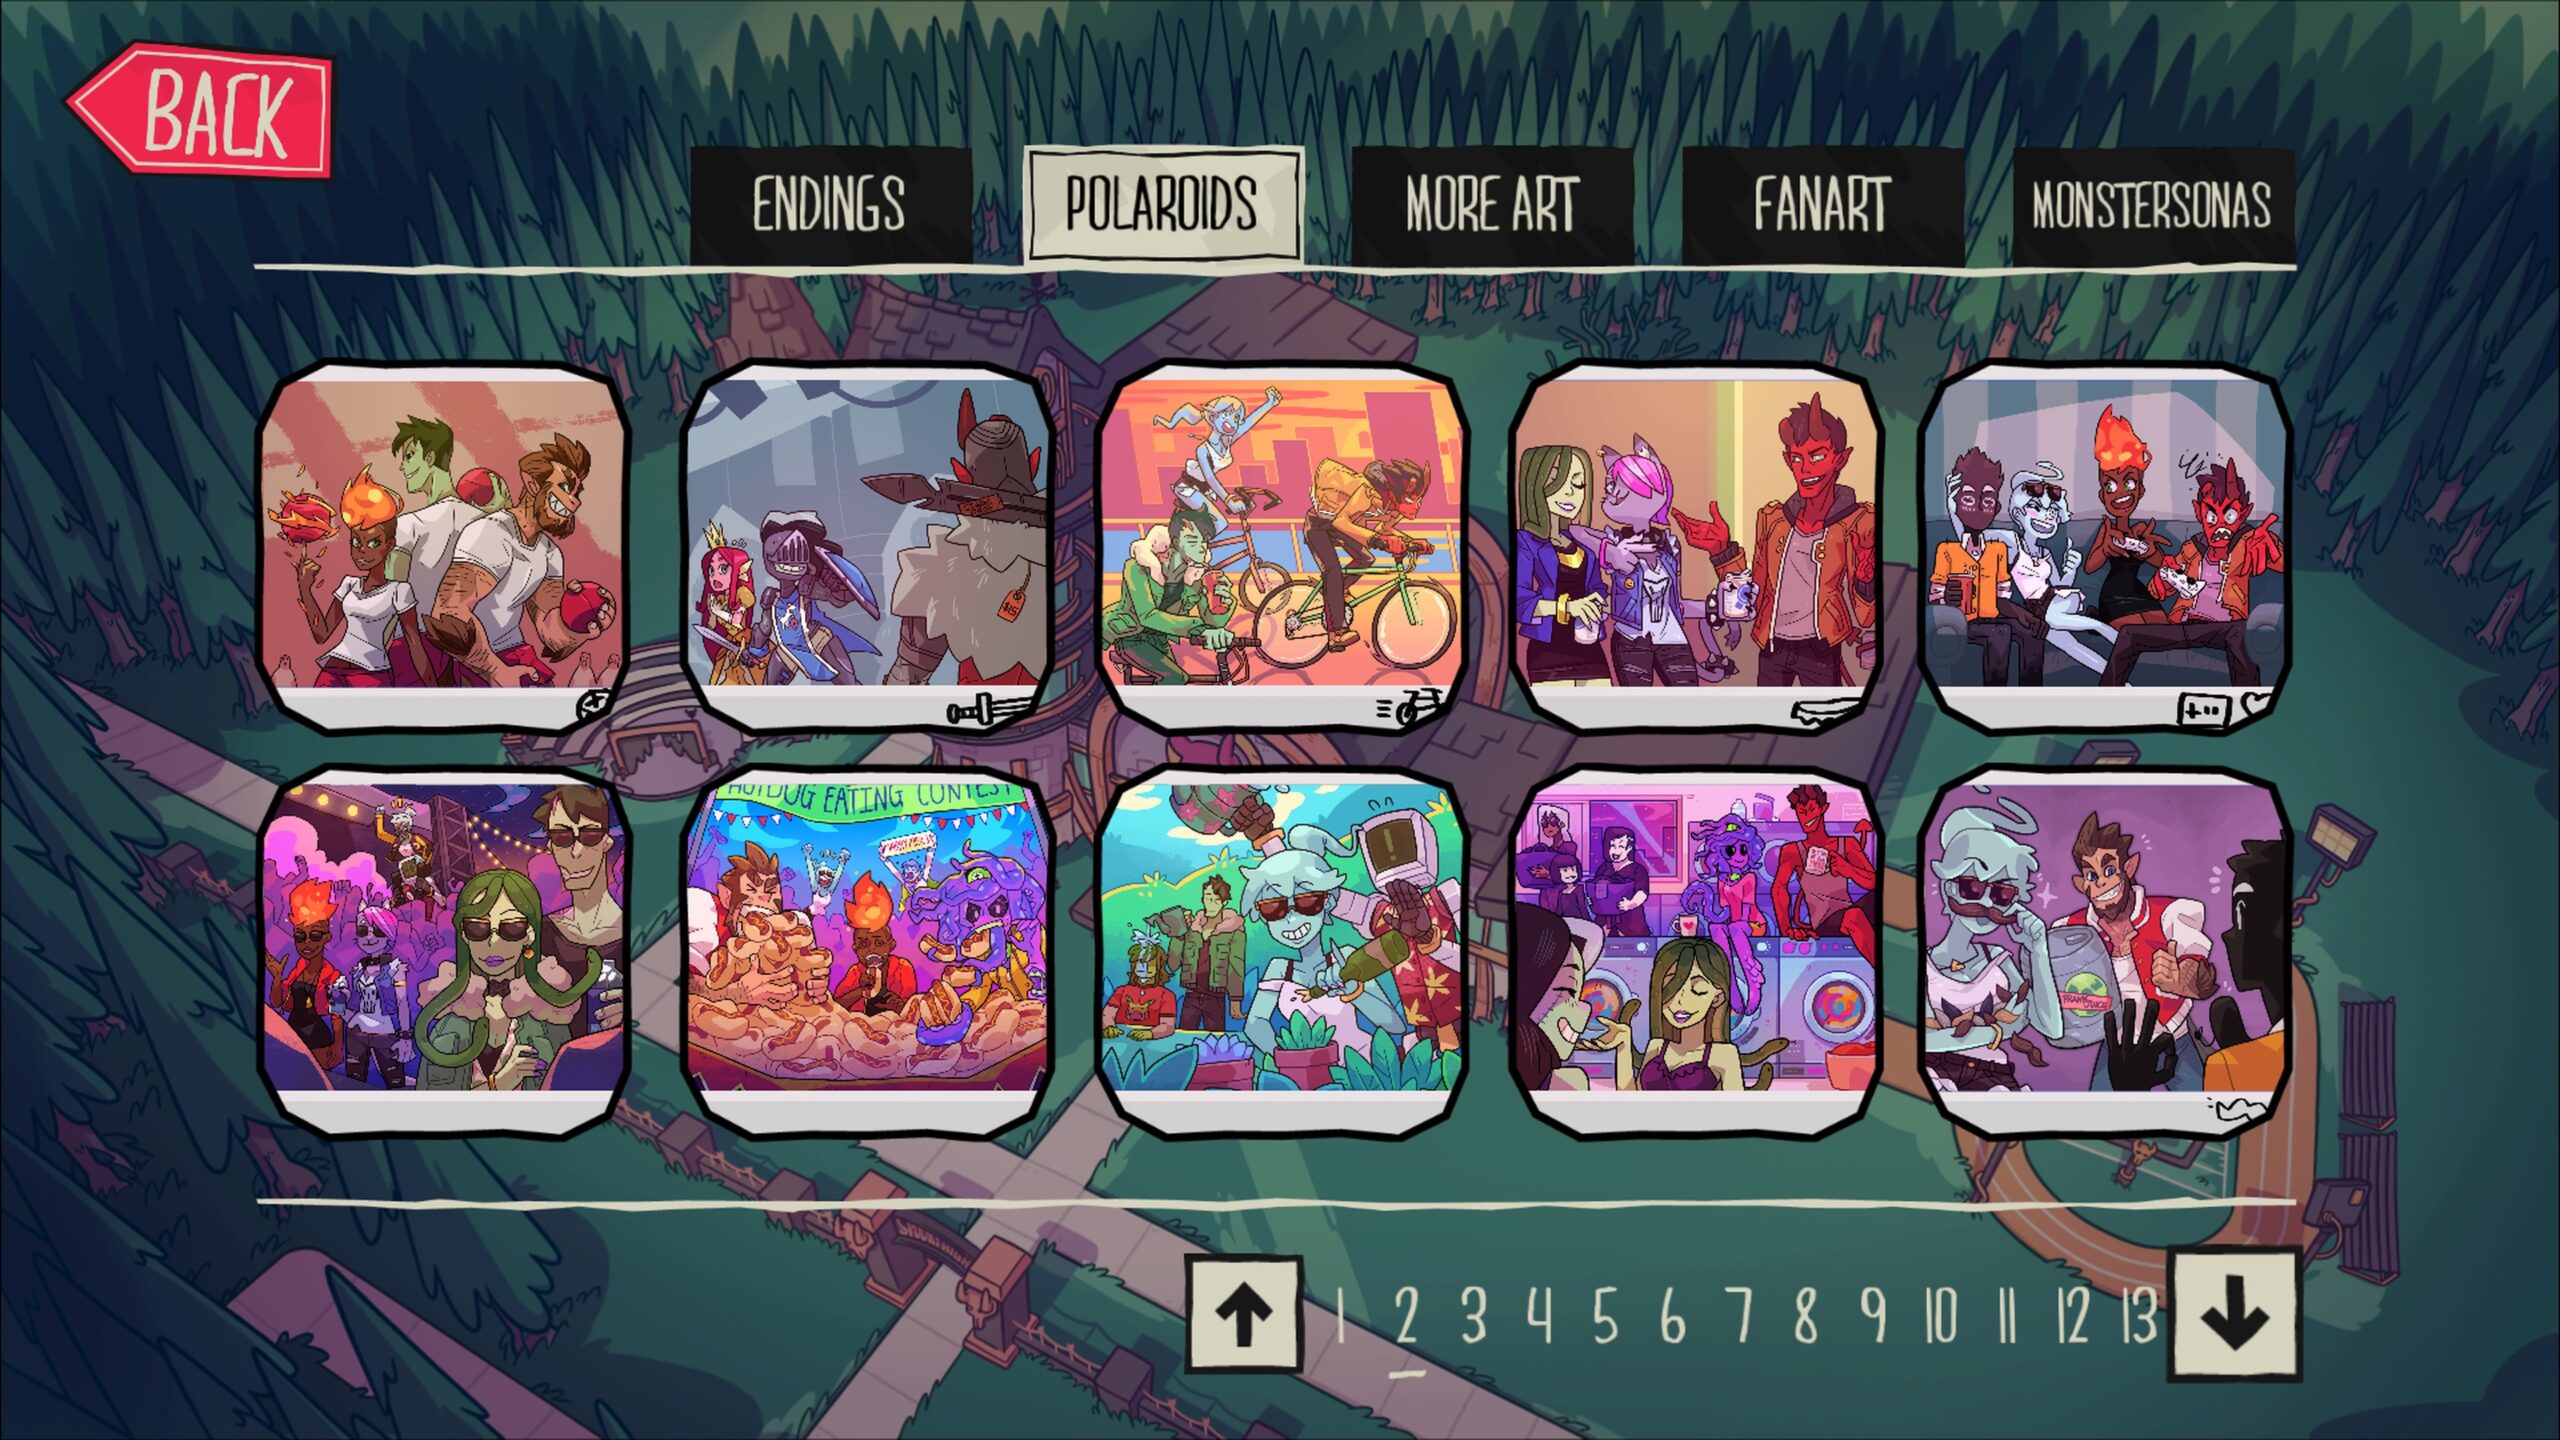
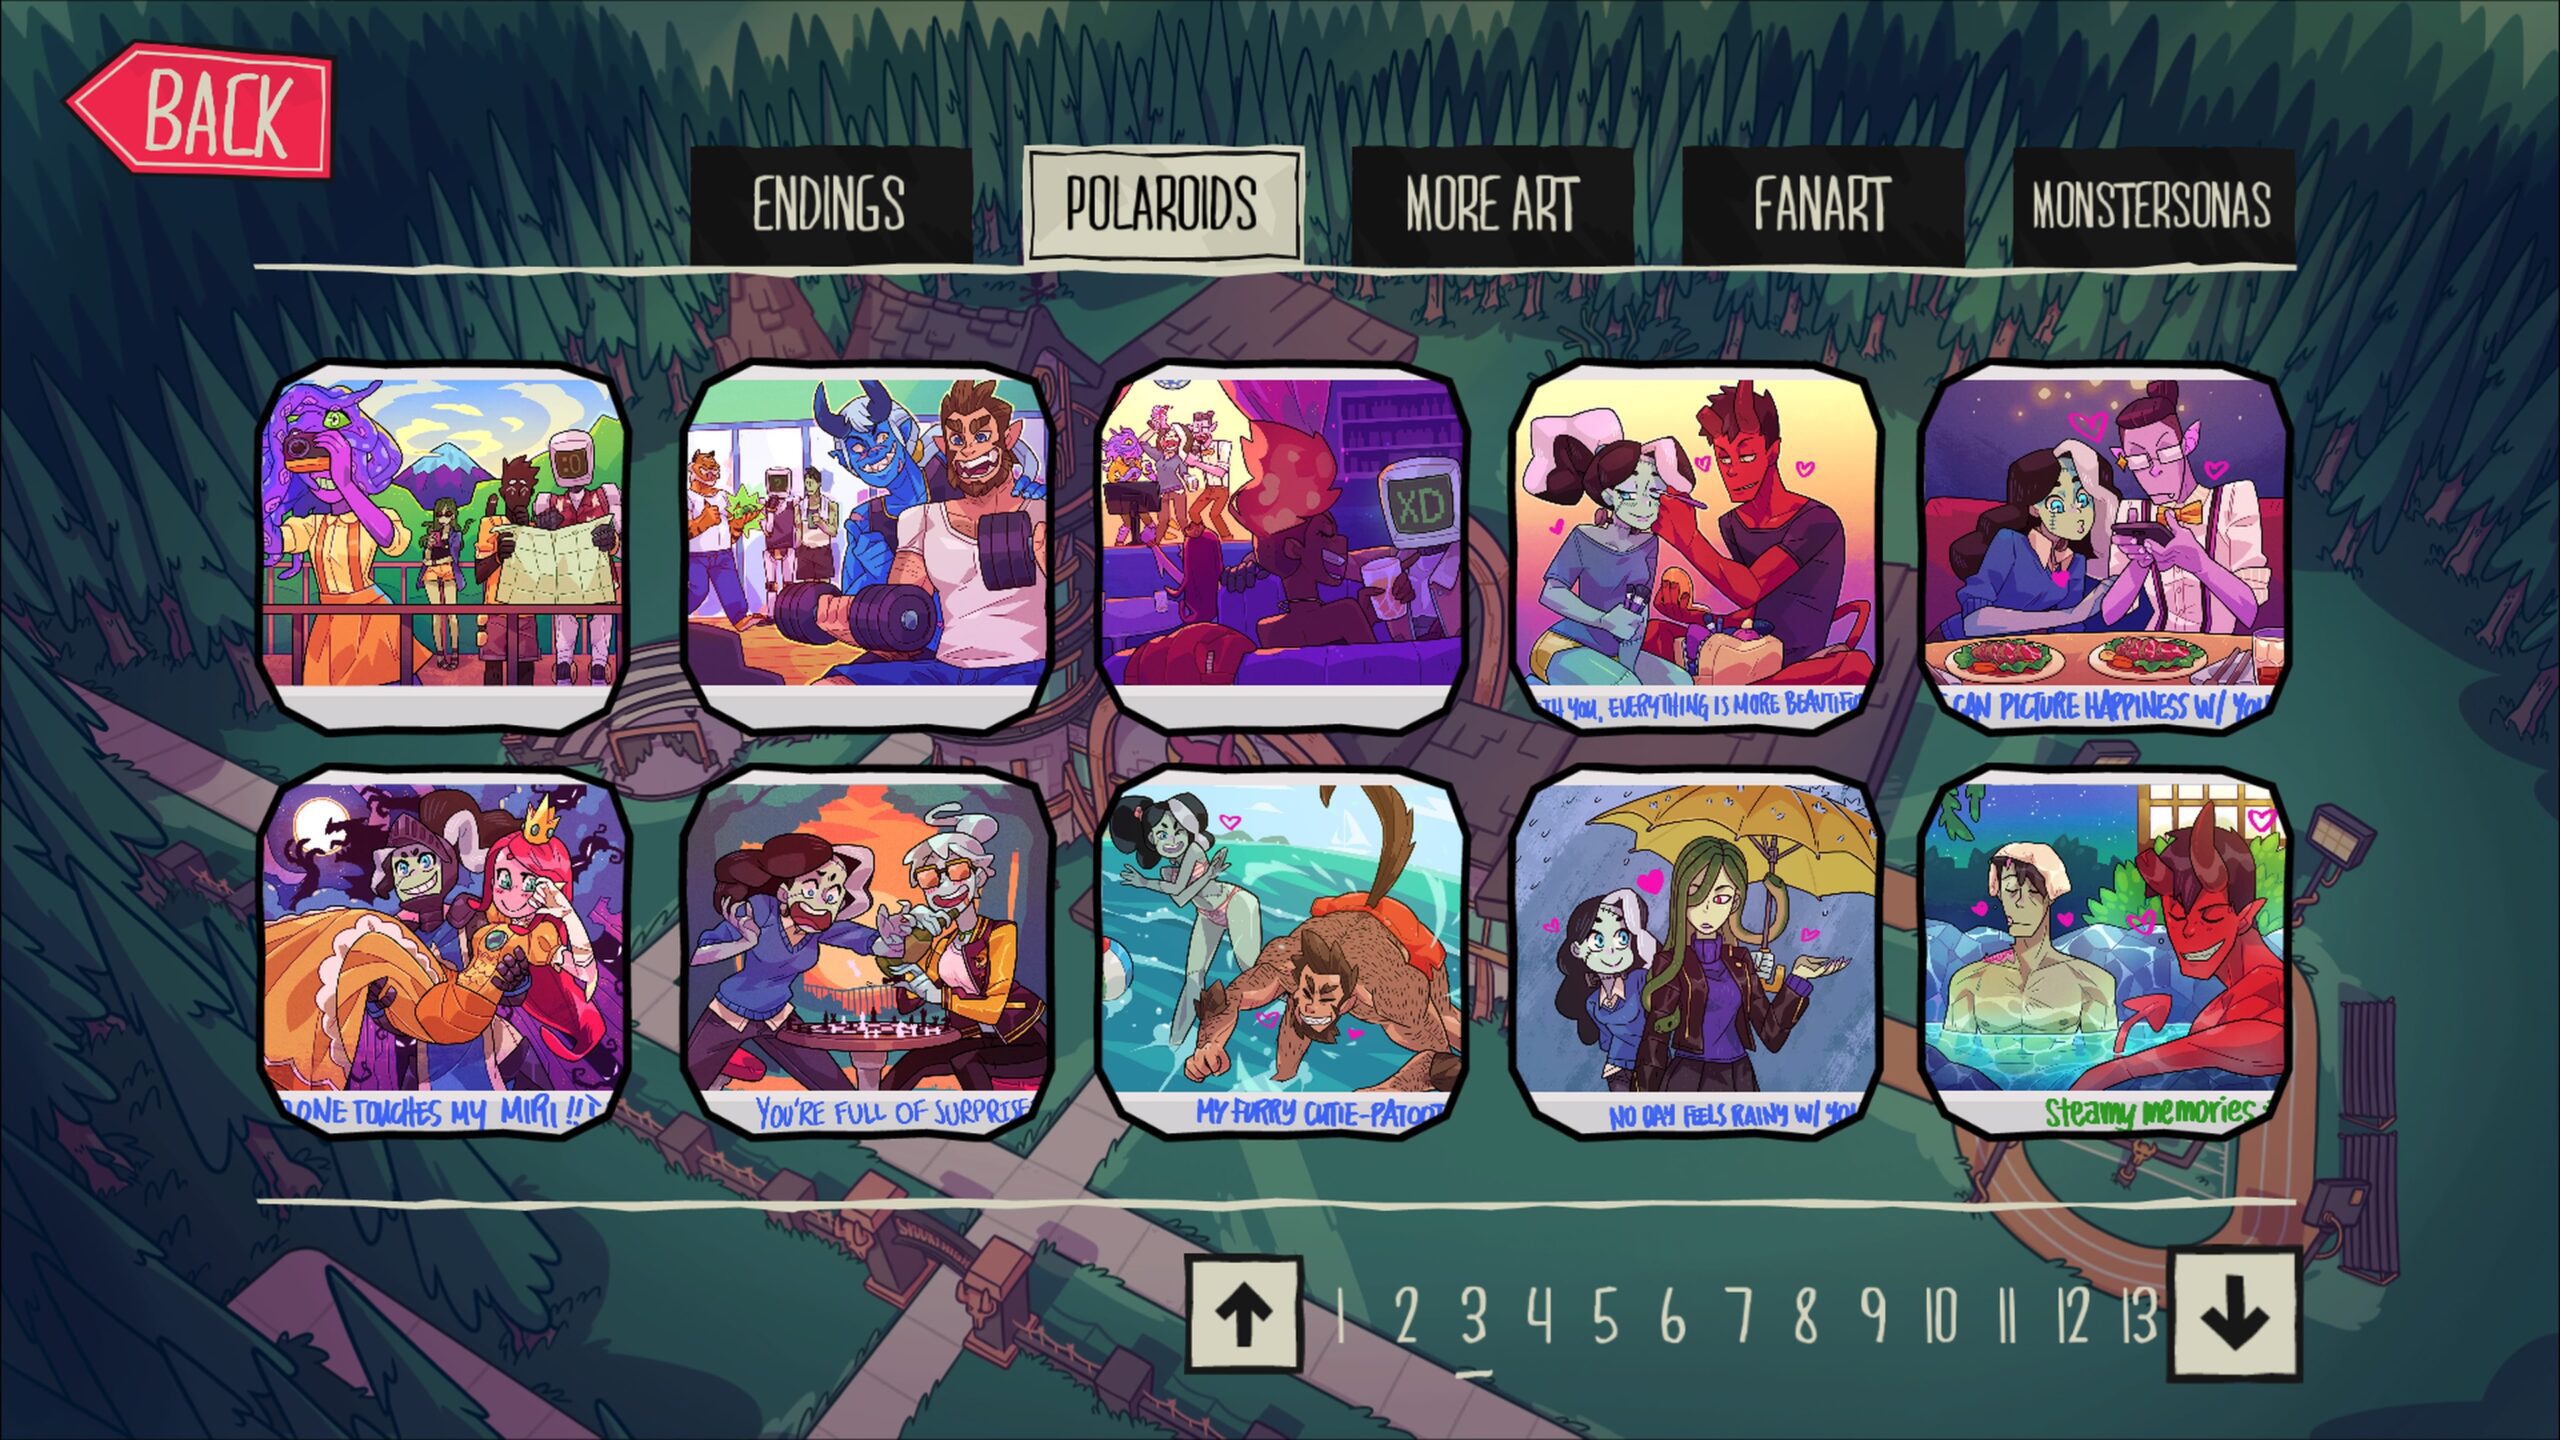
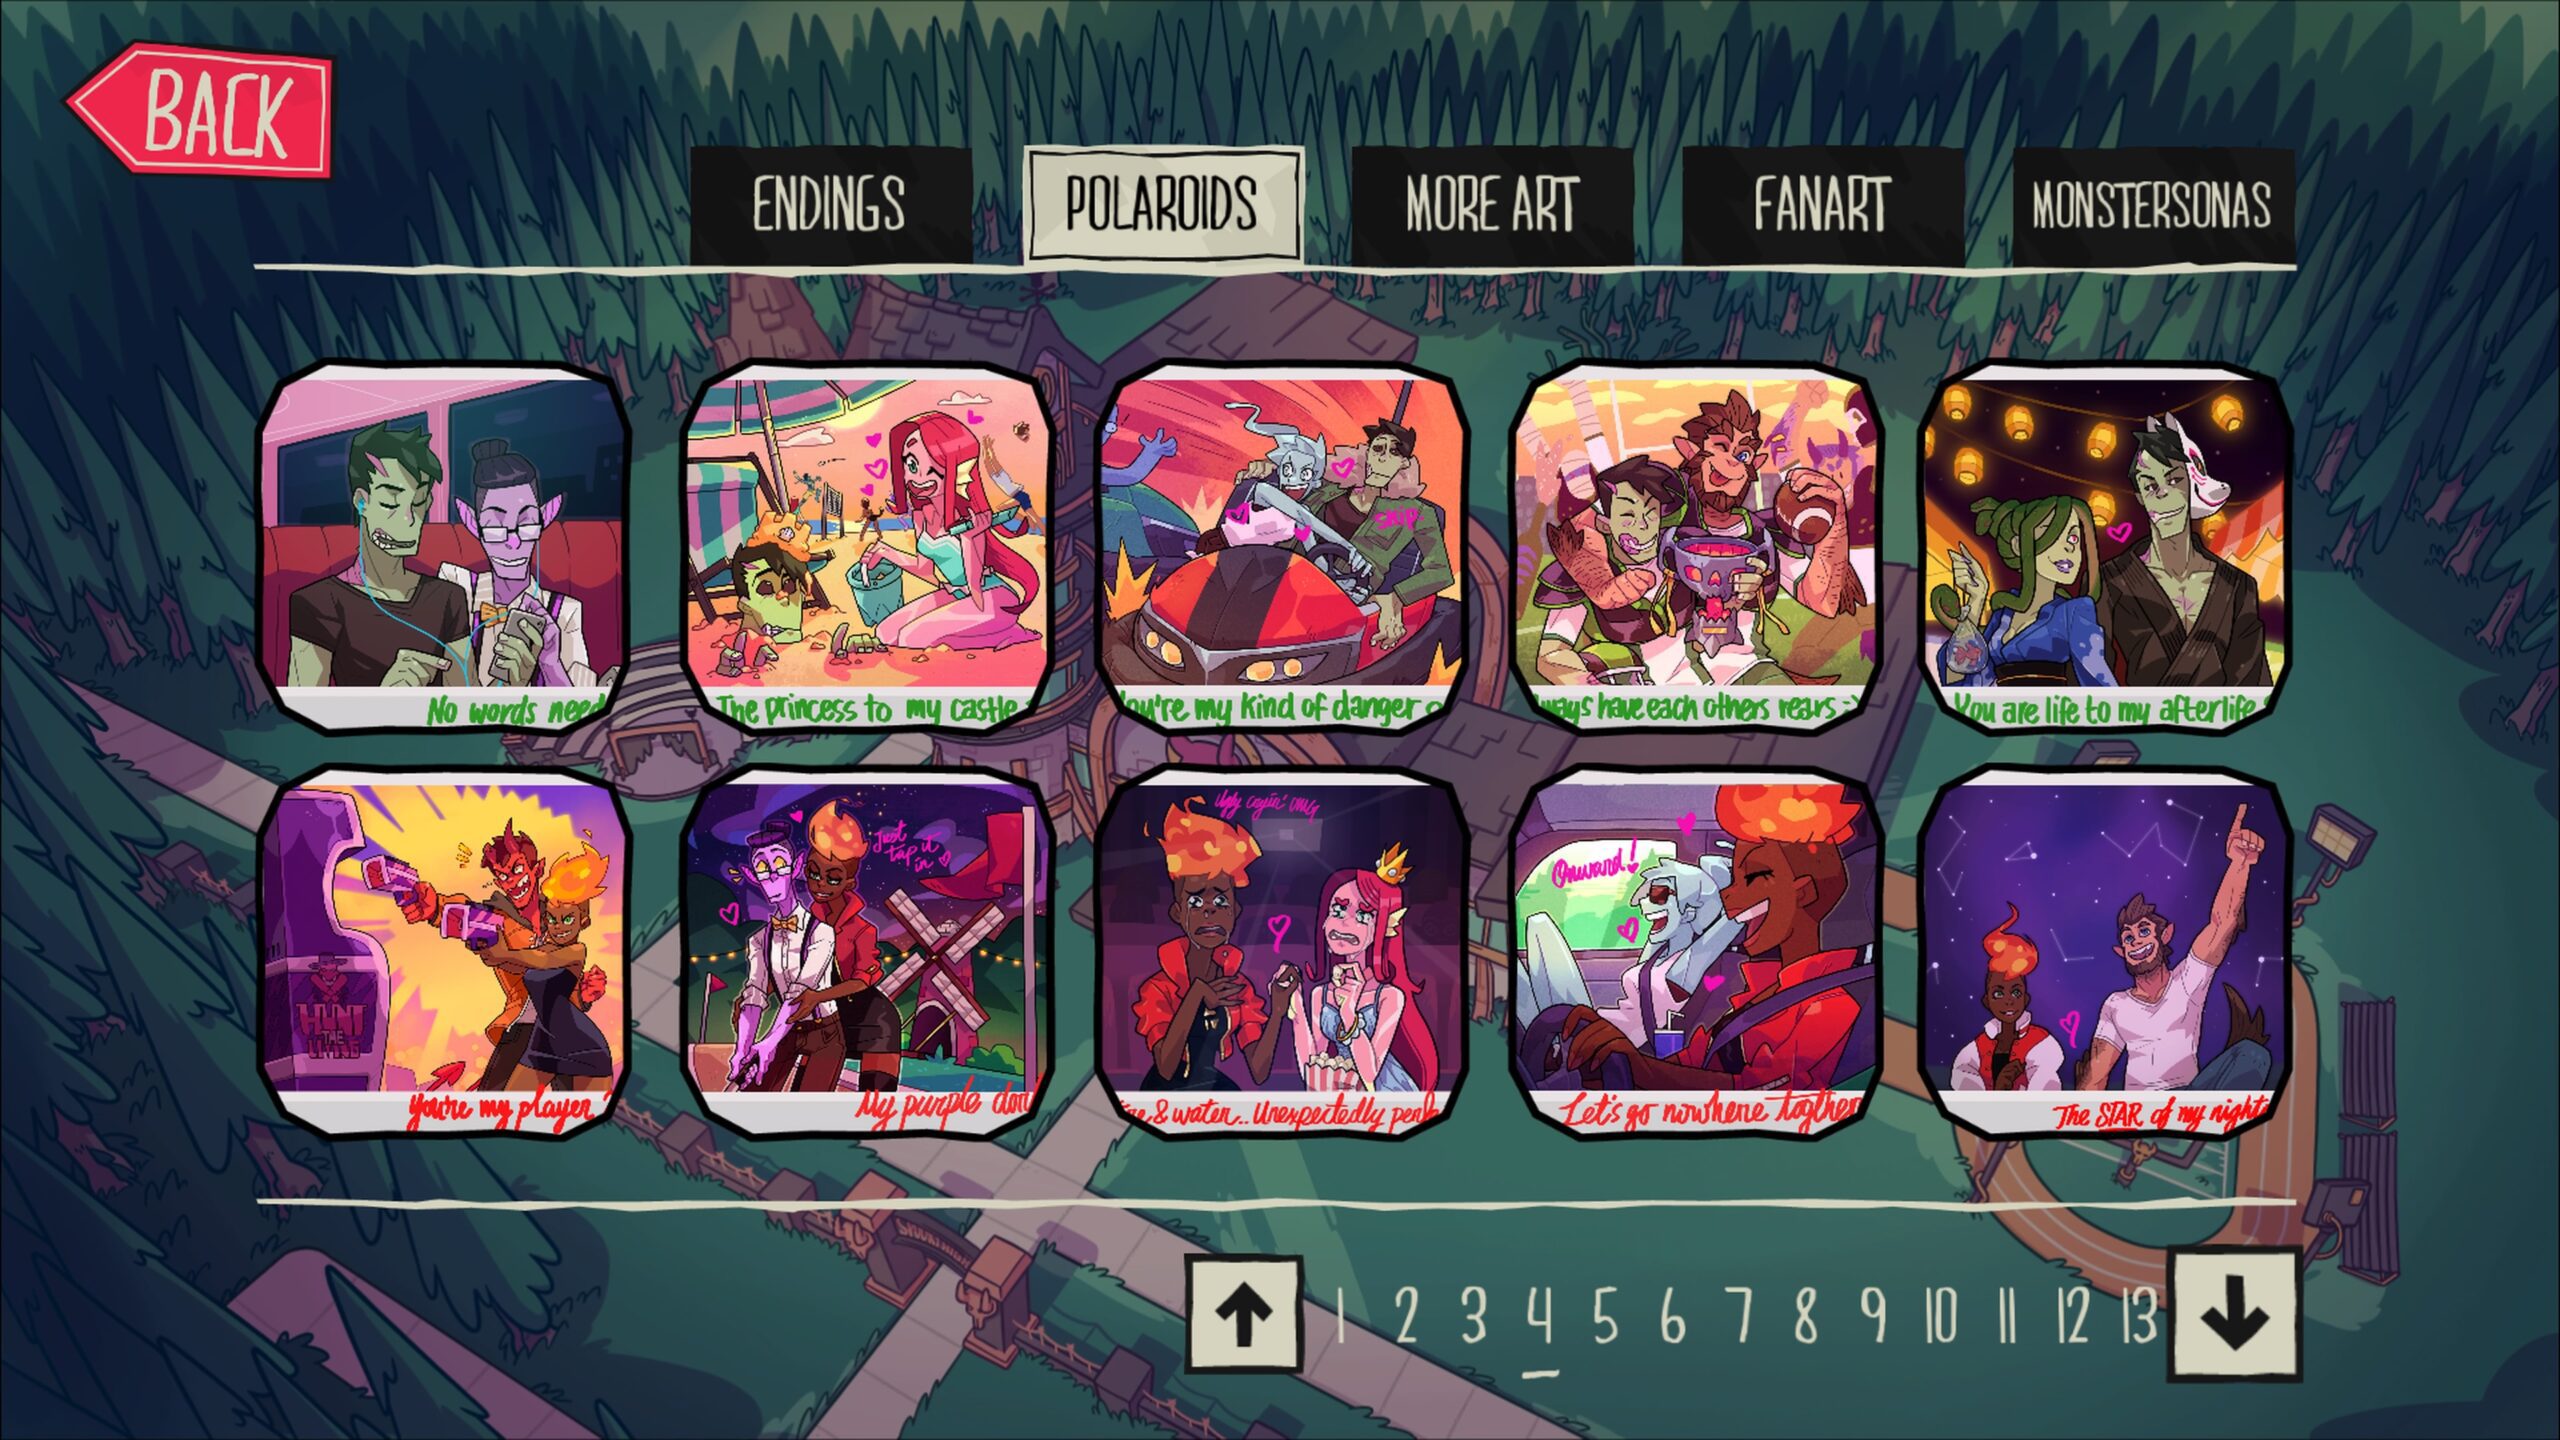
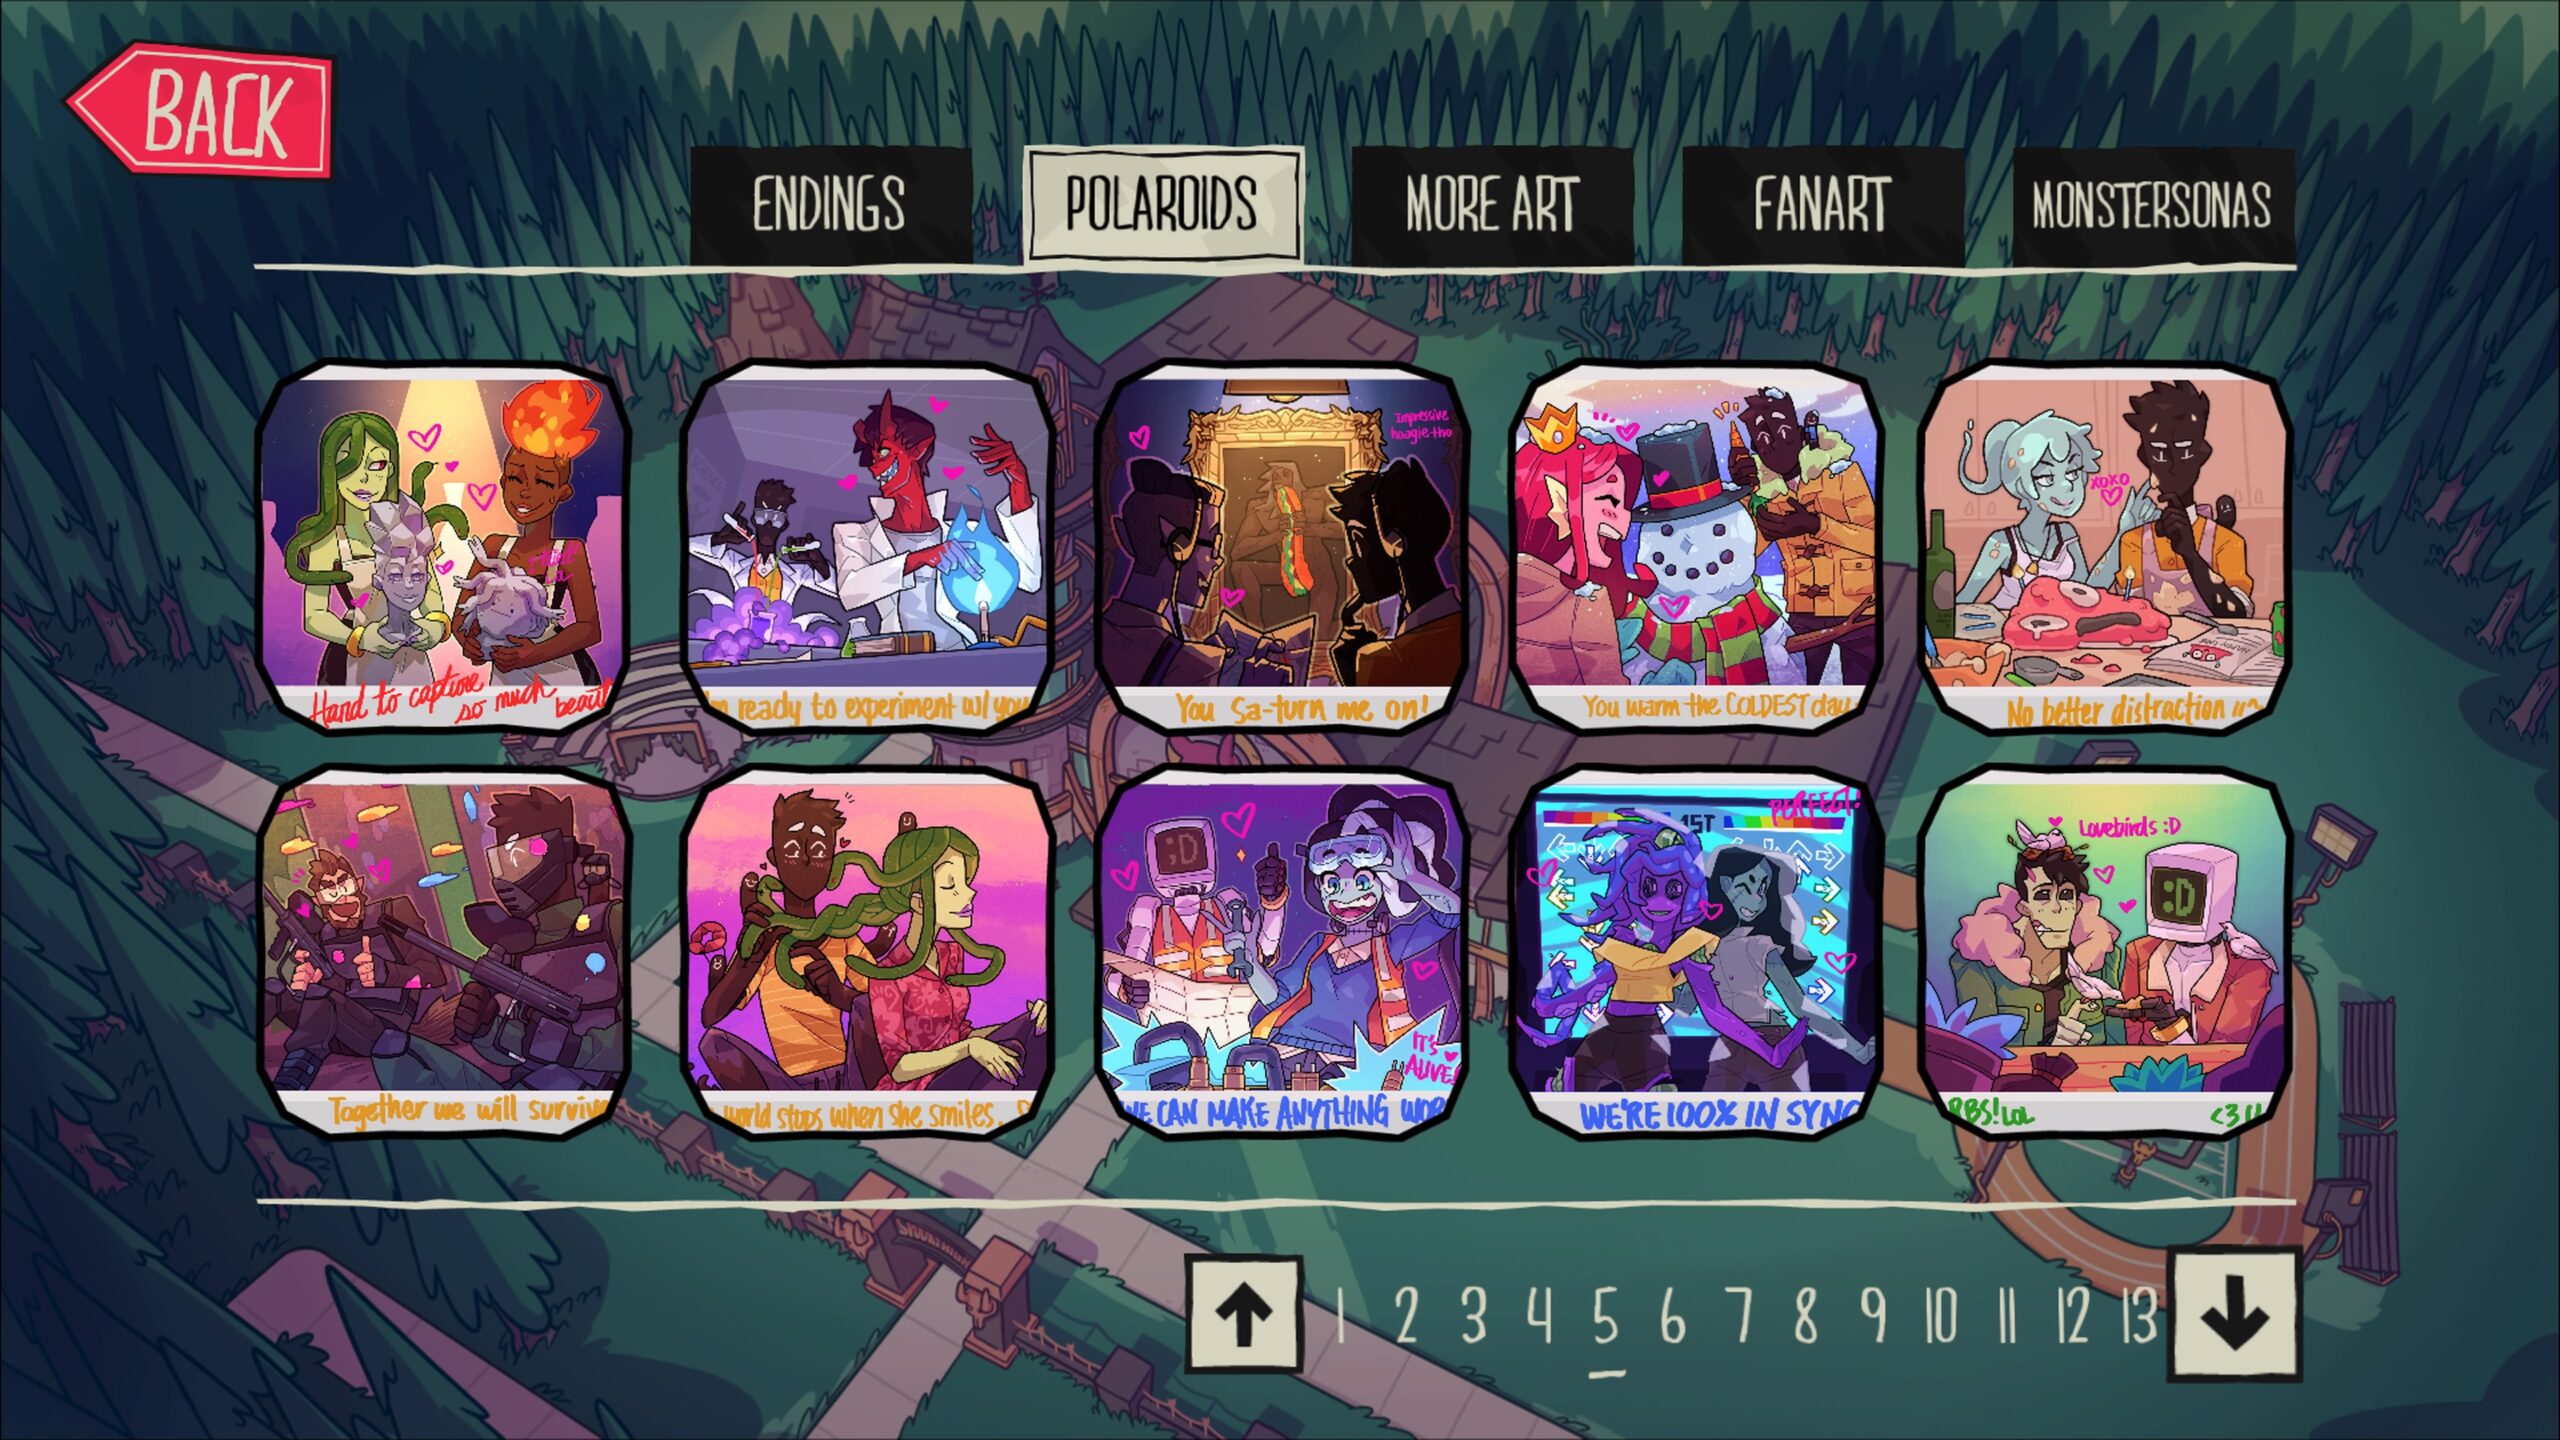
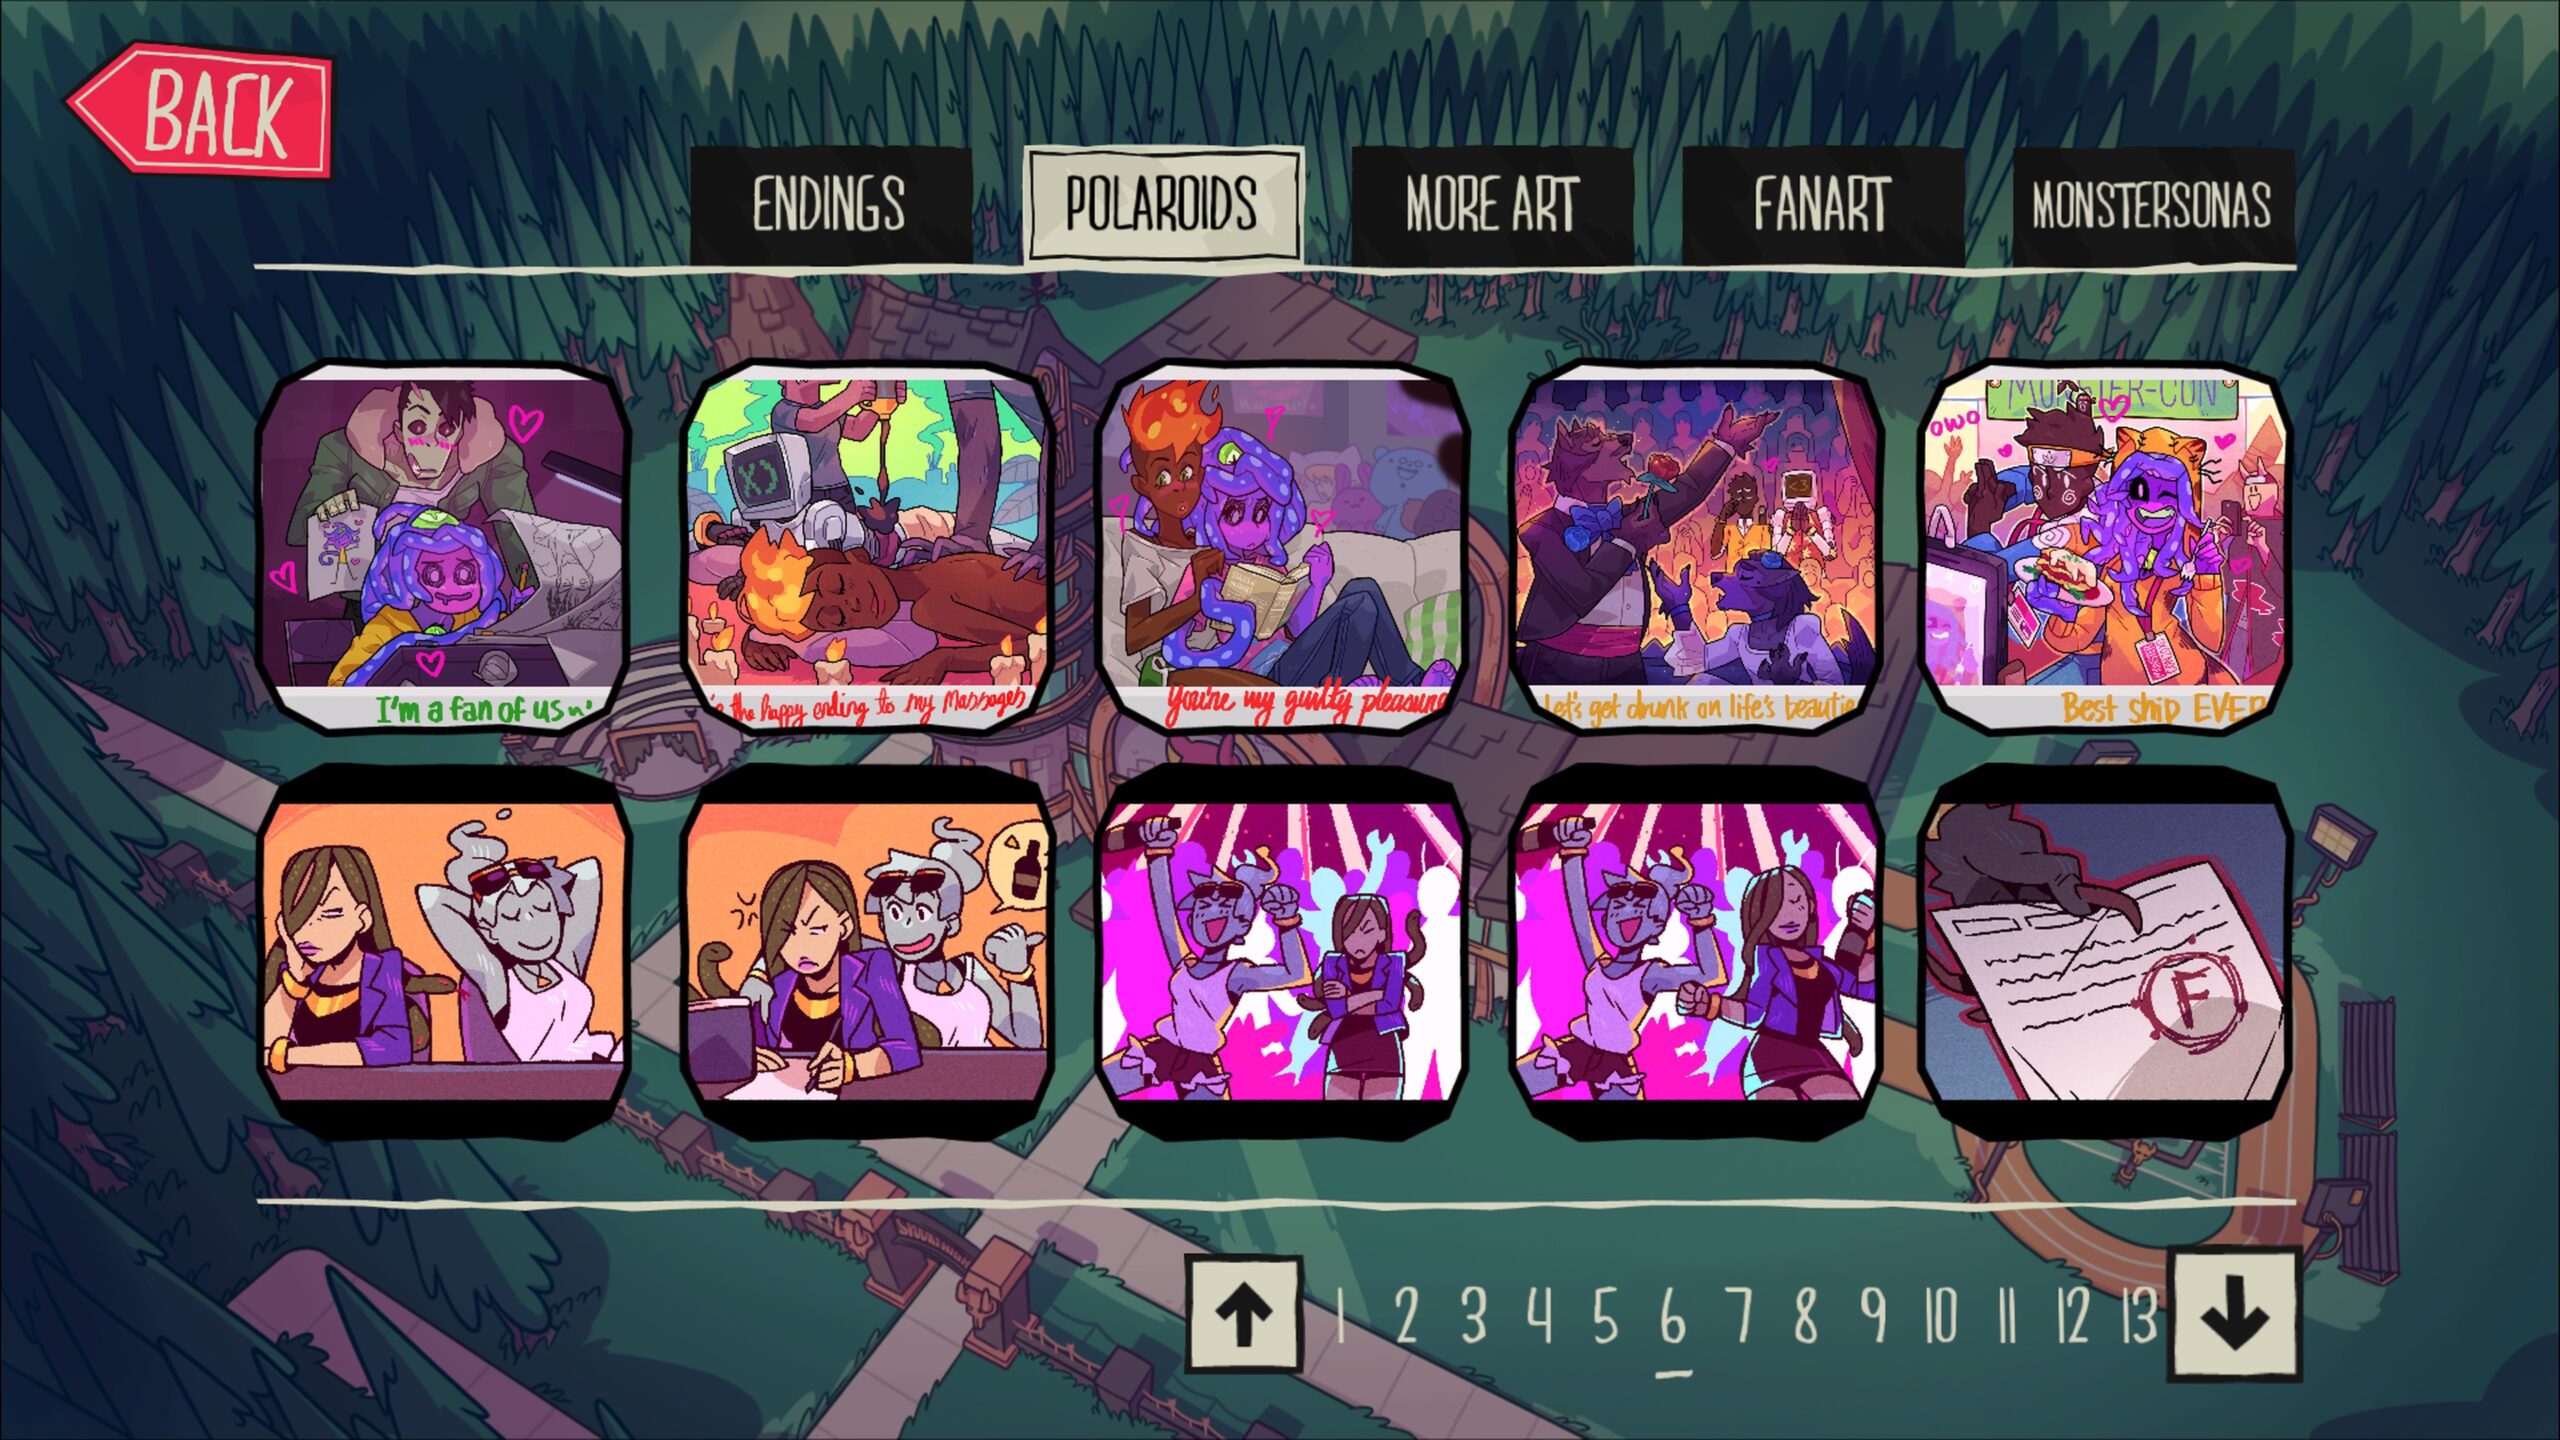
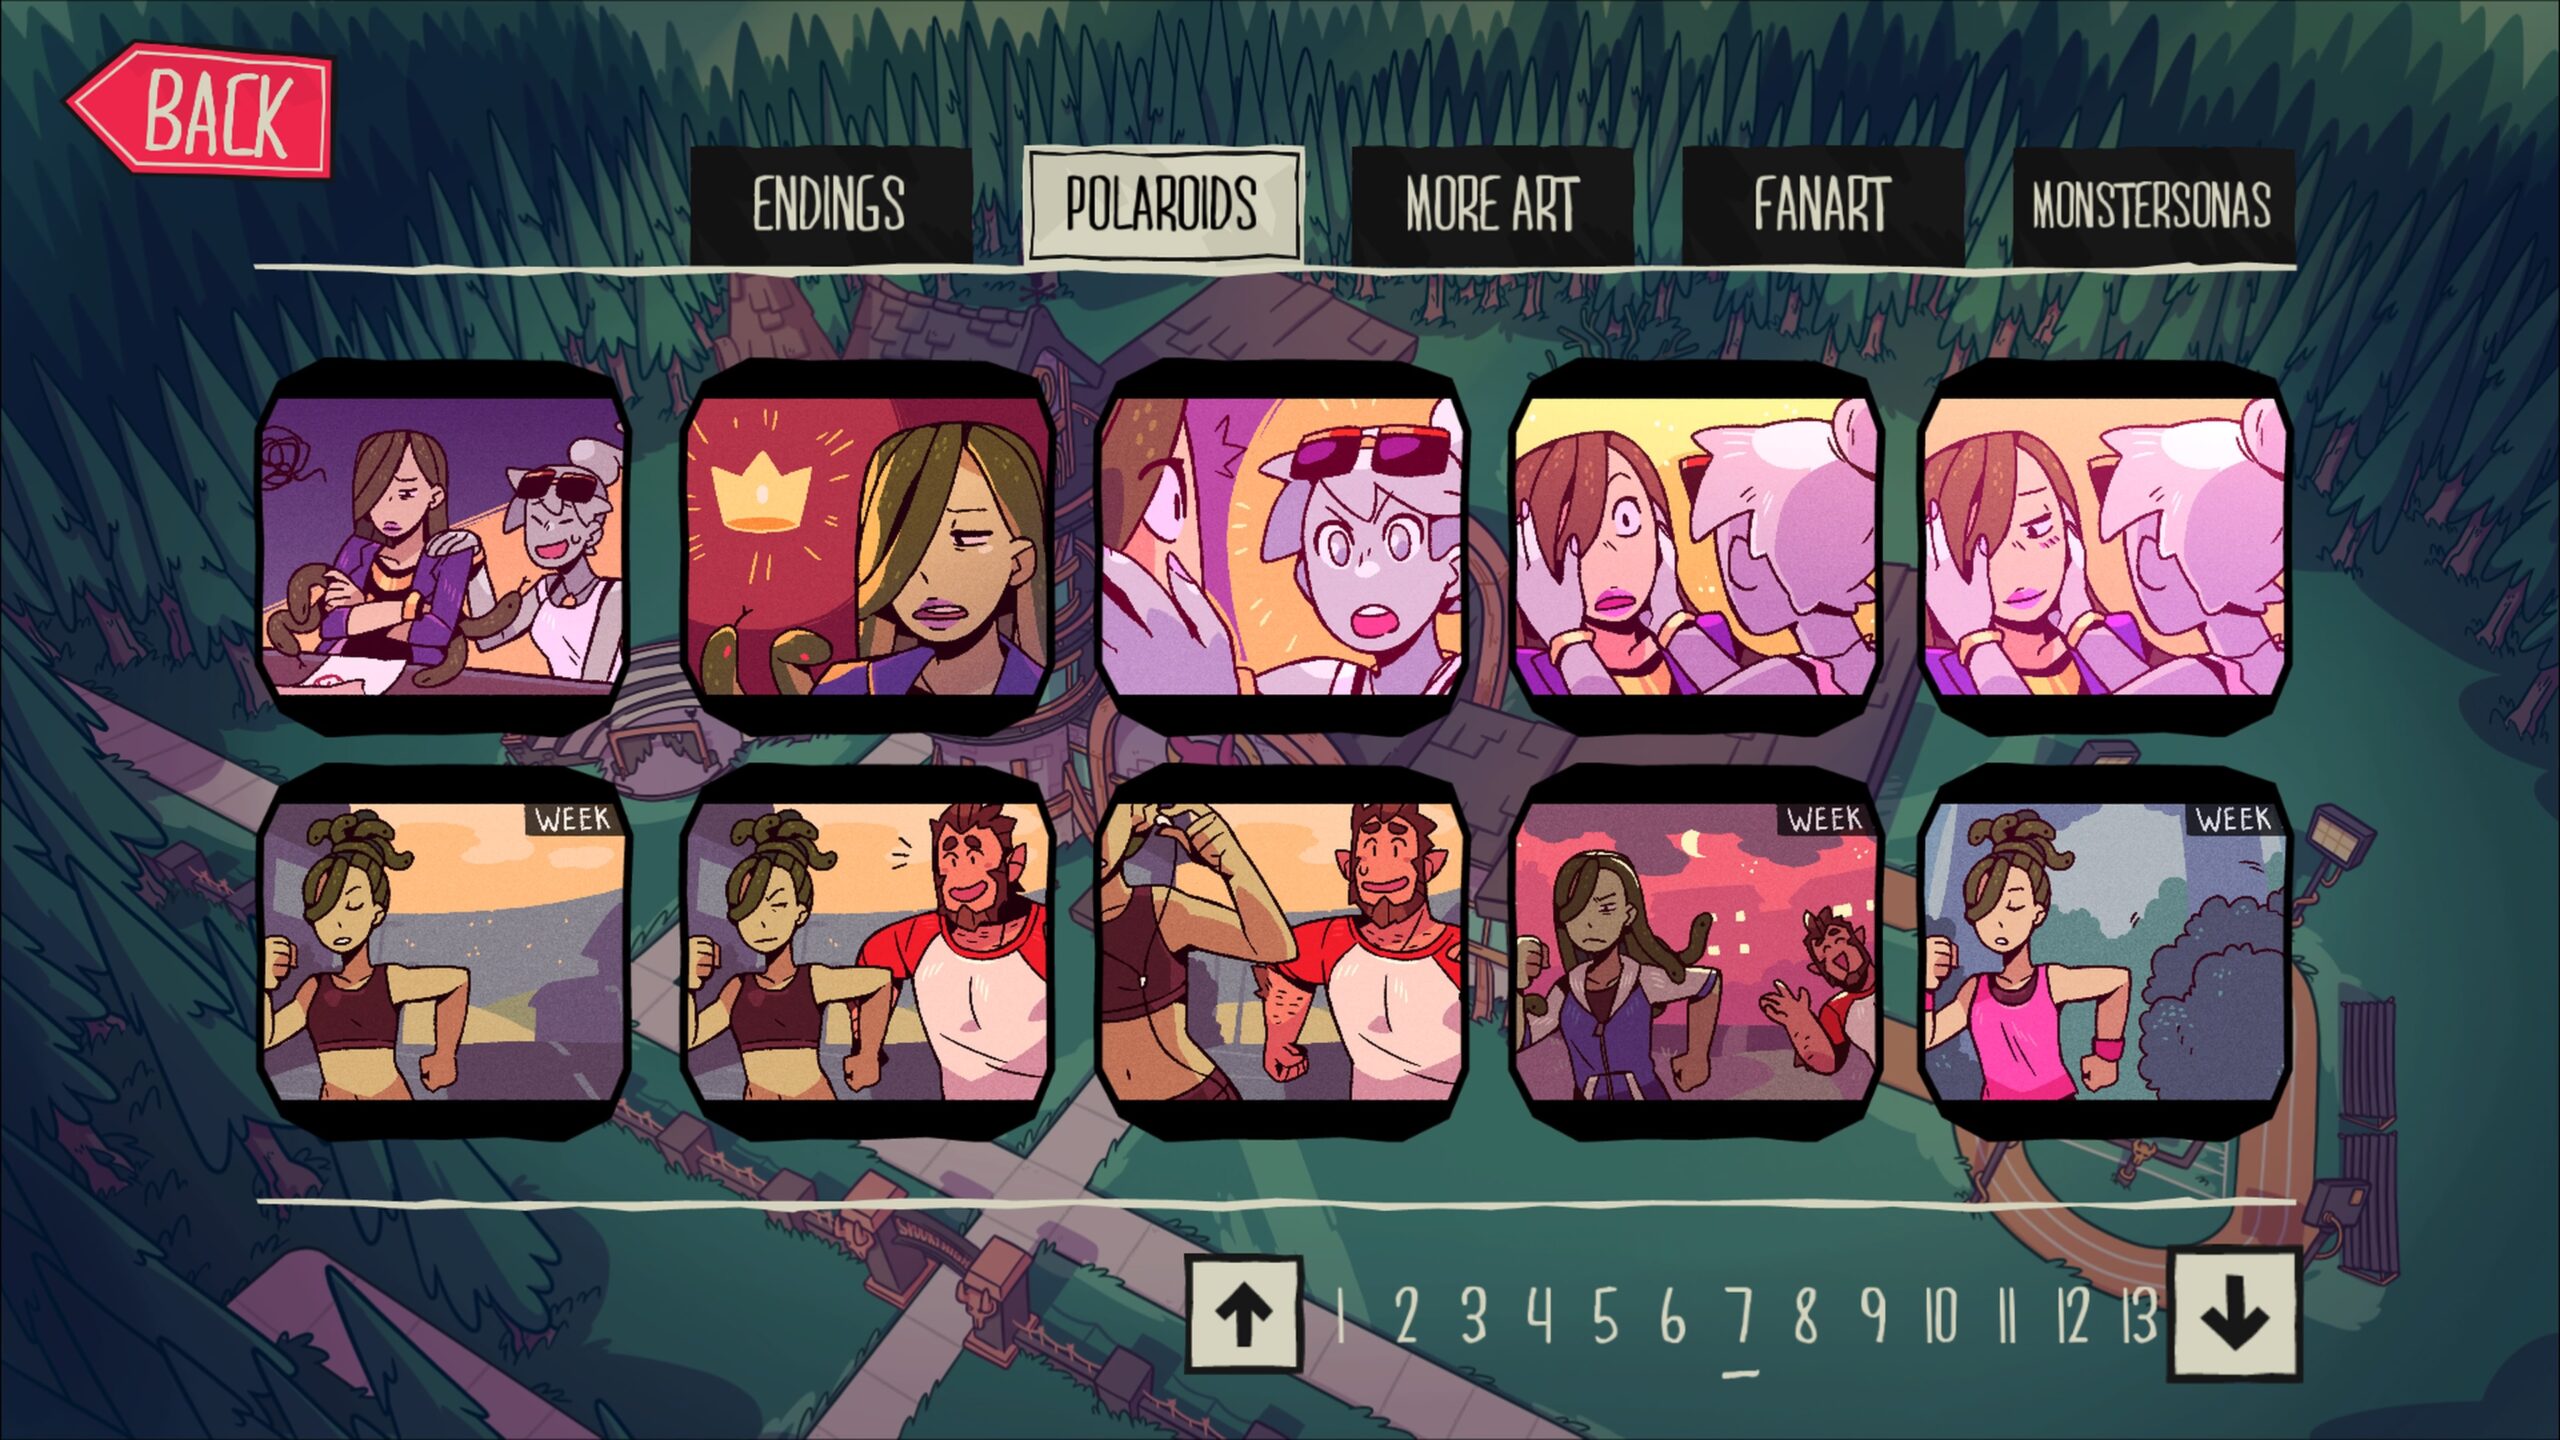
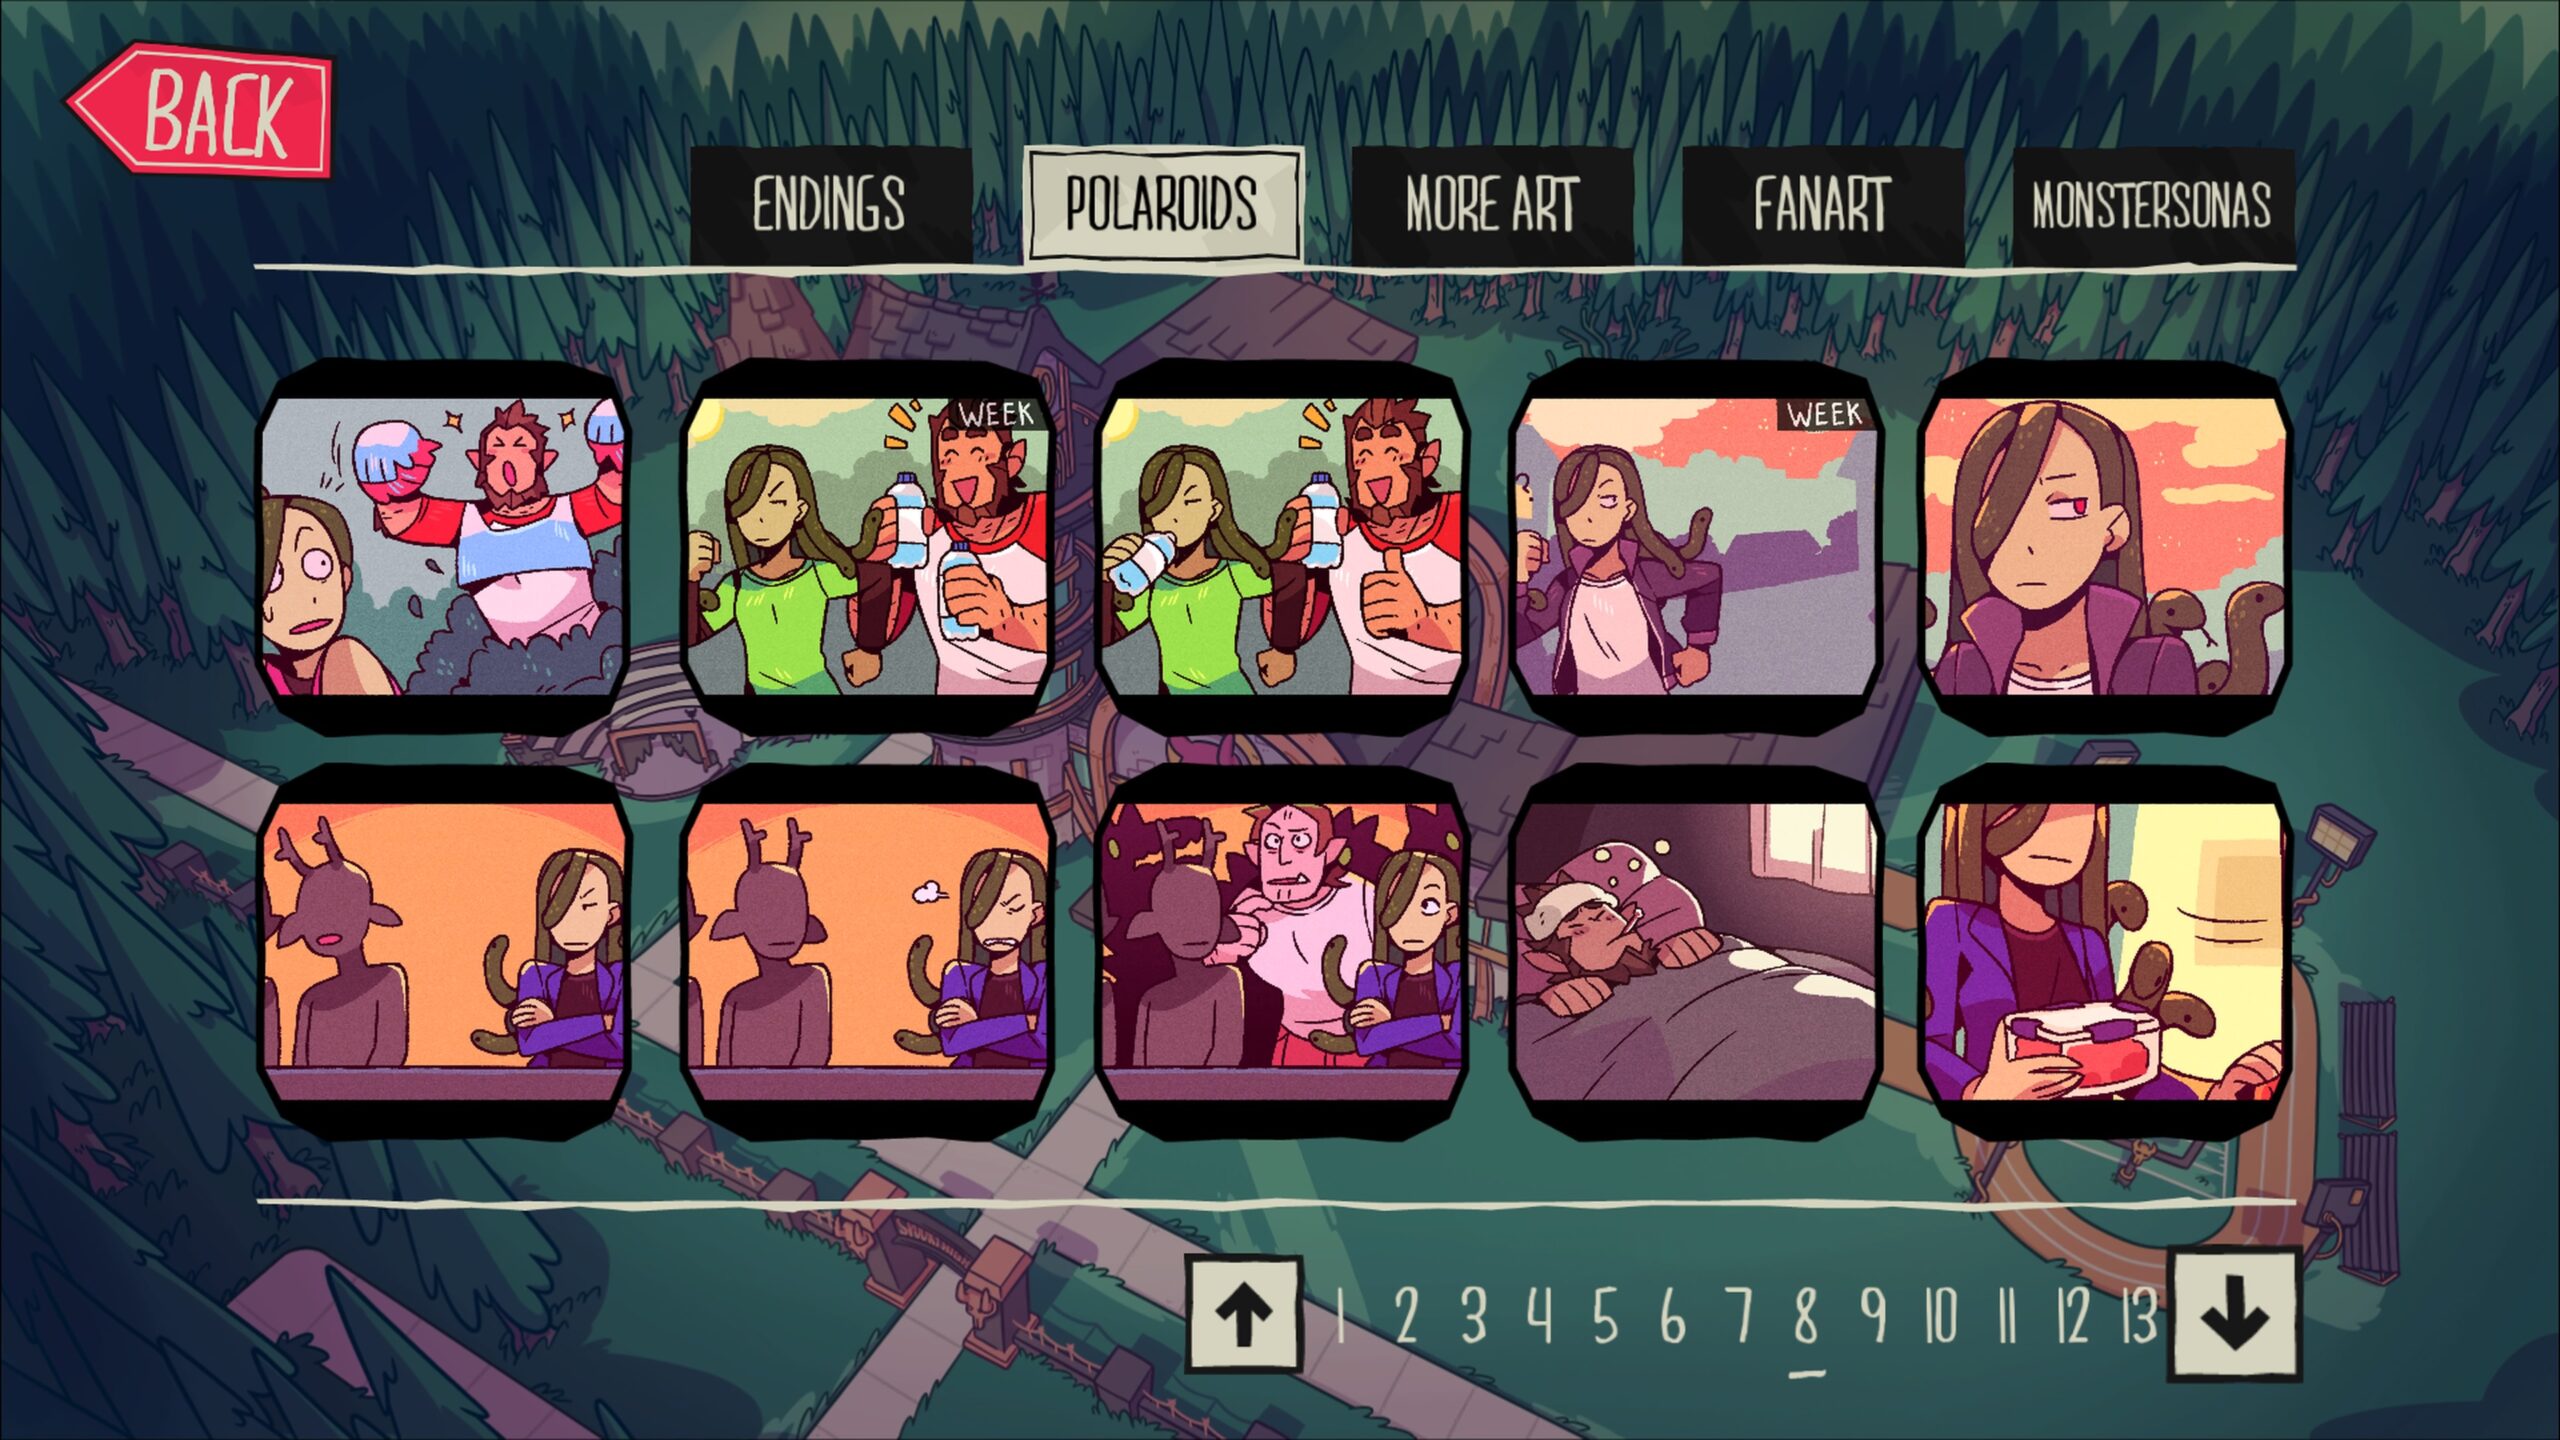
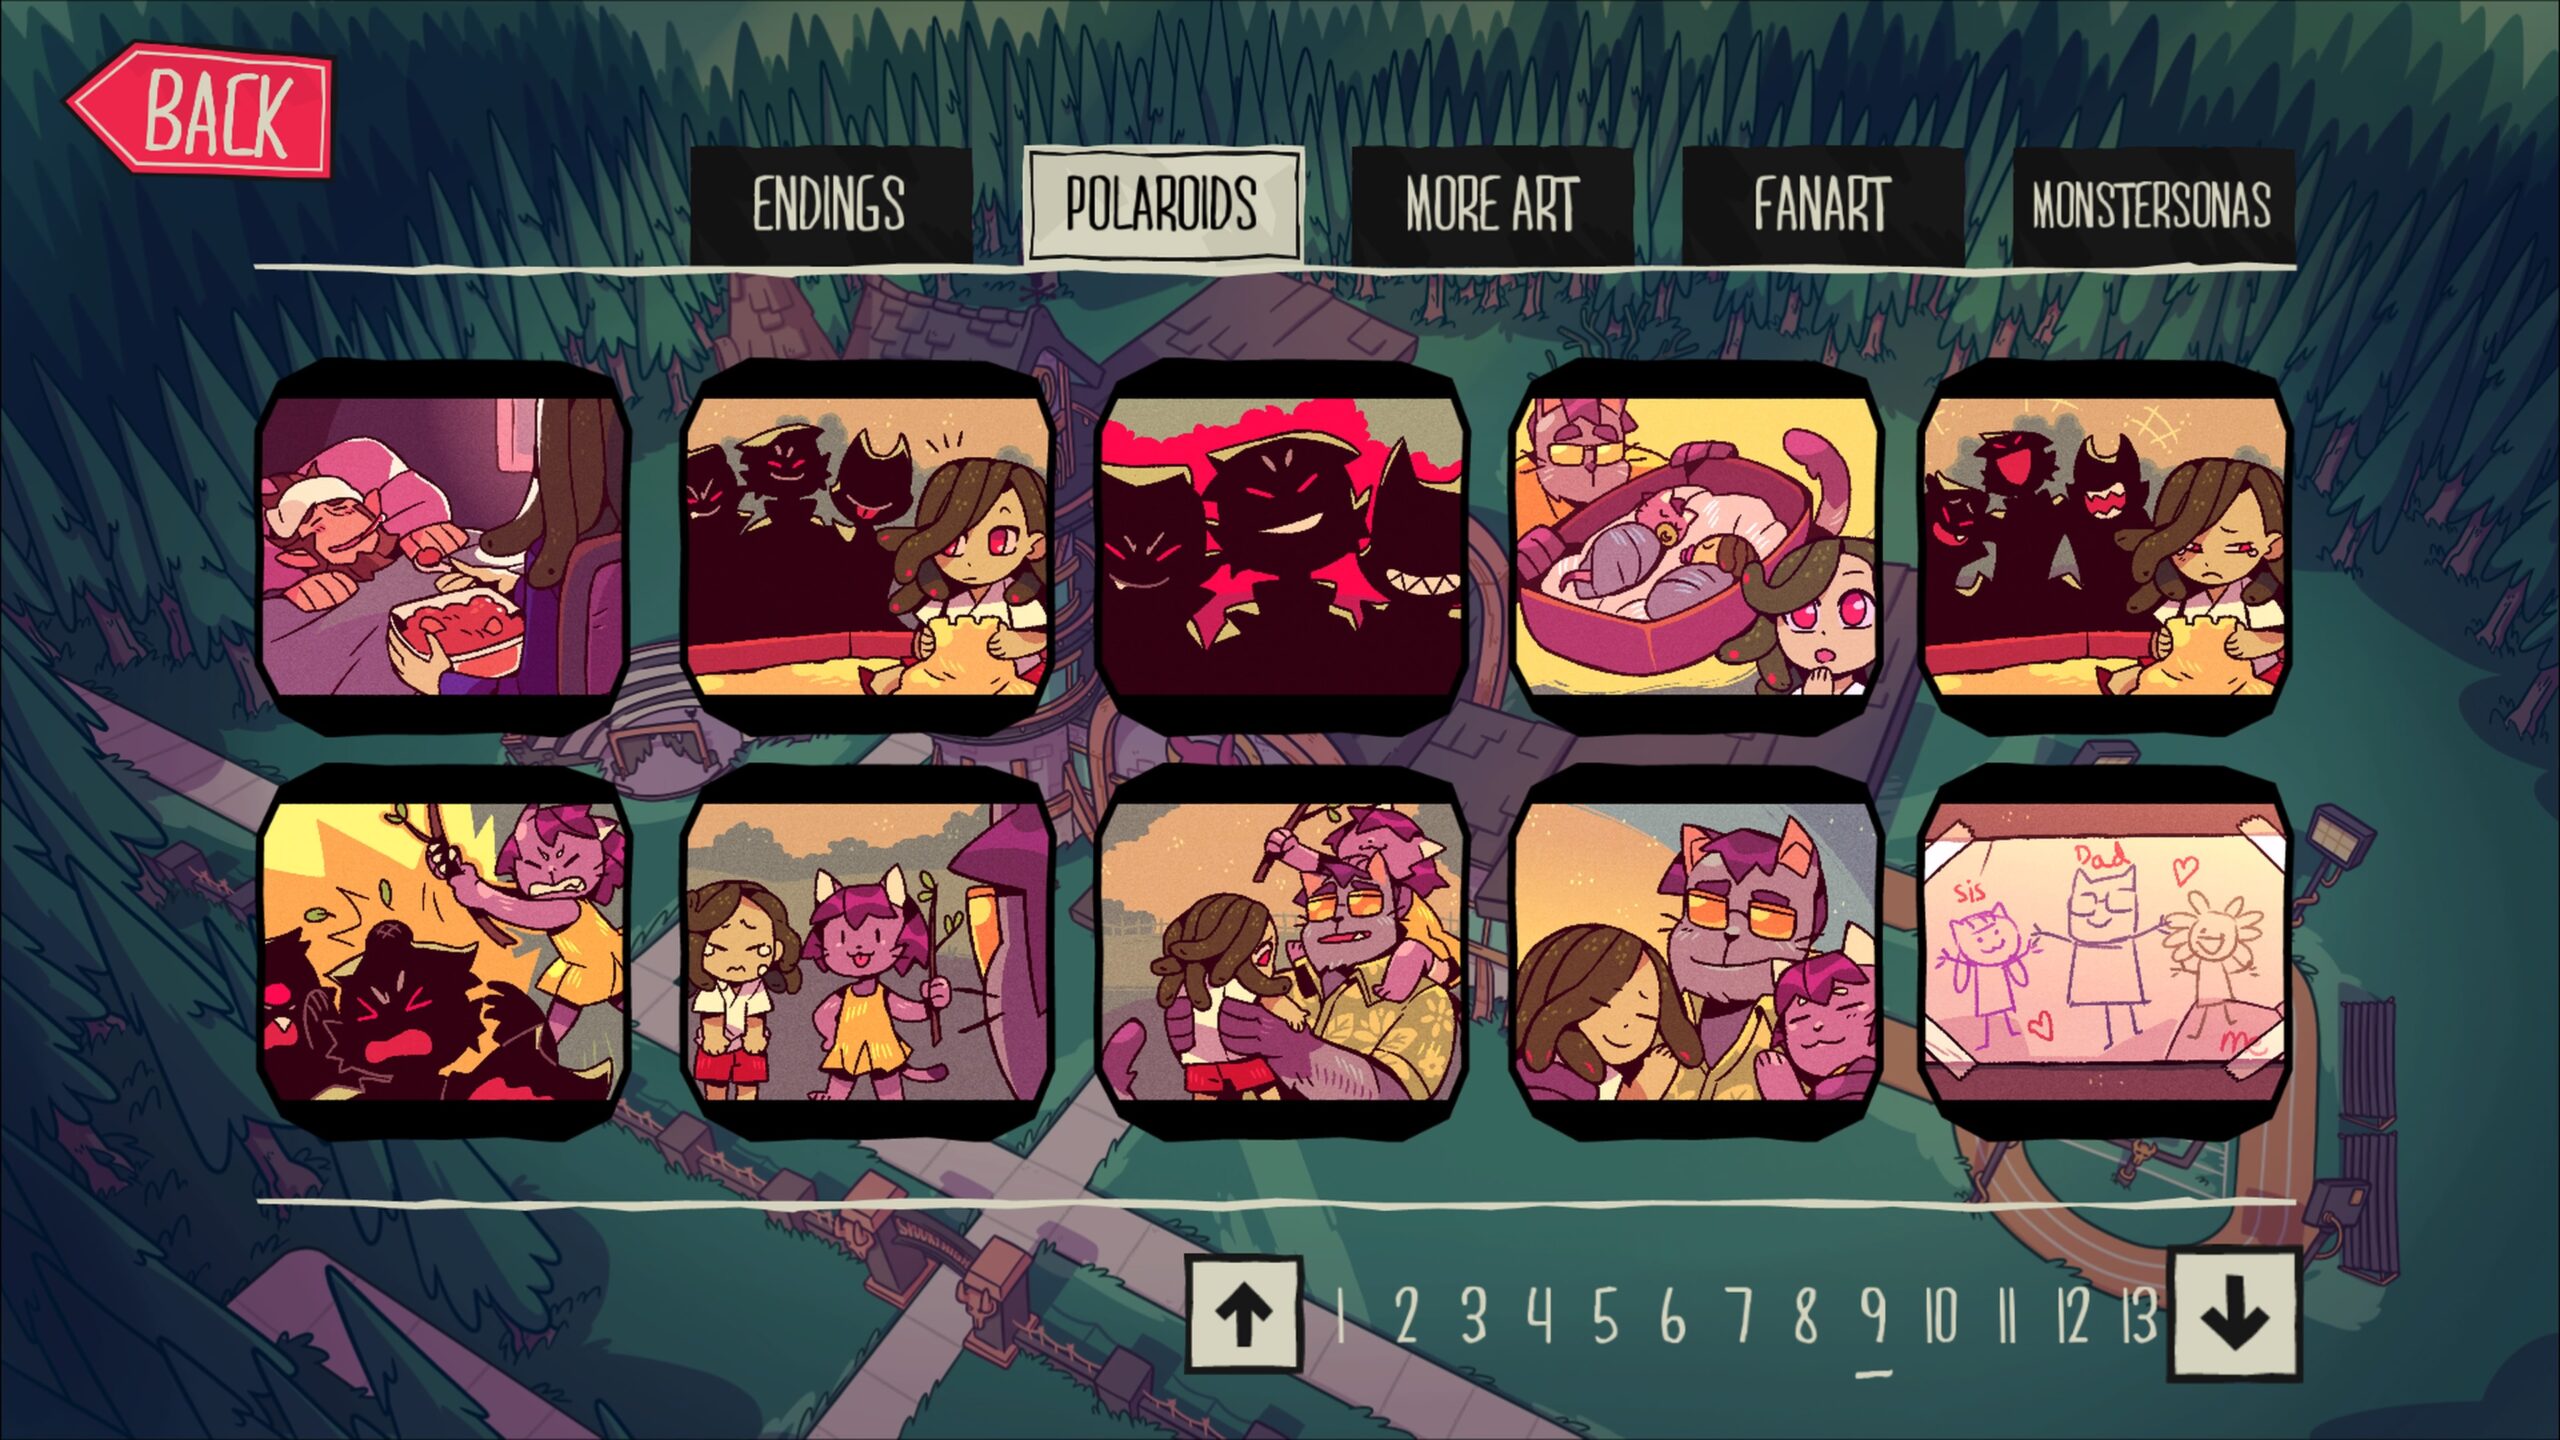
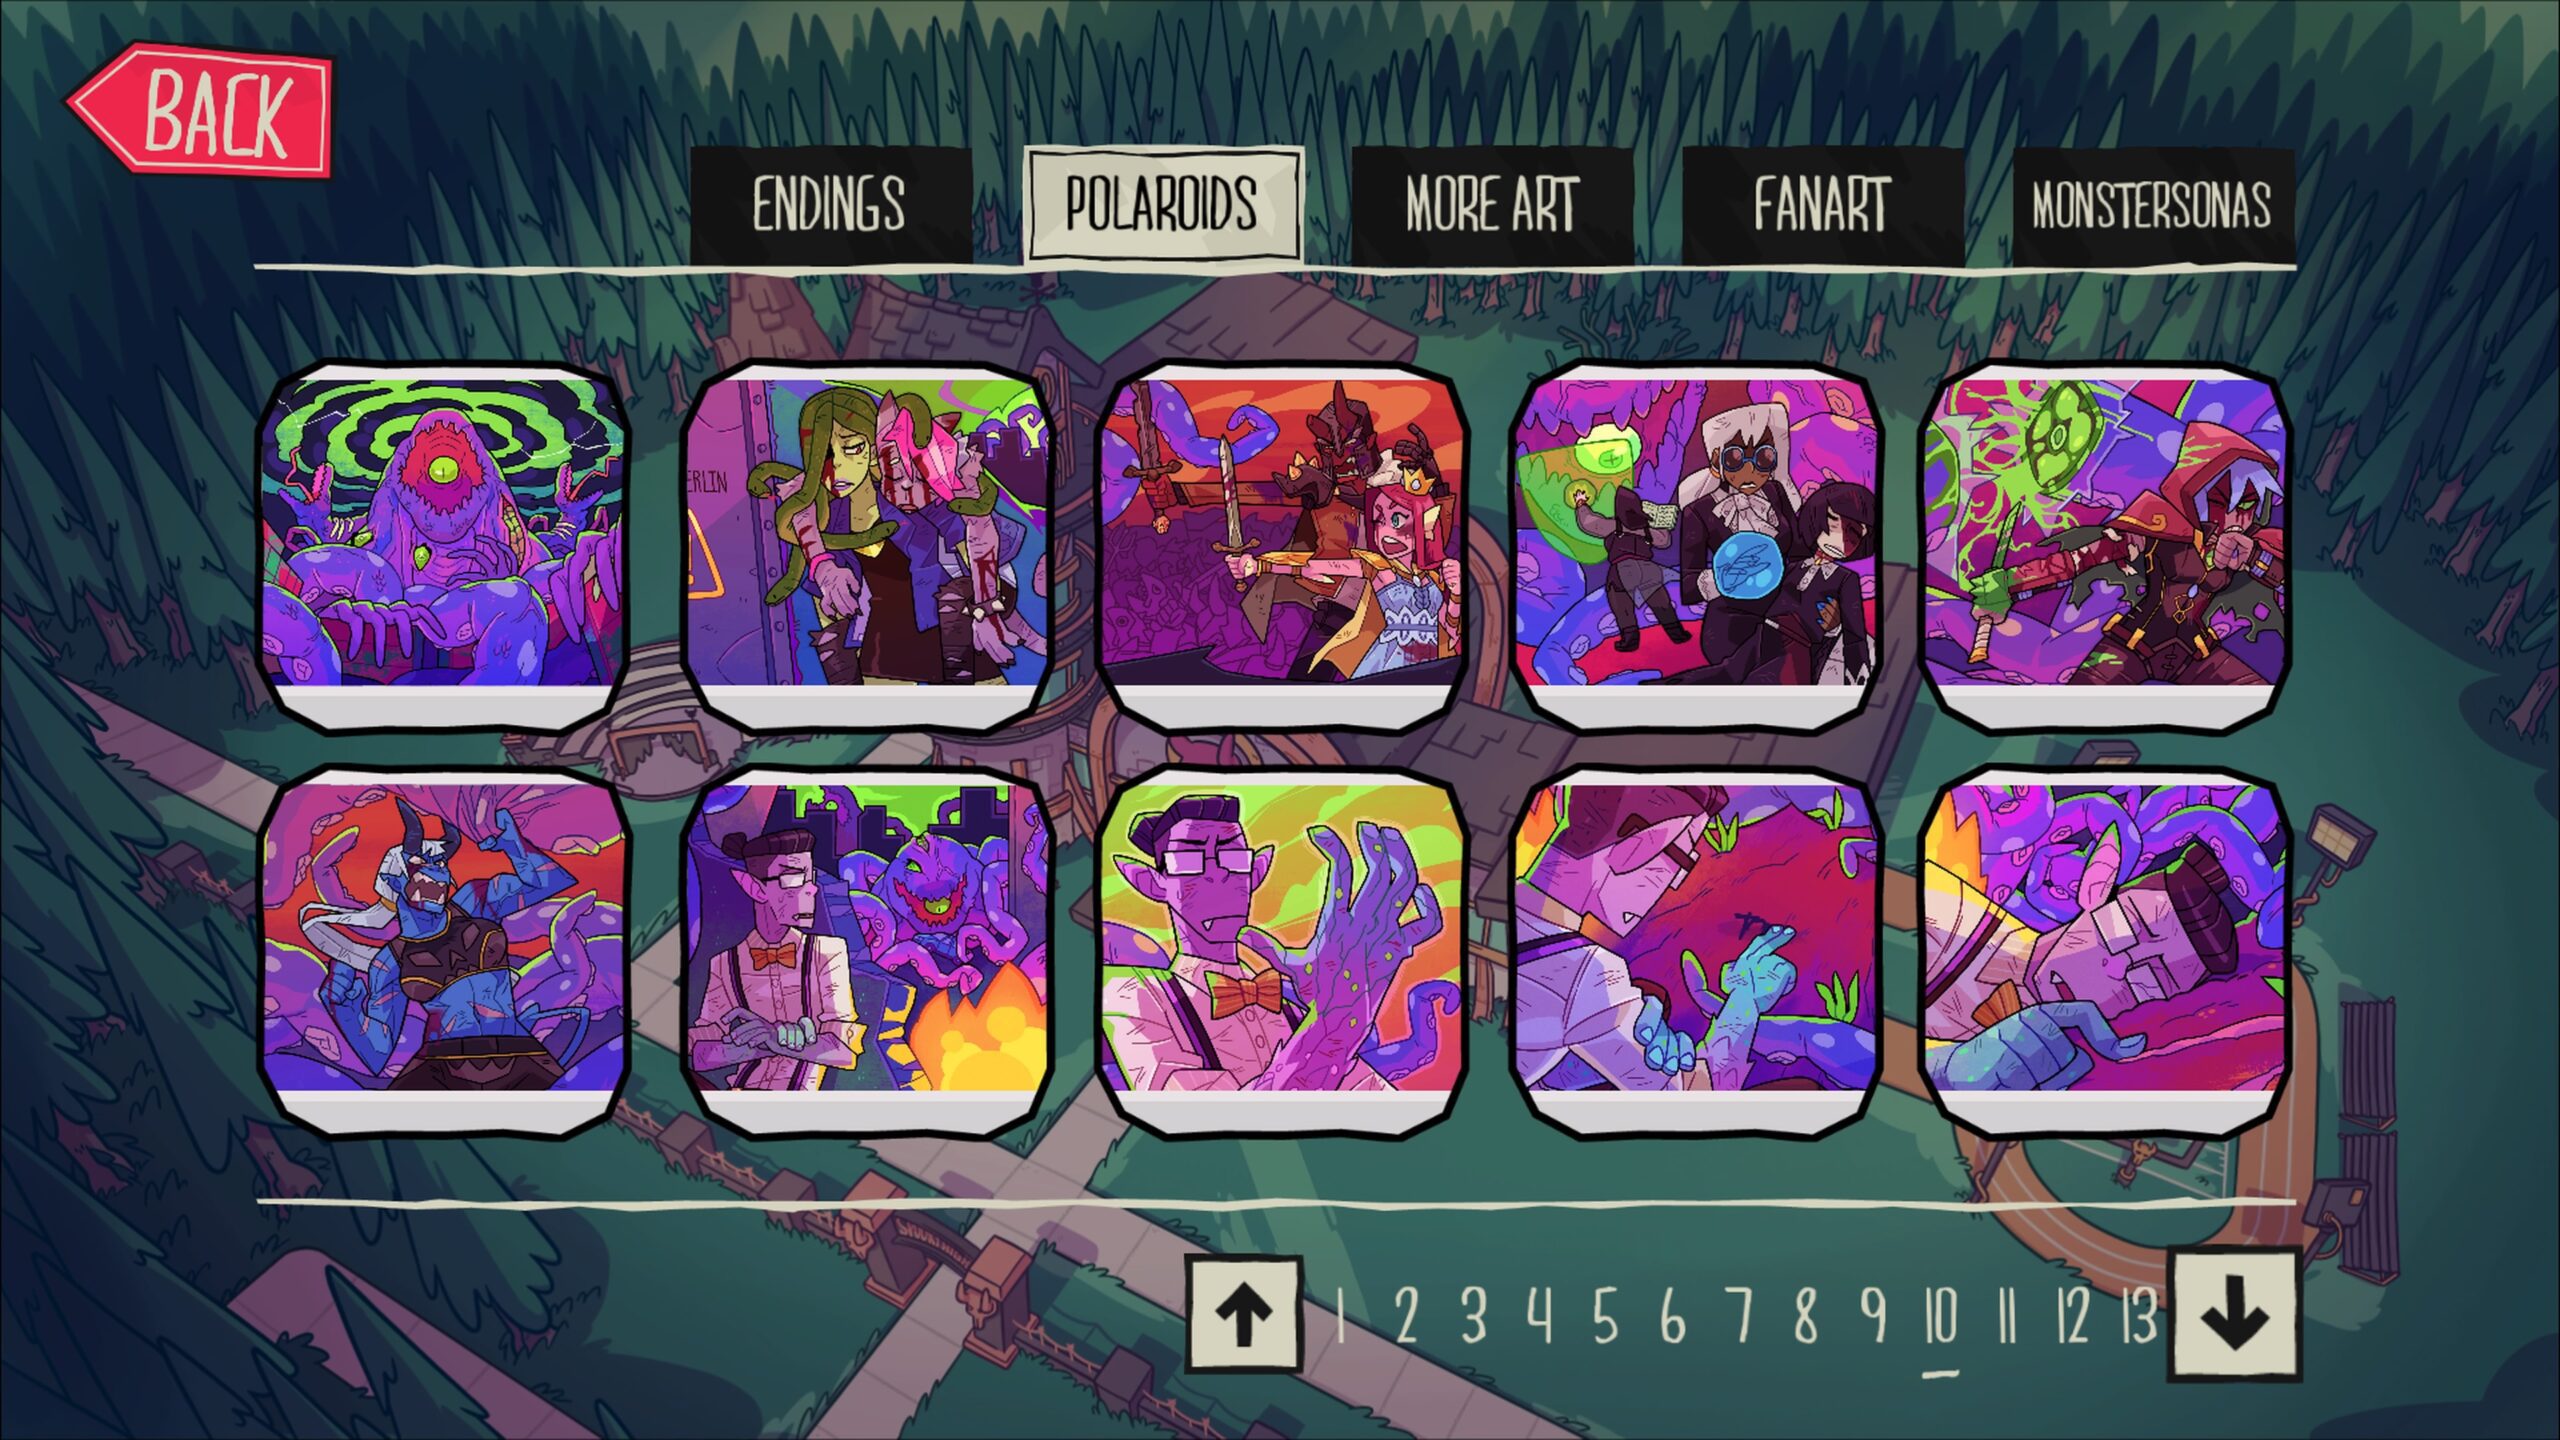
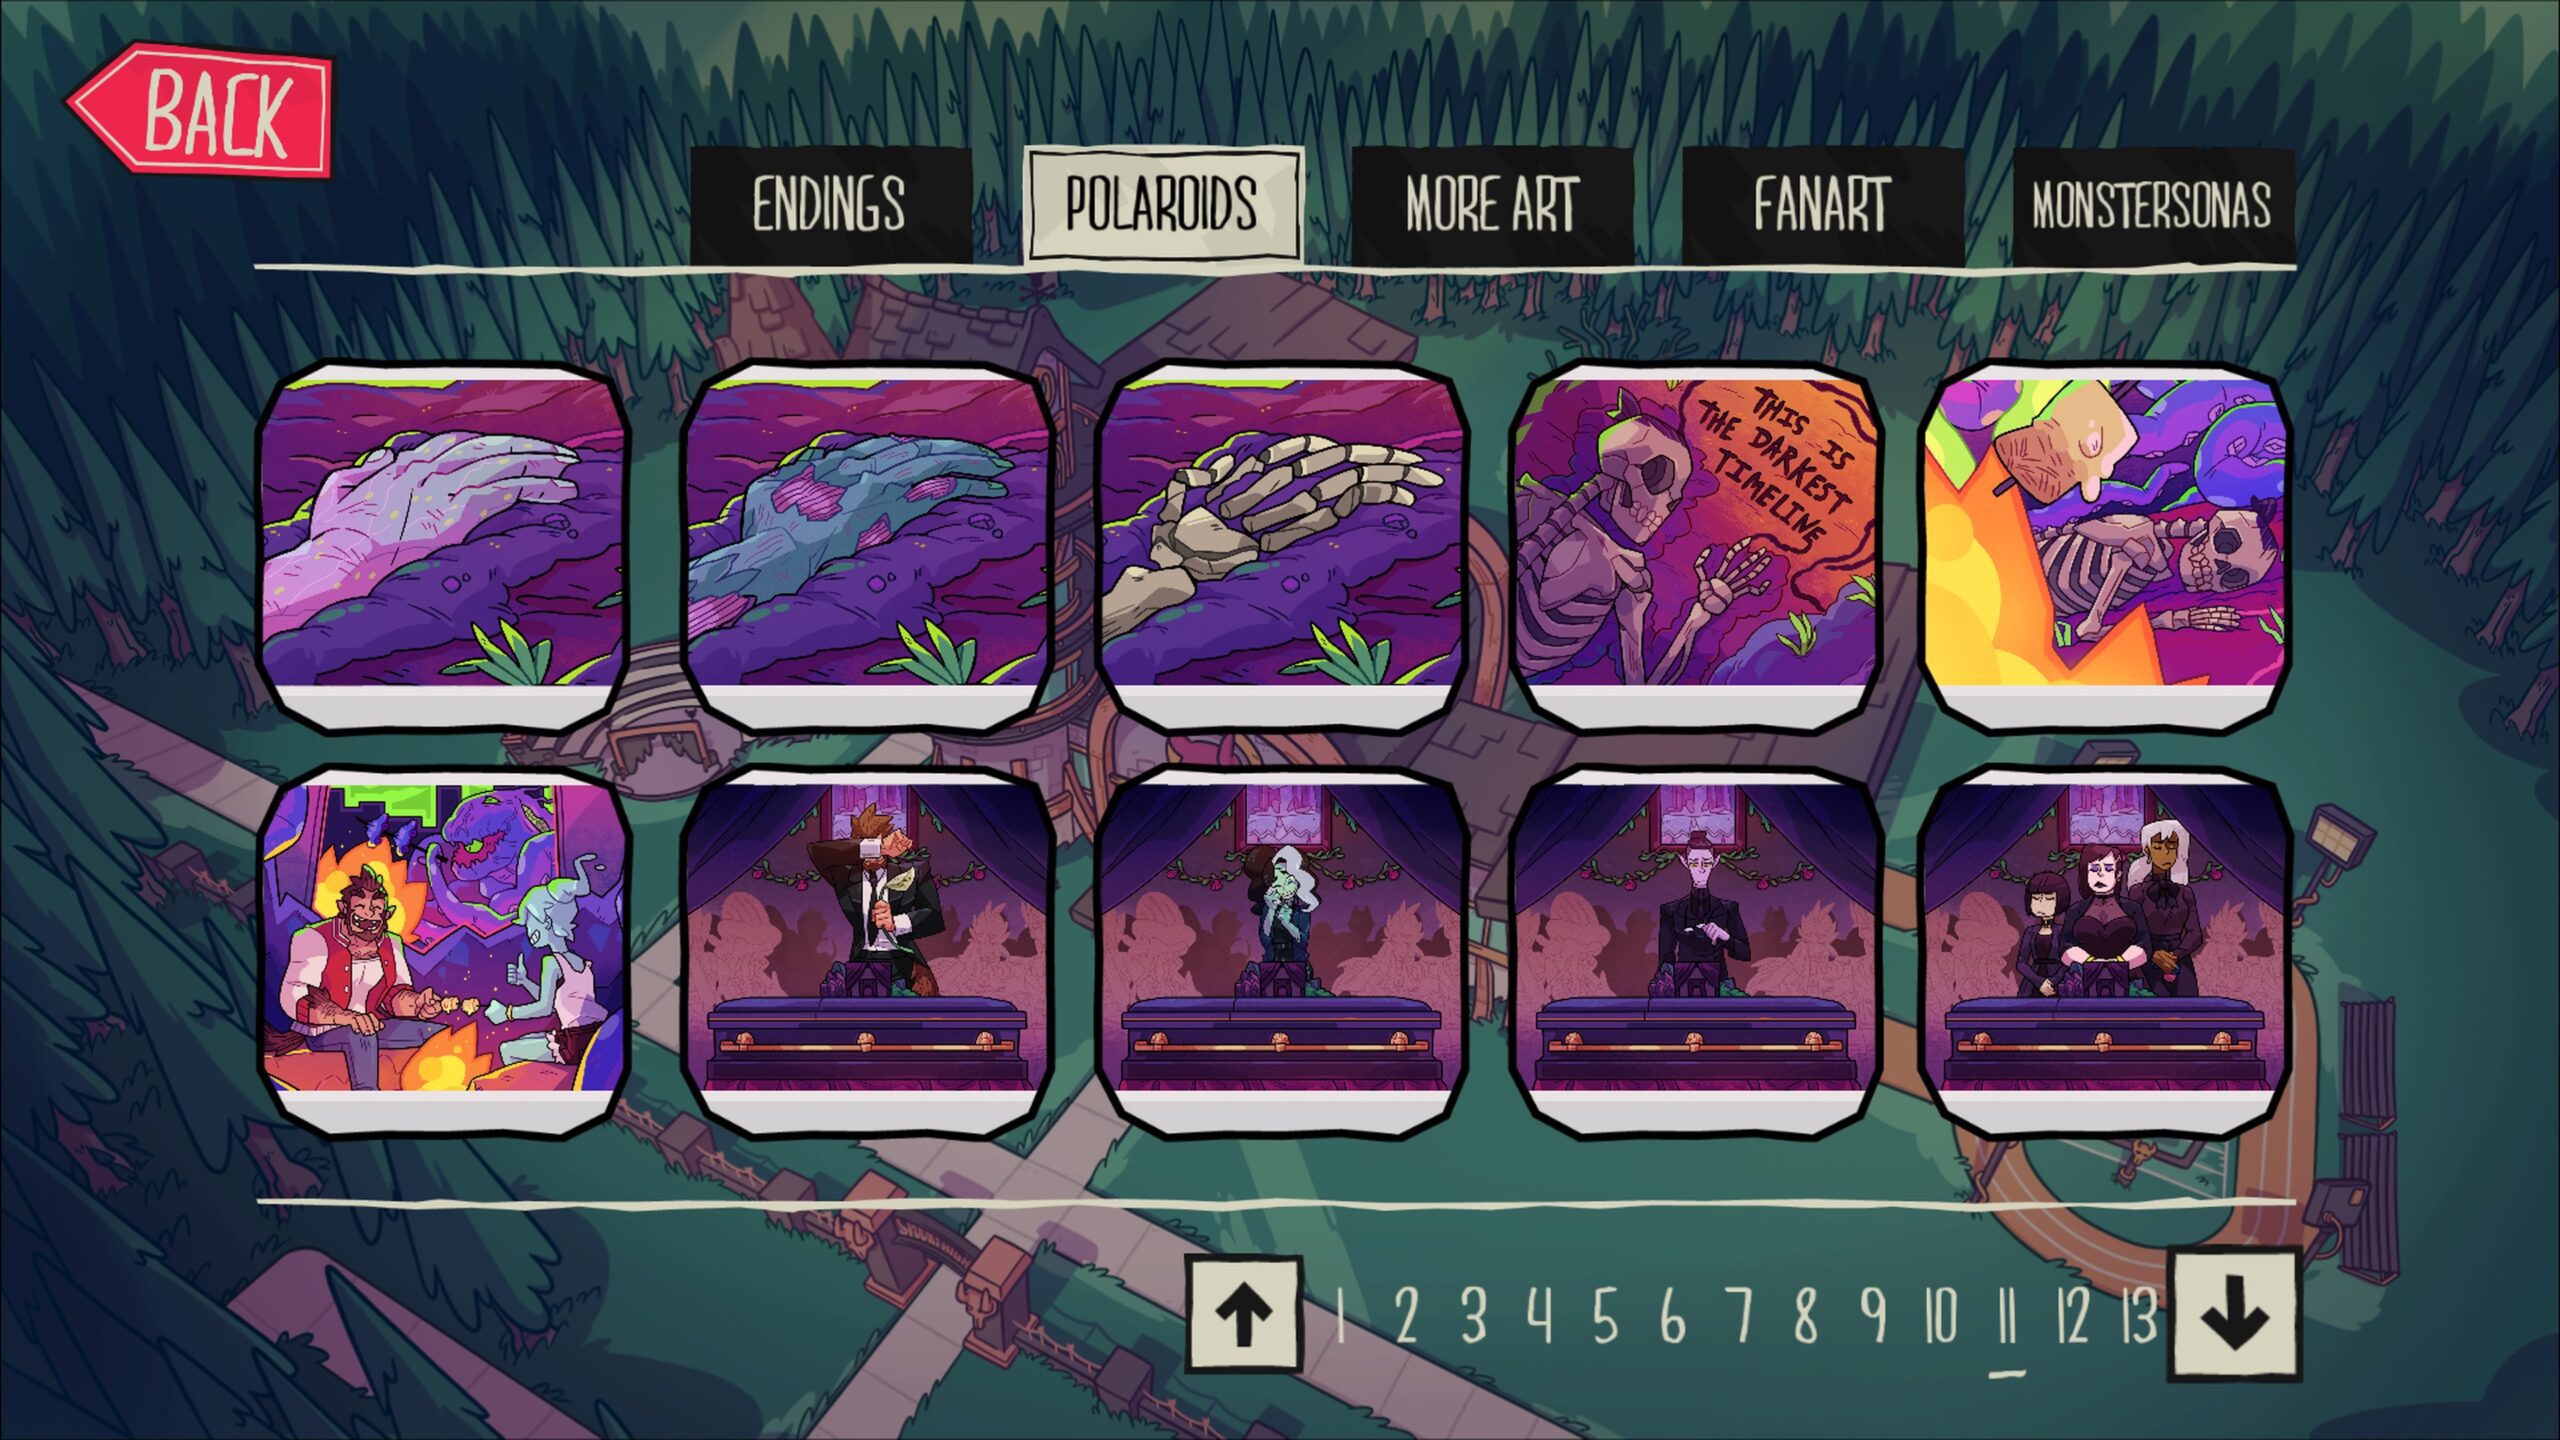
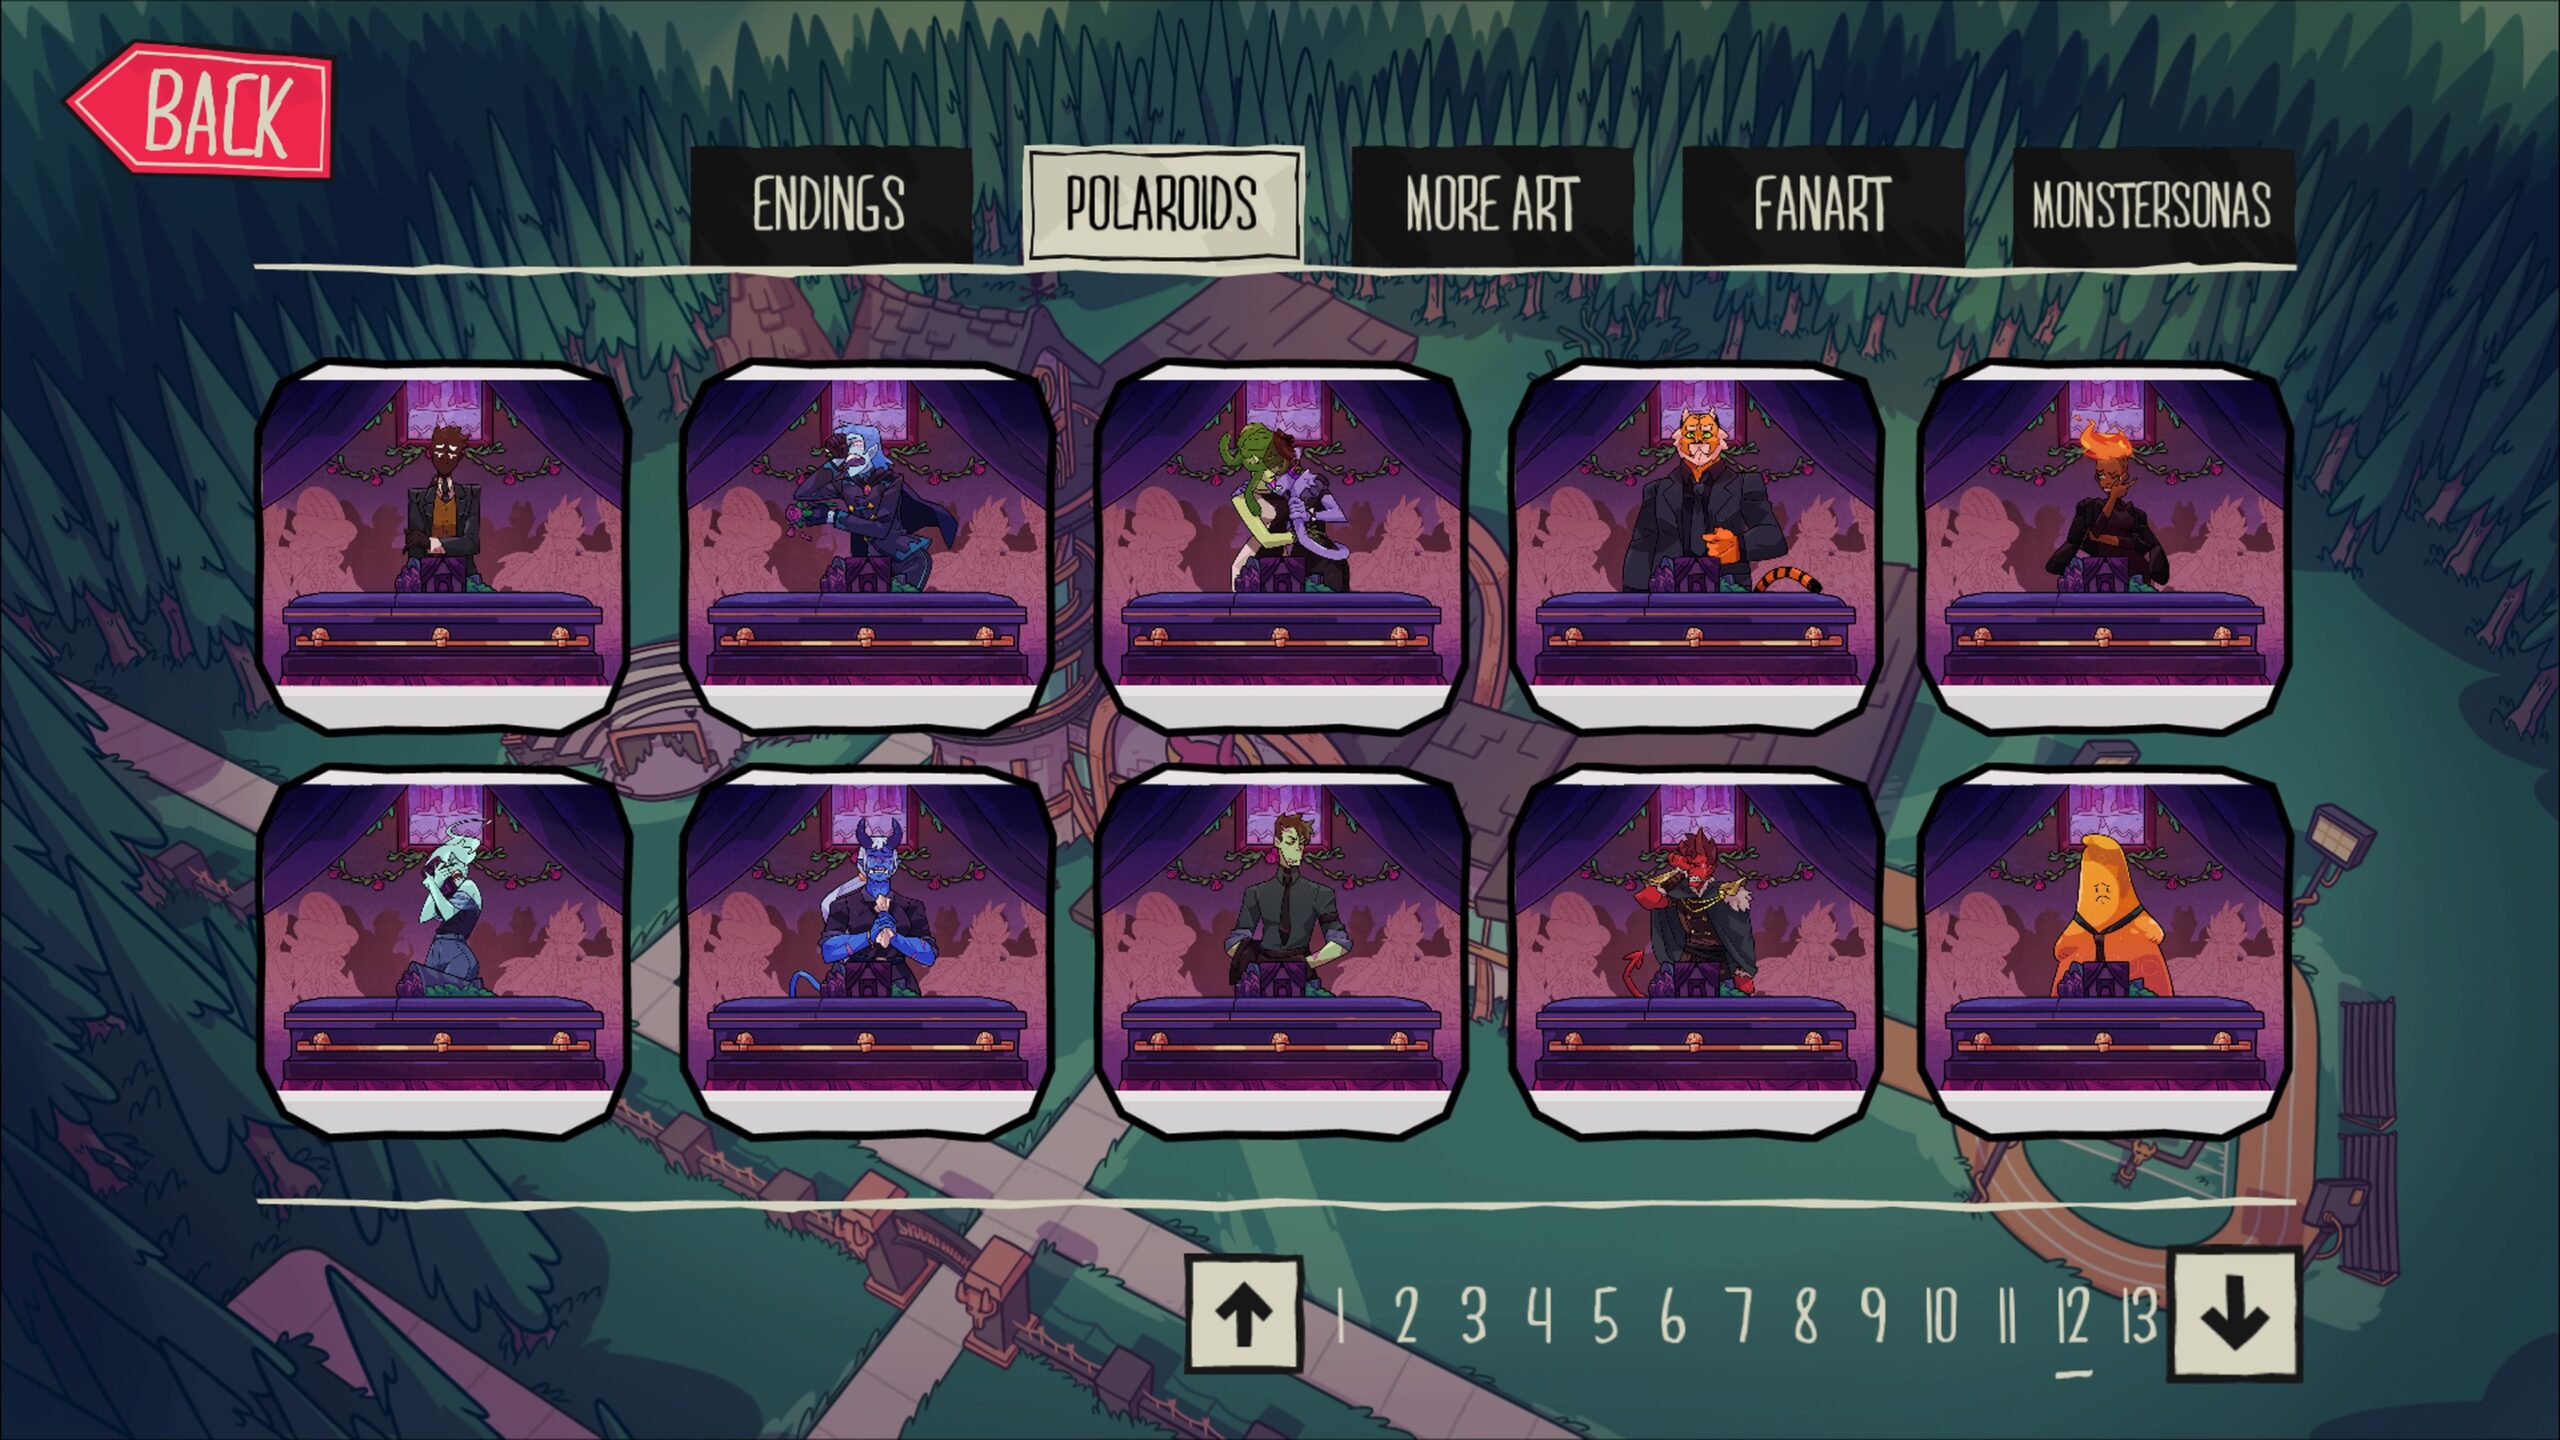
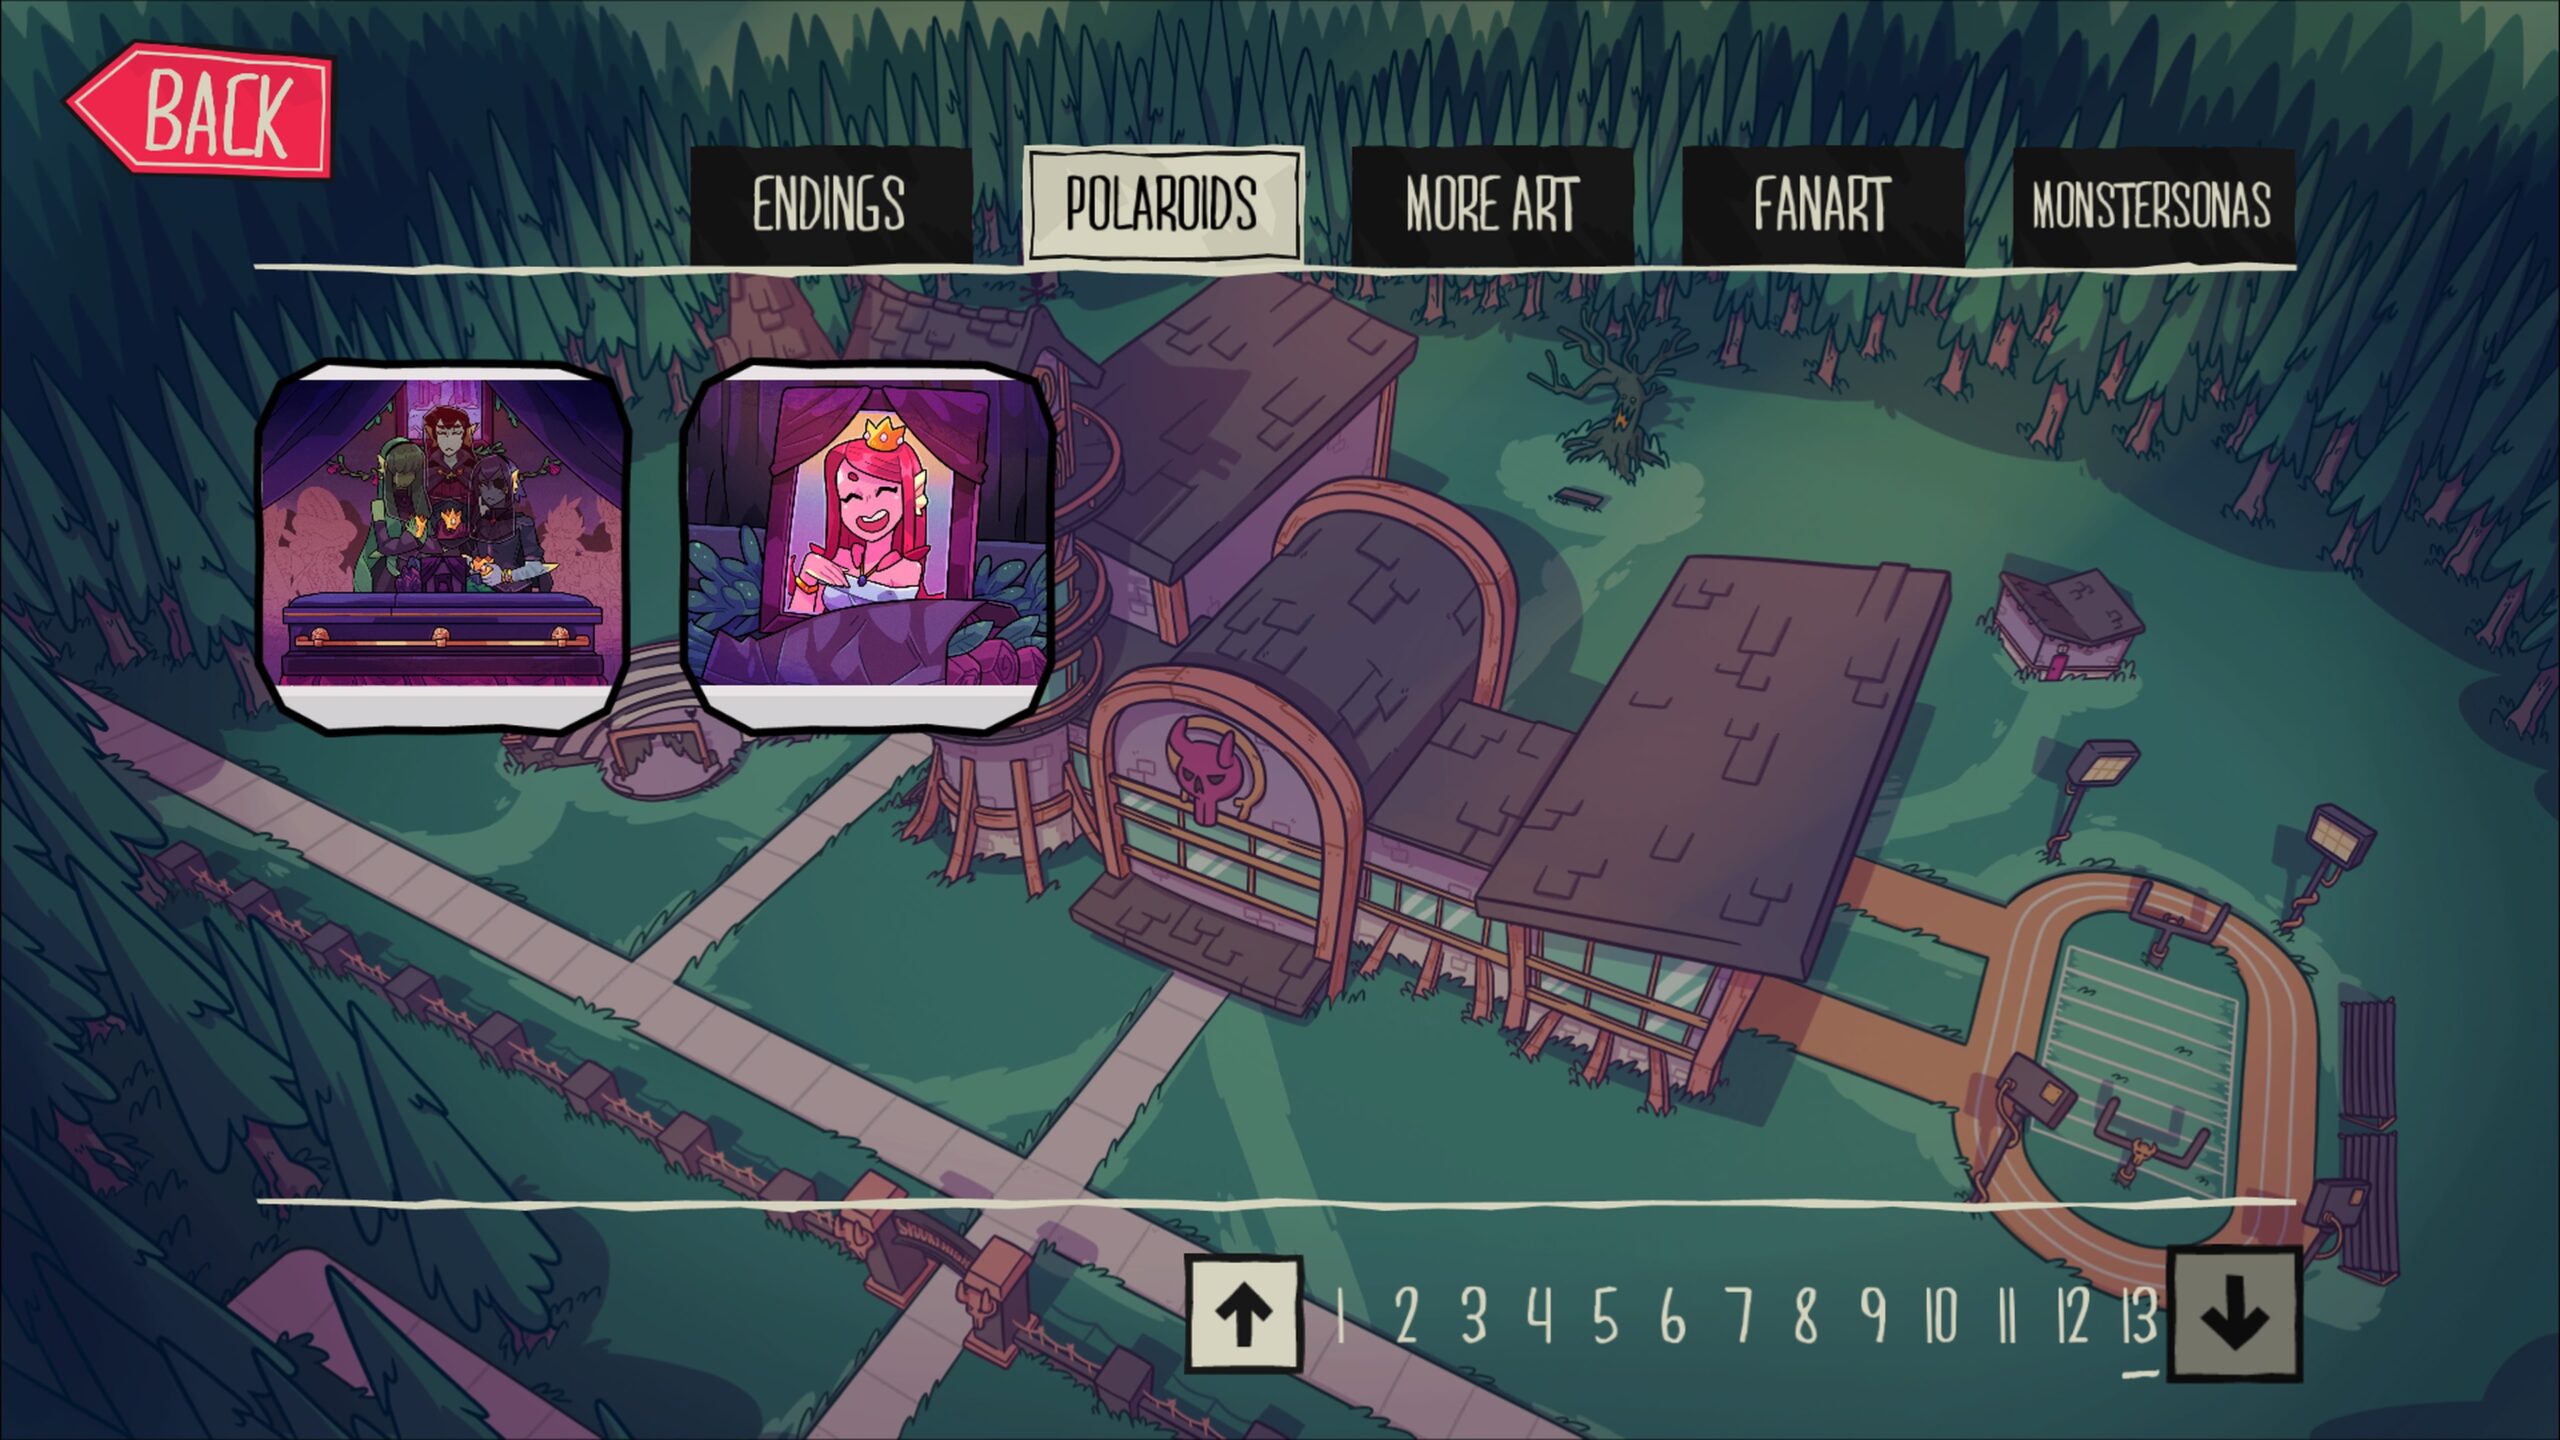
- The gallery is incomplete in the PlayStation version of the game. The endings and Polaroids are provided below, but we are technically “missing” two photos.
- These are likely related to the Locket and Support Group endings that are impossible to get in this version of the game. Thankfully, this is NOT a requirement of the platinum.
- Go to the library. Very few stat checks rely on MONEY, so if you want to fail a lot of outcomes without going for anything specific, the library is often a safe choice to go to.
- Multiplayer weekend events. Some weekend events will require you to remember what stats other players have. If you have a goldfish memory like the author and are playing 4-player matches solo, you will want to take a picture of the stats beforehand.
- If you hold the right trigger (RT) you can see all the stats before the event starts. Either take a picture with your phone or take a screenshot on your console.
- Advice events. 1-person advice events are easiest to farm in 2-player games. 2-person advice events require at least 3 players, often with 2 of them pursuing the same love interest. Remember to choose the most optimal number of players for whichever events you need.
- Events with multiple characters. If you’re trying to get an event that requires multiple characters—for example, Polly and Vera in the gym—try to raise affinity with both characters. Go with the Polly route and sit with Vera at lunch. This will make the specific event you want more likely to happen. Conversely, if you are trying to get an event that has only one character, avoid sitting with anyone else as much as possible.
- Short vs long games. It is generally more difficult to min/max your stats properly in short games. Also, it’s a lot harder to thin the pool of possible events in short games to try and make what outcome you need more likely. There are also fewer special events in short games, like weekends and pick love interest events.
- You will primarily want to play long games while pursuing the trophies.
- Short games can be decent choices only if you need something hyper-specific and think it’ll save time.
- Second Term. You have to see 100% of the events and outcomes in the main game, but you only need to see all of the events in the Second Term. In other words, the trophies “Event Storm” and “Outcome Tsunami” both unlock at the same time. This is a big time saver.
Conclusion
Let us know if you found our Monster Prom: XXL trophy guide helpful! Who is your favorite monster bachelor/bachelorette? Will you try to unlock this elusive platinum trophy? If this game is a bit too intense for you, check out how else you can improve your trophy hunting profile.






Leave a Reply